Have you ever bitten into something so delicate, so perfectly balanced between crisp and creamy that time seems to stand still? That’s what happens with each forkful of a properly made Vanilla Custard Puff Pastry Cake. I’ve spent years perfecting this recipe, and today I’m sharing all my secrets for creating this showstopper dessert that looks complicated but is surprisingly manageable.
This elegant French-inspired dessert combines layers of buttery puff pastry with silky vanilla bean custard, creating a textural masterpiece that will have your guests believing you spent all day in the kitchen (when in reality, the clever use of store-bought puff pastry makes this entirely doable for bakers of all skill levels).
What Makes This Cake Special
Before we dive into the recipe, let me tell you why this cake deserves a place in your baking repertoire:
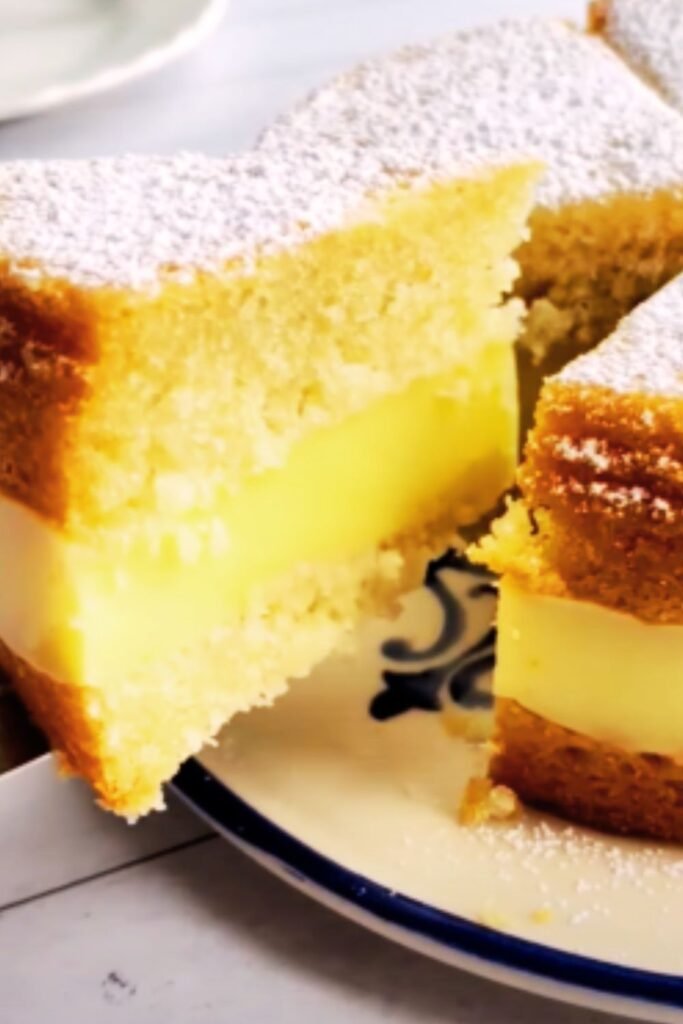
- Texture Contrast: The flaky, crisp layers of pastry against the smooth, rich custard create an irresistible mouthfeel
- Make-Ahead Friendly: Many components can be prepared 1-2 days in advance
- Adaptable: Once you master the base recipe, you can experiment with different flavors
- Visual Impact: Few desserts deliver such impressive results with relatively straightforward techniques
The Essential Ingredients
The secret to an exceptional Vanilla Custard Puff Pastry Cake lies in using high-quality ingredients. Here’s what you’ll need:
| Ingredient | Amount | Notes |
|---|---|---|
| For the Pastry Layers | ||
| All-butter puff pastry | 2 sheets (about 450g) | Preferably all-butter; thawed overnight in refrigerator |
| Egg wash | 1 egg + 1 Tbsp water | For achieving golden-brown layers |
| Granulated sugar | 2 Tbsp | For sprinkling between layers |
| For the Vanilla Custard | ||
| Whole milk | 500ml (2 cups) | Full-fat is essential for richness |
| Heavy cream | 250ml (1 cup) | With at least 35% fat content |
| Vanilla bean | 1 whole pod | Split and seeds scraped, or 2 tsp pure vanilla extract |
| Large eggs | 4 | Room temperature |
| Egg yolks | 2 | For extra richness and color |
| Granulated sugar | 150g (¾ cup) | Superfine dissolves more easily if available |
| Cornstarch | 50g (⅓ cup) | For thickening without flour taste |
| Unsalted butter | 50g (3½ Tbsp) | Cold, cut into cubes |
| Salt | ¼ tsp | To enhance flavor |
| For the Glaze (Optional) | ||
| Apricot jam | 3 Tbsp | Strained |
| Water | 1 Tbsp | To thin the jam |
| For Serving (Optional) | ||
| Powdered sugar | For dusting | A light snow effect |
| Fresh berries | 1 cup | Raspberries, strawberries, or mixed |
| Fresh mint leaves | A few sprigs | For garnish |
Equipment You’ll Need
Preparation is key when making this dessert. Gather these tools before starting:
- Baking sheets: 2 heavy-duty ones that won’t warp
- Parchment paper: Essential for easy release
- Rolling pin: For even pastry thickness
- Medium saucepan: Heavy-bottomed for custard
- Whisk: For smooth custard without lumps
- Fine mesh sieve: For straining the custard
- Mixing bowls: Various sizes
- Pastry brush: For egg wash application
- Offset spatula: For spreading custard evenly
- Sharp knife or pastry wheel: For clean cuts
- Kitchen scale: For precise measurements
Making the Puff Pastry Layers
The foundation of this dessert is perfectly baked puff pastry. Here’s how to achieve those beautifully golden, flaky layers:
- Prepare your workspace: Preheat oven to 200°C (400°F). Line two baking sheets with parchment paper.
- Measure and cut: Unfold the thawed puff pastry sheets on a lightly floured surface. Using a ruler and sharp knife, cut three 23cm x 30cm (9″ x 12″) rectangles. If using store-bought sheets, you may need to lightly roll them to achieve the correct dimensions.
- Transfer to baking sheets: Place each rectangle on parchment-lined baking sheets (you may need to bake in batches if your oven is small).
- Dock the pastry: Using a fork, prick the pastry sheets all over to prevent excessive puffing.
- Apply egg wash: Beat the egg with 1 tablespoon of water. Brush each pastry sheet lightly with egg wash.
- Add weight: Place another piece of parchment paper on top of each pastry sheet, then add another baking sheet on top to create weight.
- Bake: Place in preheated oven for 15 minutes.
- Remove weight: Take off the top baking sheet and parchment, then brush with egg wash again and sprinkle lightly with granulated sugar.
- Finish baking: Return to oven for another 5-7 minutes until deeply golden and crisp.
- Cool completely: Transfer to wire racks and allow to cool fully before assembling.
Pro Tips for Perfect Pastry
- Keep it cold: Return pastry to refrigerator if it becomes too soft during handling
- Even cutting: Use a ruler and very sharp knife for clean edges
- Consistent docking: The tiny holes allow steam to escape and prevent uneven puffing
- Watch carefully: Puff pastry can go from perfectly golden to burnt quickly
- Patience is key: Allow layers to cool completely before assembly to prevent soggy pastry
Creating the Vanilla Custard
The heart and soul of this dessert is the luxurious vanilla custard. Here’s how to make it silky smooth:
- Infuse the dairy: In a medium saucepan, combine milk and cream. Split the vanilla bean lengthwise, scrape out seeds, and add both seeds and pod to the milk mixture. Heat until steaming but not boiling, then remove from heat, cover, and let steep for 30 minutes.
- Prepare egg mixture: In a large bowl, whisk together eggs, egg yolks, sugar, cornstarch, and salt until pale and thick.
- Temper the eggs: Remove vanilla pod from milk mixture. Gradually whisk about 1 cup of the warm milk into the egg mixture to prevent scrambling, then pour this mixture back into the saucepan with the remaining milk.
- Cook the custard: Return the saucepan to medium heat and cook, whisking constantly, until mixture thickens and comes to a boil. Continue whisking and boiling for 1 minute.
- Finish the custard: Remove from heat and immediately whisk in the cold butter pieces until melted and incorporated.
- Strain and chill: Pour through a fine-mesh sieve into a clean bowl to remove any lumps. Press plastic wrap directly onto the surface of the custard to prevent a skin from forming. Refrigerate until completely cold, at least 3 hours or overnight.
Troubleshooting Custard Issues
| Problem | Possible Cause | Solution |
|---|---|---|
| Lumpy custard | Heat too high or inadequate whisking | Strain through fine mesh sieve; next time, use lower heat and whisk constantly |
| Too thin | Insufficient cooking time or cornstarch | Return to heat and cook longer; make sure cornstarch was properly measured |
| Custard “broke” | Overheating or not tempering eggs | Start over, being careful with temperature control |
| Grainy texture | Sugar not dissolved or eggs curdled | Whisk vigorously; if severe, start over with more careful temperature control |
| Skin formed | Surface exposed to air while cooling | Press plastic wrap directly onto surface before refrigerating |
Assembling Your Masterpiece
Now comes the fun part – putting it all together:
- Prepare your workspace: Have a serving platter ready that’s large enough for your pastry.
- Layer building: Place one pastry rectangle on your serving platter.
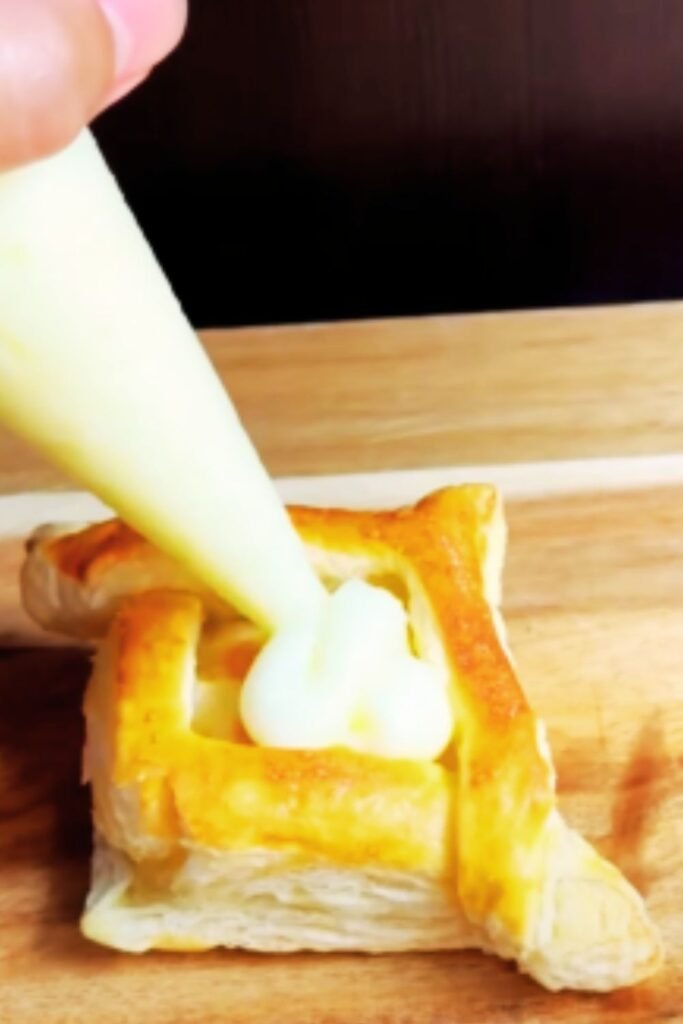
- Add custard: Whisk the chilled custard briefly to loosen it. Spread about ⅓ of the custard in an even layer over the first pastry sheet, leaving a small border around the edges.
- Repeat: Place the second pastry sheet on top, pressing very gently. Spread with another ⅓ of the custard.
- Final layer: Top with the last pastry sheet and spread with remaining custard, or reserve some custard for serving on the side.
- Optional glaze: If using the apricot glaze, heat the strained jam with water until liquid, then brush over the top layer for a glossy finish.
- Chill: Refrigerate the assembled cake for at least 1 hour (or up to 4 hours) before serving to allow the layers to meld together.
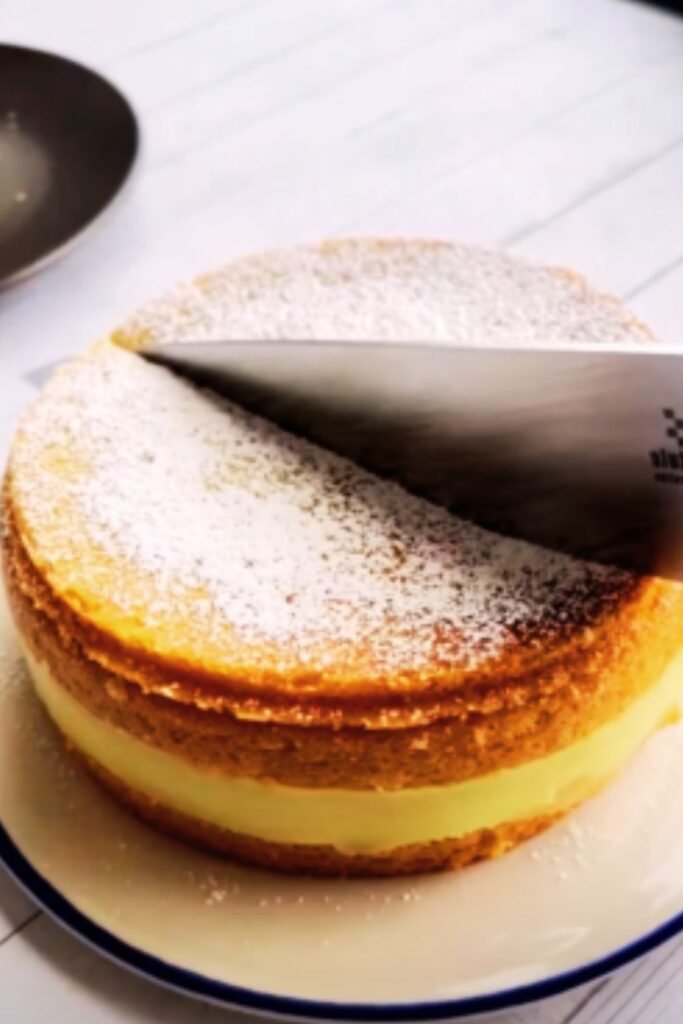
- Finishing touches: Just before serving, dust with powdered sugar and garnish with fresh berries and mint if desired.
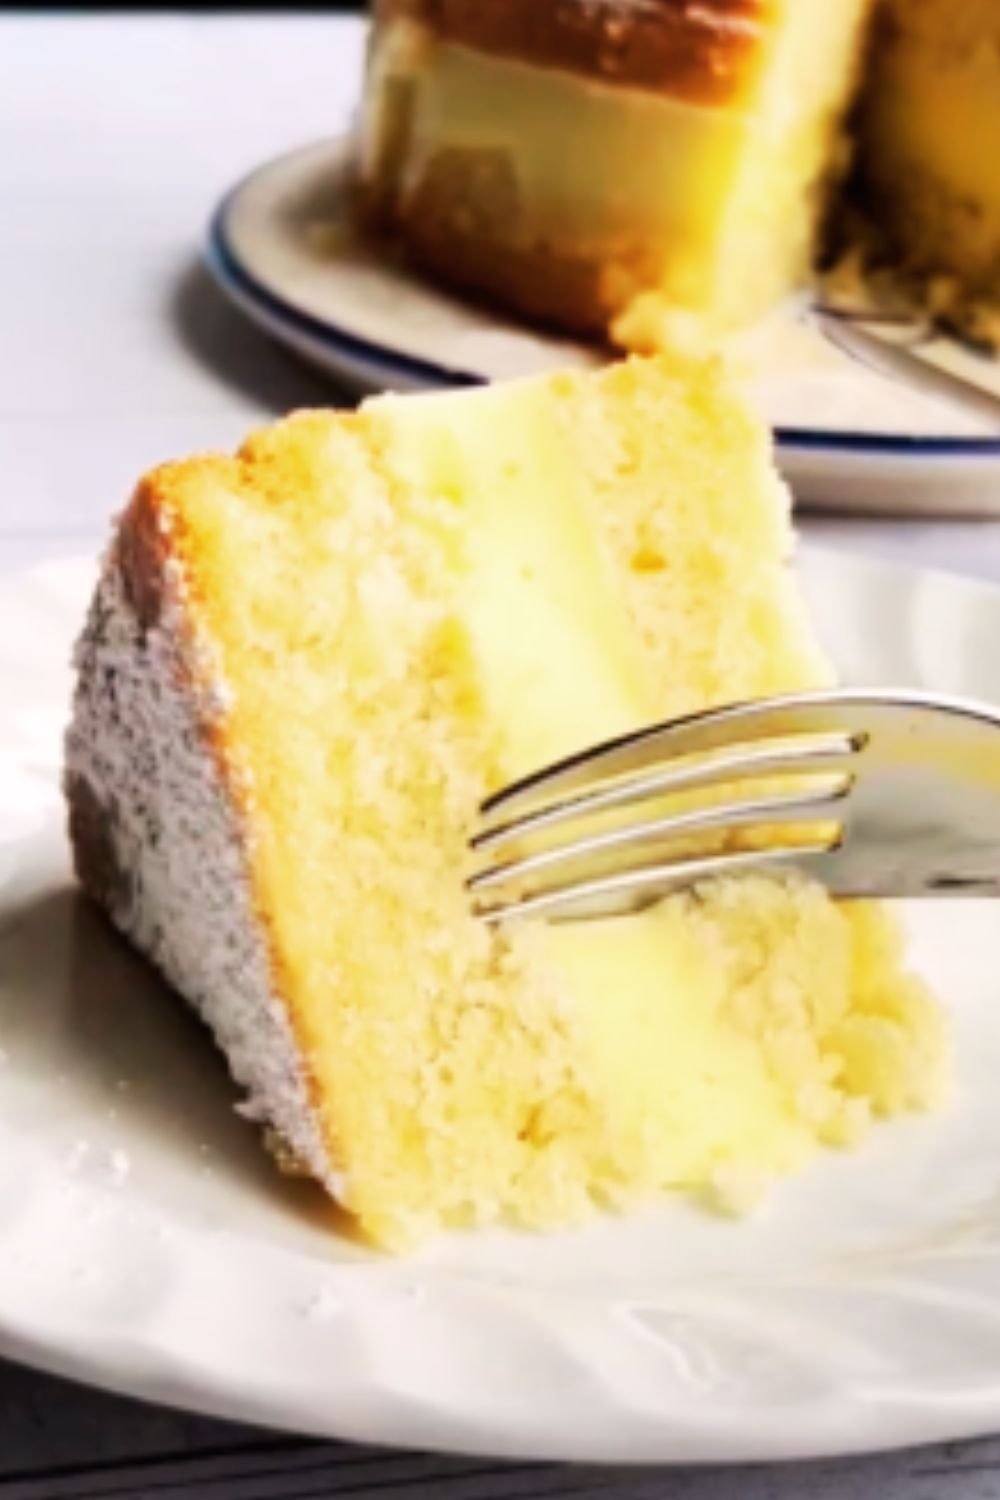
Cutting and Serving Tips
For pristine slices that showcase those beautiful layers:
- Use a serrated knife: A sharp, serrated knife with a gentle sawing motion works best.
- Clean between cuts: Wipe the knife clean with a warm, damp cloth between slices.
- Serve cold: The cake cuts most cleanly when thoroughly chilled.
- Plating artfully: A few fresh berries and a mint leaf alongside each slice elevates the presentation.
Variations to Try
Once you’ve mastered the classic vanilla version, consider these delicious variations:
| Variation | Custard Modification | Additional Elements |
|---|---|---|
| Chocolate | Add 100g melted dark chocolate to finished custard | Drizzle with chocolate ganache |
| Lemon | Replace vanilla with lemon zest and 2 Tbsp lemon juice | Top with candied lemon slices |
| Coffee | Dissolve 2 Tbsp instant espresso in the warm milk | Dust with cocoa powder instead of sugar |
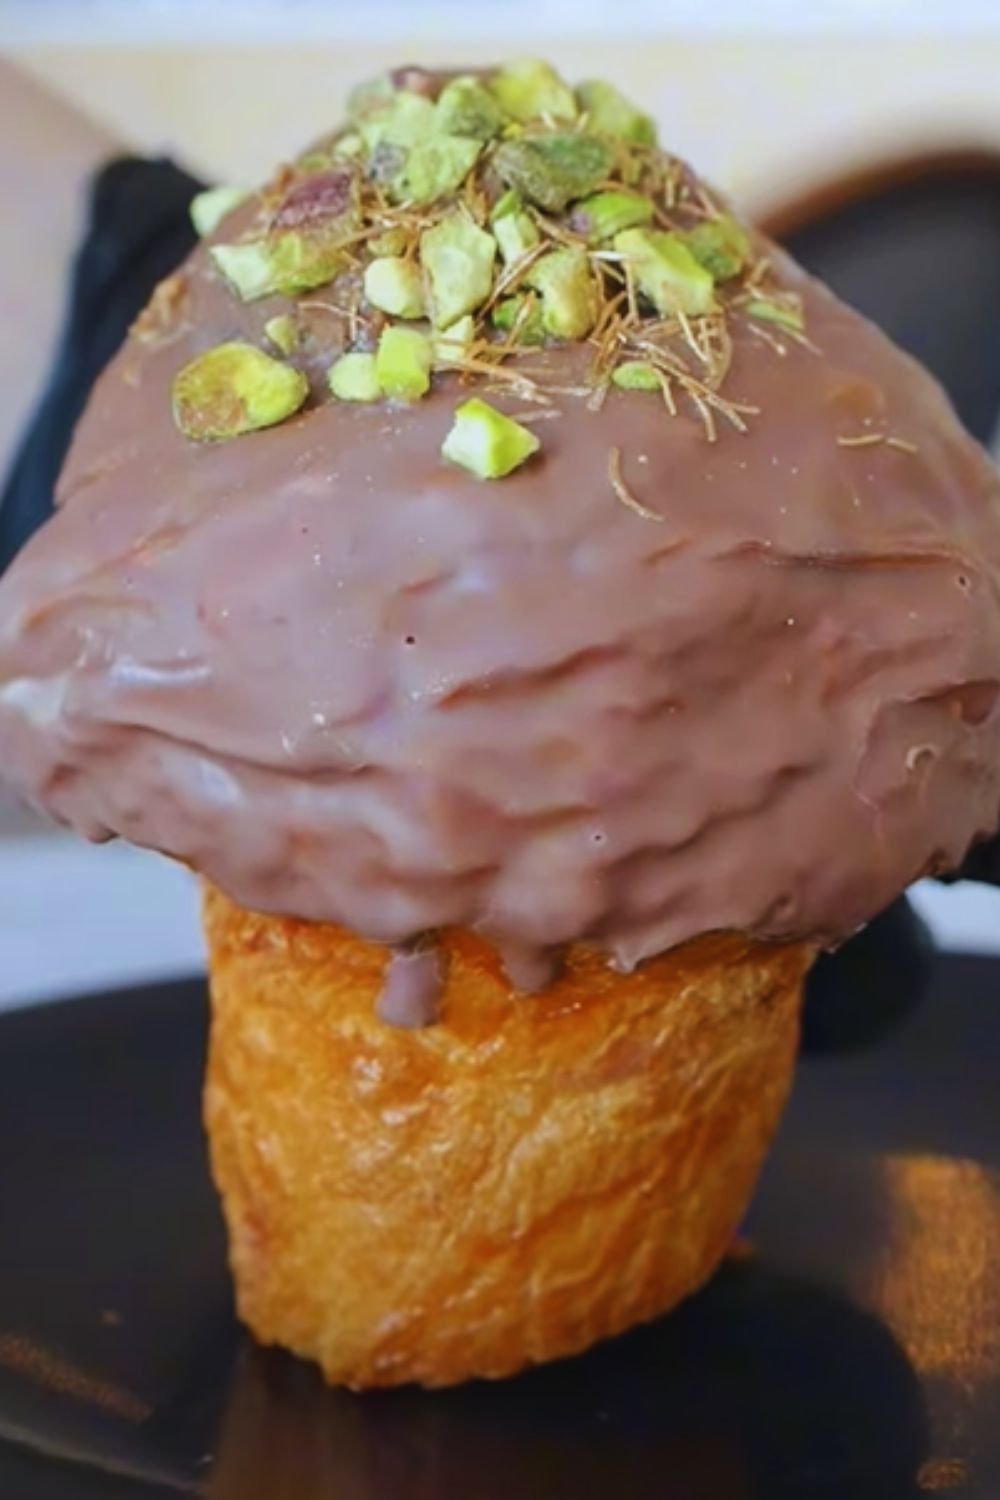
| Pistachio | Add ½ cup ground pistachios to custard | Garnish with chopped pistachios |
| Raspberry | Fold 1 cup fresh raspberries into the custard | Layer with thin raspberry jam between pastry |
| Coconut | Replace some milk with coconut milk and add coconut extract | Sprinkle with toasted coconut flakes |
Make-Ahead and Storage Tips
This dessert is perfect for entertaining because so much can be done ahead:
- Puff pastry layers: Can be baked 1 day ahead and stored in an airtight container at room temperature.
- Custard: Can be made up to 2 days ahead and kept refrigerated.
- Assembled cake: Best if assembled at least 1 hour before serving but no more than 4 hours to maintain pastry crispness.
- Leftovers: Store covered in refrigerator for up to 2 days, though the pastry will gradually soften.
Serving Suggestions
To create a memorable dessert experience:
- Serve slices with additional fresh berries on the side
- Offer extra custard in small pitchers for guests who want more creaminess
- Pair with a cup of strong coffee or espresso to balance the sweetness
- For special occasions, add a small scoop of high-quality vanilla ice cream
- A light dusting of cinnamon or freshly grated nutmeg adds wonderful aroma
Why This Recipe Works
I’ve tested this recipe dozens of times to perfect each element:
- The weighted baking technique ensures flat, even pastry layers that don’t puff too much.
- The cornstarch-stabilized custard holds its shape when sliced without being rubbery.
- The 30-minute vanilla infusion provides deep flavor without the expense of multiple vanilla beans.
- The addition of cold butter at the end gives the custard a silky texture and glossy appearance.
- The brief chilling time after assembly allows the layers to bond slightly without the pastry becoming soggy.
Frequently Asked Questions
Q: Can I use ready-made custard instead of making it from scratch?
While you technically could use store-bought custard, the homemade version has a superior flavor and texture that’s worth the extra effort. If you must use store-bought, choose a high-quality pastry cream rather than pudding-style custard, and you may want to stabilize it with a bit of gelatin to help it hold its shape when sliced.
Q: My puff pastry didn’t rise evenly. What went wrong?
Uneven rising usually happens when the pastry wasn’t properly docked (pricked with fork holes) or when the oven temperature isn’t consistent. Make sure your oven is fully preheated and consider using an oven thermometer to verify. Also, docking should be thorough but not too aggressive – aim for fork pricks about 1 inch apart across the entire surface.
Q: Can I freeze this dessert?
I don’t recommend freezing the assembled cake as the texture of the custard can become grainy when thawed, and the pastry loses its delicate crispness. However, you can freeze the baked puff pastry layers (well-wrapped) for up to 1 month, then thaw at room temperature and assemble with fresh custard.
Q: How do I prevent the custard from making the pastry soggy?
The key is making sure both components are completely cool before assembly, and not assembling too far in advance. For the crispest result, assemble no more than 4 hours before serving. Also, make sure your custard is properly thickened – it should hold soft peaks when whisked.
Q: Can I make individual portions instead of one large cake?
Absolutely! Cut the puff pastry into smaller squares or rectangles before baking. The baking time will be slightly shorter, so start checking after about 12 minutes. You can either stack them like the large cake or create individual napoleons with three layers of pastry and two of custard.
Q: My custard curdled while cooking. Is there any way to save it?
If you catch it early enough and there are just a few small lumps, vigorous whisking or blending with an immersion blender might save it. For more serious curdling, sometimes straining through a fine-mesh sieve can help. But if it’s severely curdled, it’s usually best to start over, being careful to temper the eggs properly and use moderate heat.
Q: What’s the best way to transport this cake to an event?
Chill the assembled cake thoroughly, then transport it in a cake carrier with ice packs. Alternatively, transport the components separately and assemble at your destination. Bring the custard in a chilled container, the baked pastry layers carefully wrapped to prevent breakage, and assemble shortly before serving.
Final Thoughts
Creating this Vanilla Custard Puff Pastry Cake has brought me joy countless times, whether for special celebrations or simply to make an ordinary day extraordinary. The contrasting textures of flaky pastry and silky custard create a sensory experience that feels much more complex than the sum of its parts.
Remember that practice makes perfect with this dessert. Don’t be discouraged if your first attempt isn’t magazine-worthy – even slightly imperfect versions taste absolutely delicious! The most important elements are proper chilling time for the custard and allowing the baked pastry to cool completely before assembly.
I hope this recipe becomes a treasured addition to your collection, one that you return to whenever you want to create something truly special. Happy baking!