There’s something magical about that perfect balance of sweetness and tanginess that makes sweet and sour sauce an absolute staple in my kitchen. I’ve spent years perfecting this recipe, tweaking ingredients and proportions until I finally created what I confidently call the BEST sweet and sour sauce you’ll ever taste. Whether you’re looking to elevate your homemade Chinese takeout dishes, add zing to appetizers, or simply want a versatile dipping sauce, this recipe will become your go-to favorite.
Why Make Homemade Sweet and Sour Sauce?
Store-bought sweet and sour sauces often contain preservatives, artificial colors, and excessive amounts of sugar. My homemade version not only tastes infinitely better but also gives you complete control over the ingredients. Once you try this recipe, I guarantee you’ll never want to use the bottled stuff again.
The vibrant red color in my sauce comes naturally from tomato paste and a touch of pineapple juice – no artificial red dye needed! Plus, the balance of flavors can be customized exactly to your preference. Want it sweeter? Add a bit more honey. Prefer more tang? An extra splash of vinegar will do the trick.
The Secret to Perfect Sweet and Sour Sauce
The key to exceptional sweet and sour sauce lies in the balance. Too much sugar makes it cloying; too much vinegar makes it unpleasantly sharp. My recipe hits that perfect middle ground where each flavor component complements the others without overpowering them.
I’ve discovered through countless test batches that using multiple sweeteners and acids creates a more complex, rounded flavor profile. That’s why my recipe incorporates both brown sugar and honey for sweetness, and both rice vinegar and pineapple juice for acidity.
Essential Ingredients Breakdown
Let’s take a closer look at what makes this sauce special:
- Brown Sugar: Provides depth with its molasses notes
- Honey: Adds natural sweetness and a silky texture
- Rice Vinegar: Brings a clean, mild acidity that’s less harsh than white vinegar
- Pineapple Juice: Contributes fruity sweetness and natural tanginess
- Ketchup: Adds body, umami, and subtle tomato flavor
- Tomato Paste: Concentrates the tomato flavor and enhances the color
- Soy Sauce: Provides saltiness and umami depth
- Garlic and Ginger: Fresh aromatics that elevate the entire sauce
- Cornstarch Slurry: The thickening agent that gives the sauce its perfect consistency

Nutritional Benefits
I appreciate knowing what’s in my food, so here’s a breakdown of the nutritional composition of my sweet and sour sauce compared to typical store-bought versions:
| Nutrient | Homemade (per 2 Tbsp) | Store Bought (per 2 Tbsp) |
|---|---|---|
| Calories | 48 | 70-90 |
| Sugars | 10g | 16-22g |
| Sodium | 140mg | 250-320mg |
| Preservatives | None | Several |
| Artificial Colors | None | Usually Red #40 |
| Artificial Flavors | None | Often Present |
By making this sauce at home, I’m consuming significantly less sugar and sodium while avoiding artificial additives entirely. It’s a win for both flavor and health!
Equipment You’ll Need
Making this sauce couldn’t be simpler. Here’s all you need:
- Medium saucepan
- Whisk
- Measuring cups and spoons
- Small bowl (for cornstarch slurry)
- Garlic press (optional)
- Microplane or fine grater (for ginger)
- Glass jar with tight-fitting lid (for storage)
The Best Sweet and Sour Sauce Recipe
Ingredients:
- 3/4 cup pineapple juice (fresh or canned)
- 1/3 cup rice vinegar
- 1/4 cup brown sugar, packed
- 2 tablespoons honey
- 3 tablespoons ketchup
- 1 tablespoon tomato paste
- 1 tablespoon soy sauce (use tamari for gluten-free)
- 2 cloves garlic, minced
- 1 teaspoon fresh ginger, grated
- 1/8 teaspoon salt (optional, to taste)
- 2 tablespoons cornstarch
- 2 tablespoons cold water
Instructions:
- In a medium saucepan, combine the pineapple juice, rice vinegar, brown sugar, honey, ketchup, tomato paste, soy sauce, minced garlic, and grated ginger. Whisk until well combined.
- Bring the mixture to a gentle simmer over medium heat, stirring occasionally. Let it simmer for about 3-4 minutes to allow the flavors to meld together.
- While the sauce simmers, make a cornstarch slurry by mixing the cornstarch and cold water in a small bowl until smooth.
- Slowly pour the cornstarch slurry into the simmering sauce while whisking constantly to prevent lumps.
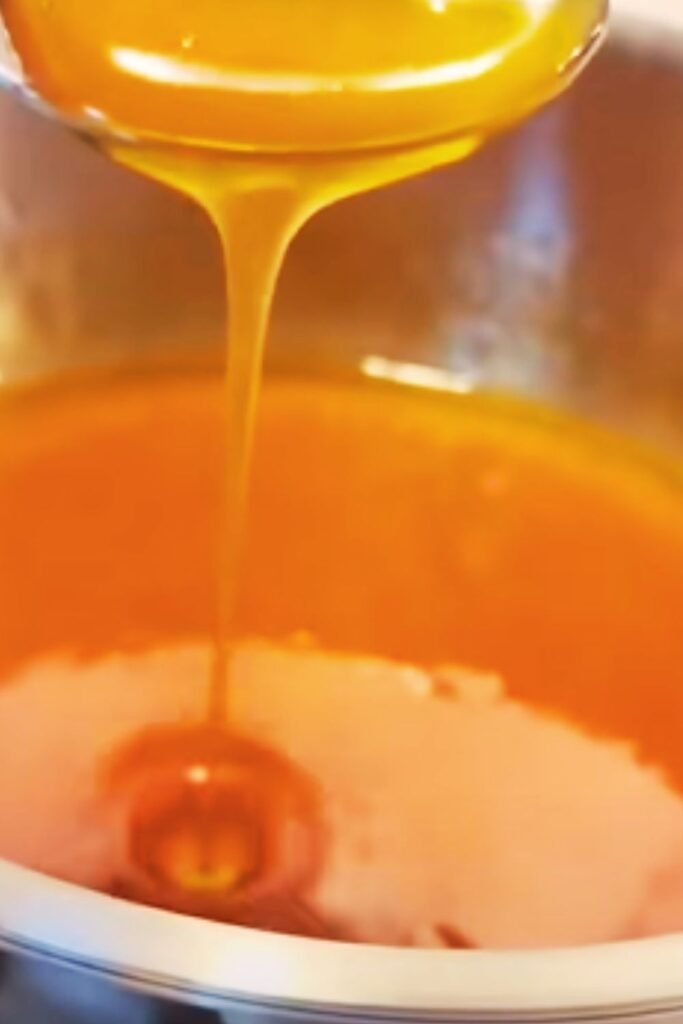
- Continue to simmer, stirring frequently, until the sauce thickens to your desired consistency, about 2-3 minutes. The sauce should coat the back of a spoon.
- Taste and adjust seasoning if necessary. Add a pinch of salt if needed.
- Remove from heat and let cool slightly before use. The sauce will continue to thicken as it cools.
- Transfer to a glass container and allow to cool completely before refrigerating.
Variations to Try
One of the joys of making homemade sauce is that you can customize it to your liking. Here are some delicious variations I’ve created:
Spicy Sweet and Sour Sauce
Add 1-2 teaspoons of sriracha or 1/4-1/2 teaspoon of red pepper flakes to the basic recipe for a sauce with a kick.
Fruity Sweet and Sour Sauce
Replace half the pineapple juice with orange juice and add 1 teaspoon of orange zest for a citrusy twist.
Smoky Sweet and Sour Sauce
Add 1/2 teaspoon of smoked paprika and a few drops of liquid smoke for a delicious barbecue-inspired version.
Extra Tangy Sweet and Sour Sauce
Increase the rice vinegar to 1/2 cup and reduce the sugar slightly for those who prefer more tang.
Troubleshooting Common Issues
Even experienced cooks encounter issues sometimes. Here’s how to fix common problems:
Sauce Too Thin: If your sauce isn’t thickening properly, make another small batch of cornstarch slurry (1 teaspoon cornstarch mixed with 1 tablespoon cold water) and add it gradually to the simmering sauce until it reaches your desired thickness.
Sauce Too Thick: Simply add a tablespoon or two of water, pineapple juice, or chicken broth to thin it out. Reheat gently while whisking.
Sauce Too Sweet: Balance excessive sweetness with a teaspoon of additional rice vinegar or a squeeze of fresh lemon juice.
Sauce Too Sour: Add a teaspoon of sugar or honey at a time until the balance is restored.
Lumps in Sauce: Strain the sauce through a fine-mesh sieve, then return to the pan and reheat gently if needed.
Storage and Shelf Life
My homemade sweet and sour sauce keeps beautifully in an airtight container in the refrigerator for up to 2 weeks. The flavors actually improve after a day or two as they have time to meld together even more.
For longer storage, you can freeze portions in ice cube trays, then transfer the frozen cubes to a freezer bag. This way, you can thaw exactly the amount you need. Frozen sweet and sour sauce maintains its quality for up to 3 months.
To reheat, simply warm gently in a small saucepan over low heat, adding a splash of water if needed to restore the original consistency.
Ways to Use Sweet and Sour Sauce
This versatile sauce works beautifully in so many dishes:
- Sweet and Sour Chicken/Pork/Tofu: The classic application that never disappoints
- Meatballs: Transform ordinary meatballs into a delicious appetizer
- Stir-Fries: Add at the end of cooking for a flavorful sauce
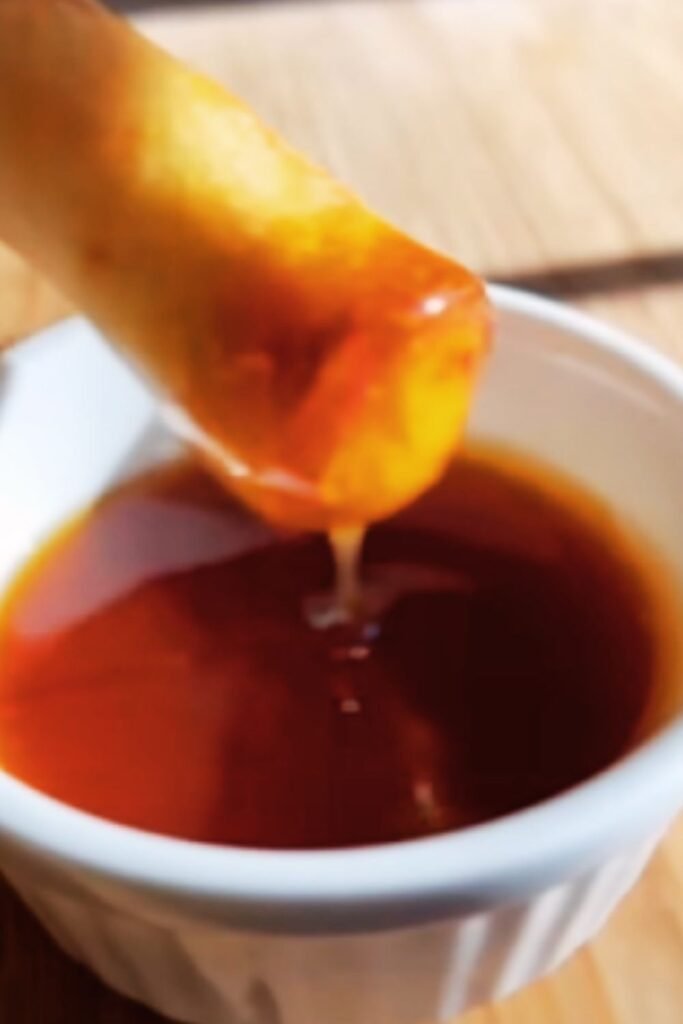
- Dipping Sauce: Perfect for egg rolls, wontons, spring rolls, and chicken nuggets
- Glaze: Brush onto grilled chicken, shrimp, or salmon in the last few minutes of cooking
- Burger Topping: Add a spoonful to elevate your burger game
- Wraps and Sandwiches: Use as a condiment for an unexpected flavor boost
- Rice Bowls: Drizzle over a bowl of rice, vegetables, and protein for instant flavor
Perfect Pairings
Sweet and sour sauce pairs wonderfully with many dishes and flavors:
- Proteins: Chicken, pork, shrimp, tofu, and tempeh
- Vegetables: Bell peppers, broccoli, carrots, pineapple, snow peas, and water chestnuts
- Starches: White rice, brown rice, noodles, and quinoa
- Aromatics: Green onions, sesame seeds, and fresh cilantro as garnishes
- Beverages: Iced tea, lemonade, or sparkling water with lemon
Serving Suggestions
When I serve dishes with sweet and sour sauce, I like to create a complete meal experience. Here are some of my favorite serving suggestions:
- Sweet and Sour Chicken Bowl: Serve over steamed jasmine rice with stir-fried vegetables on the side.
- Appetizer Platter: Offer as a dipping sauce alongside vegetable spring rolls, crab rangoon, and steamed dumplings.
- Fusion Tacos: Fill soft corn tortillas with crispy tofu or chicken, shredded cabbage, and a drizzle of sweet and sour sauce.
- Grain Bowl: Create a base of brown rice or quinoa, top with roasted vegetables, your protein of choice, and finish with a generous drizzle of sauce.
- Simple Weeknight Dinner: Serve sweet and sour chicken or pork with steamed broccoli and rice for a quick, satisfying meal.
Frequently Asked Questions
Q: Can I use white vinegar instead of rice vinegar? Yes, you can substitute white vinegar, but the flavor will be sharper. I’d recommend using a bit less (about 3/4 the amount) and possibly adding a touch more honey to balance the increased acidity.
Q: Is this sauce gluten-free? My recipe contains soy sauce, which typically contains wheat. For a gluten-free version, simply substitute tamari or coconut aminos for the soy sauce.
Q: Can I make this sauce with less sugar? Absolutely! You can reduce the sugar by up to half, though keep in mind this will affect both the flavor balance and the consistency. You might want to reduce the vinegar slightly as well to maintain balance.
Q: How can I make this sauce vegan? The recipe is almost vegan as written – just replace the honey with maple syrup or agave nectar for a fully vegan version.
Q: Why does my sauce taste different from restaurant sweet and sour sauce? Many restaurants use pre-made sauce mixes with artificial colors and flavors. Some also add more sugar than my homemade version. If you prefer a more “restaurant-style” sauce, you can add a drop or two of red food coloring (though I don’t recommend it) and increase the sugar slightly.
Q: Can I can this sauce for longer storage? This recipe hasn’t been tested for canning safety. For long-term storage, freezing is the recommended method.
Q: How can I tell when the sauce has reached the right thickness? The sauce should coat the back of a spoon and when you run your finger through it, the line should remain clear. If it runs back together quickly, it needs to thicken more.
Q: Why use both brown sugar and honey? The combination creates a more complex flavor profile. Brown sugar provides caramel notes while honey adds floral sweetness and a smoother texture.
The Health Factor
While sweet and sour sauce isn’t exactly a health food due to its sugar content, my homemade version is significantly healthier than commercial alternatives. By making it yourself, you’re:
- Reducing Sugar: Most store-bought versions contain high-fructose corn syrup and much more sugar overall.
- Eliminating Preservatives: Commercial sauces often contain preservatives like sodium benzoate and potassium sorbate.
- Avoiding Artificial Colors: The vibrant red color in commercial sauces typically comes from Red #40, while my version gets its color naturally from tomato products.
- Controlling Sodium: My recipe has about 40-50% less sodium than typical store-bought versions.
- Adding Nutritional Benefits: Fresh ginger and garlic provide antioxidants and anti-inflammatory compounds.
My Personal Tips from Years of Experience
After making this sauce countless times, I’ve gathered some insider tips that make a real difference:
- Fresh Aromatics Matter: Always use fresh garlic and ginger rather than pre-minced or powdered versions. The flavor difference is significant.
- Quality Vinegar: A good rice vinegar makes a noticeable difference in the final flavor. I prefer unseasoned rice vinegar for this recipe.
- Simmer Slowly: Resist the urge to rush the process by using high heat. A gentle simmer develops the flavors without burning the sugars.
- Taste and Adjust: Everyone’s preference for sweet-sour balance is different. Don’t be afraid to adjust the recipe to suit your taste.
- Let It Rest: While the sauce is delicious immediately, it’s even better after sitting for a few hours or overnight, as the flavors meld and deepen.
- Consider Your Application: Make the sauce slightly thinner for stir-fries and slightly thicker for use as a dipping sauce by adjusting the amount of cornstarch.
Final Thoughts
Sweet and sour sauce is one of those versatile condiments that can transform ordinary ingredients into something special. By making it from scratch, you’re not only getting a fresher, more vibrant flavor but also a healthier sauce without artificial ingredients.
I hope you enjoy this recipe as much as I do. It’s become a staple in my kitchen, and I’m constantly finding new ways to use it. The beauty of homemade sauces is that you can tweak them to make them your own. Don’t be afraid to experiment once you’ve mastered the basic recipe!
Whether you’re preparing a Chinese-inspired feast or just looking for a great dipping sauce for Friday night appetizers, this sweet and sour sauce recipe won’t disappoint. Happy cooking!