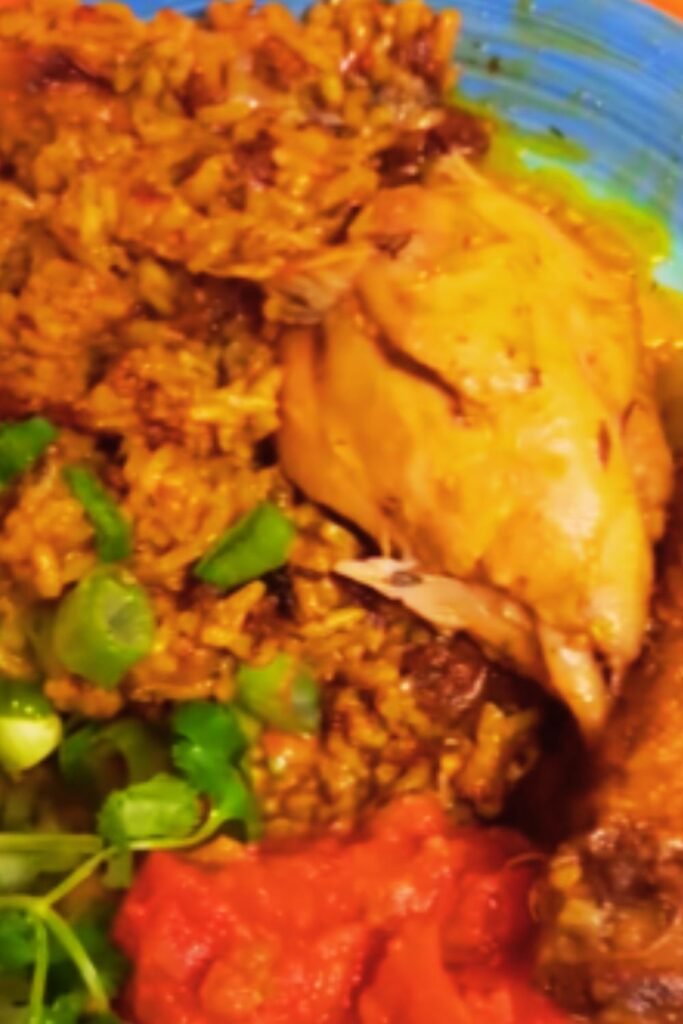
There’s something incredibly satisfying about a meal that comes together in one pan. As someone who values both flavor and convenience, I’ve spent years perfecting my baked chicken legs and rice recipe. This dish has become a staple in my household, not just because it’s delicious, but because it’s wonderfully practical. The chicken legs bake to tender, juicy perfection while the rice beneath absorbs all those magnificent flavors. Today, I’m excited to share my go-to method that delivers consistent results every time.
Why This Recipe Works
Before diving into the preparation, let me tell you why this particular approach yields such fantastic results. The magic happens when the chicken and rice cook together – the rice absorbs the savory chicken juices, creating layers of flavor impossible to achieve when cooking these components separately. Additionally, the cooking times for chicken legs and rice align perfectly, meaning everything finishes cooking at the same time.
I’ve found that proper seasoning is crucial. My special blend includes garlic, herbs, and spices that complement both the chicken and rice. The technique of browning the chicken legs before baking gives the skin that irresistible crispness while sealing in juices.
What truly sets this recipe apart is the final texture contrast: crispy chicken skin on top, tender meat in the middle, and flavorful, perfectly cooked rice on the bottom. It’s a textural and flavor journey that never disappoints.
Ingredients You’ll Need
For this recipe to serve 4-6 people, gather these ingredients:
- 8 chicken legs (drumsticks and thighs attached, or separated)
- 2 cups long-grain white rice (basmati or jasmine work wonderfully)
- 3½ cups chicken broth (homemade is best, but good-quality store-bought works too)
- 2 tablespoons olive oil
- 4 garlic cloves, minced
- 1 medium onion, finely diced
- 1 red bell pepper, chopped
- 2 carrots, diced
- 2 teaspoons paprika (sweet or smoked, depending on preference)
- 1 teaspoon dried oregano
- 1 teaspoon dried thyme
- ½ teaspoon cumin
- ¼ teaspoon cayenne pepper (adjust according to heat preference)
- 1 tablespoon lemon zest
- 2 tablespoons fresh lemon juice
- ¼ cup fresh parsley, chopped
- 3 tablespoons butter
- Salt and freshly ground black pepper to taste
Ingredient Substitutions and Variations
Rice Variations:
- Brown rice: Increase cooking time by about 15 minutes and add an extra ½ cup of broth
- Wild rice blend: Similar to brown rice adjustments
- Cauliflower rice: Reduce liquid to 1 cup and cooking time to 25-30 minutes total
Protein Options:
- Chicken thighs only: Keep cooking time the same
- Chicken drumsticks only: Reduce cooking time by about 5-10 minutes
- Skinless chicken: Reduce olive oil to 1 tablespoon, but expect slightly less flavor
- Bone-in chicken breasts: Check temperature earlier as they can dry out faster
Vegetable Additions:
- Peas: Add in the last 5 minutes of cooking
- Mushrooms: Sauté with onions
- Spinach: Stir in right before serving
- Broccoli florets: Add halfway through cooking
Dietary Adjustments:
- Gluten-free: Use certified gluten-free broth
- Dairy-free: Replace butter with additional olive oil
- Lower sodium: Use low-sodium broth and reduce added salt
Equipment Needed
- Large oven-safe skillet or baking dish (12-14 inch diameter or 9×13 inch)
- Measuring cups and spoons
- Sharp knife and cutting board
- Tongs for handling chicken
- Aluminum foil
- Meat thermometer
- Small bowl for mixing seasonings
The Secret to Perfect Baked Chicken Legs
After many attempts, I’ve discovered several techniques that ensure perfectly cooked chicken legs every time:
- Proper chicken preparation: Pat the chicken legs completely dry before seasoning. This helps achieve crispy skin and allows the seasonings to adhere better.
- Strategic searing: Browning the chicken legs before baking creates a flavor foundation that permeates the entire dish.
- Temperature control: Starting with a hotter oven (425°F) and then reducing to 375°F after the initial browning gives you the best of both worlds – crispy exterior and juicy interior.
- Resting period: Allowing the chicken to rest after coming out of the oven redistributes the juices for maximum tenderness.
- Skin exposure: Ensuring the chicken skin remains exposed above the rice and liquid during baking maintains that desirable crispness.
Step-by-Step Preparation Method
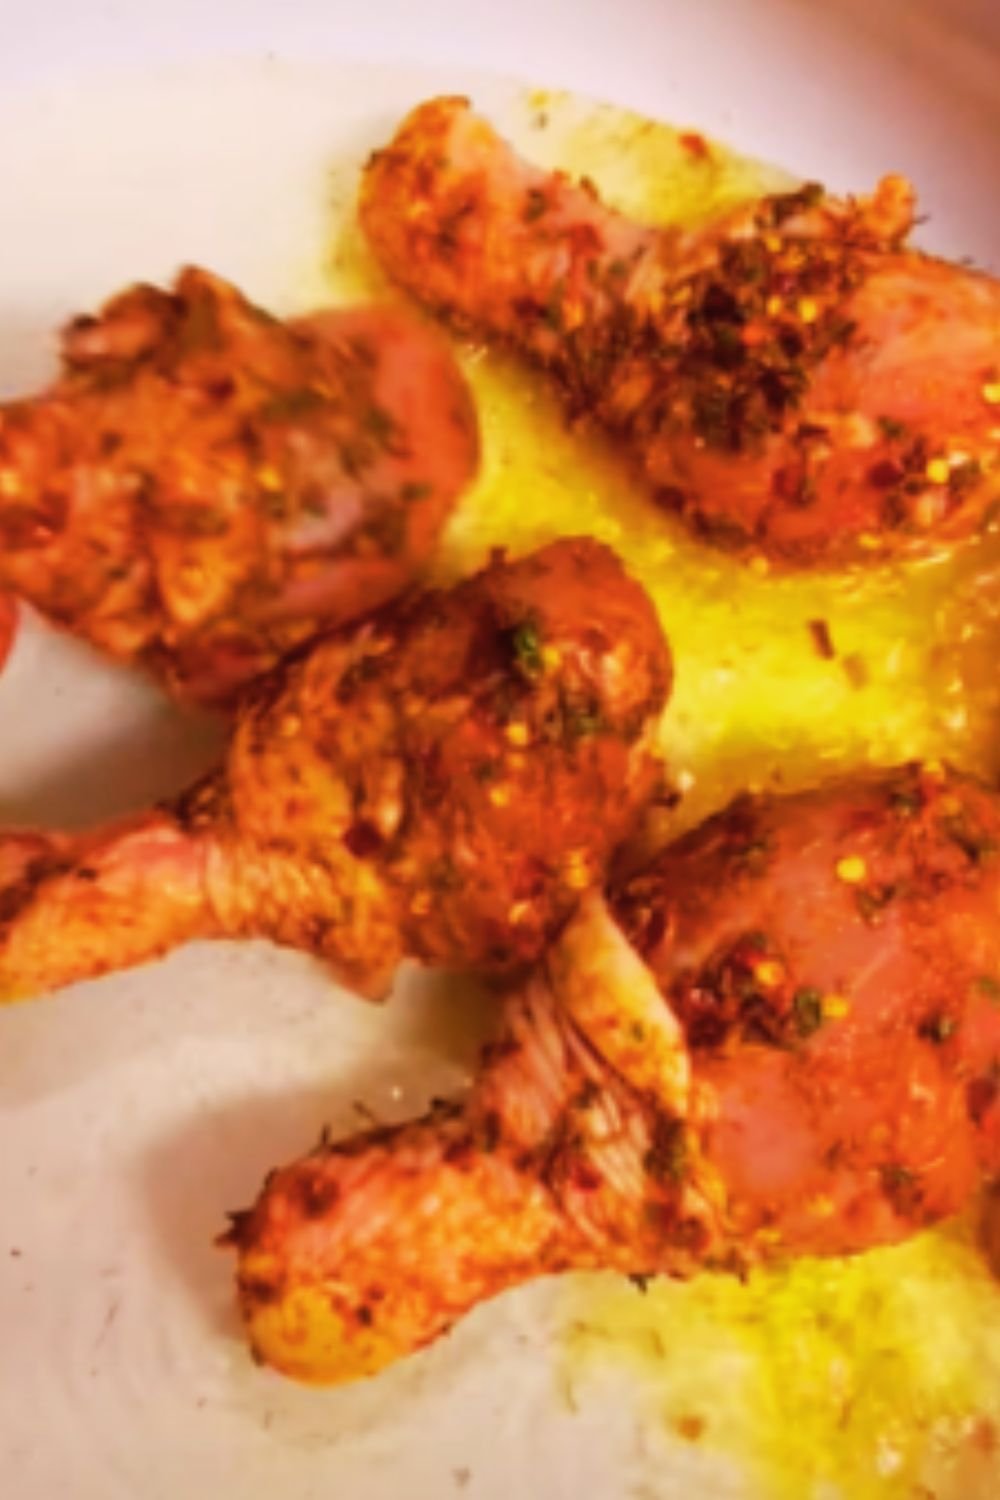
Preparing the Chicken
- Preheat your oven to 425°F (220°C).
- Pat the chicken legs dry with paper towels. This is crucial for achieving crispy skin.
- In a small bowl, combine 1½ teaspoons salt, 1 teaspoon black pepper, paprika, oregano, thyme, cumin, and cayenne pepper.
- Season the chicken legs generously on all sides with this spice mixture, making sure to get some under the skin for maximum flavor penetration.
- Let the seasoned chicken sit at room temperature for 15-20 minutes while you prepare the other ingredients. This allows the seasonings to settle in and the chicken to cook more evenly.
Preparing the Rice Base
- Heat olive oil in your large oven-safe skillet or baking dish over medium-high heat.
- Add the chicken legs skin-side down and brown for 5-6 minutes until the skin is golden and crispy. Flip and cook for another 2-3 minutes on the other side.
- Remove the chicken legs temporarily to a plate.
- In the same pan with the rendered chicken fat, add the diced onion, bell pepper, and carrots. Sauté for about 5 minutes until softened.
- Add minced garlic and cook for another 30 seconds until fragrant.
- Stir in the rice, mixing well to coat each grain with the fat and vegetable flavors.
- Pour in the chicken broth, add lemon zest, and season with additional salt and pepper to taste. Bring to a simmer.
Combining and Baking
- Once the liquid is simmering, arrange the chicken legs on top of the rice mixture, skin-side up. Ensure the skin remains above the liquid to stay crispy.
- Cover tightly with aluminum foil and transfer to the preheated oven.
- Bake at 425°F for 20 minutes.
- Reduce the oven temperature to 375°F (190°C), remove the foil, and continue baking for another 20-25 minutes until:
- The chicken reaches an internal temperature of 165°F (74°C)
- The rice is tender and has absorbed most of the liquid
- The chicken skin is beautifully crisp and golden
- During the last 5 minutes of cooking, dot the rice with butter pieces for added richness.
- Remove from the oven and drizzle with fresh lemon juice.
- Let the dish rest for 5-10 minutes before serving. This resting period allows the juices to redistribute and the rice to finish absorbing any remaining liquid.
- Garnish with fresh chopped parsley before serving.
Troubleshooting Common Issues
| Problem | Possible Cause | Solution |
|---|---|---|
| Rice is undercooked | Too little liquid or insufficient cooking time | Add ¼ cup more hot broth or water, cover with foil, and bake 5-10 minutes longer |
| Rice is overcooked or mushy | Too much liquid or excessive cooking time | Next time, reduce liquid by ¼ cup; for current batch, remove foil and bake 5 more minutes to evaporate excess moisture |
| Chicken skin isn’t crispy | Skin was submerged in liquid or insufficient browning | Ensure skin remains above liquid level; broil for 2-3 minutes at the end of cooking time |
| Chicken is dry | Overcooked or poor-quality chicken | Use meat thermometer to avoid overcooking; remove chicken earlier if rice needs more time |
| Bottom layer of rice is burned | Oven temperature too high or pan too thin | Use heavy-bottomed cookware; place a baking sheet on the rack below as a buffer |
| Flavors seem bland | Insufficient seasoning | Add more herbs/spices before cooking; finish with fresh herbs, lemon zest, and flaky salt |
| Rice has uneven texture | Uneven heat distribution | Stir rice mixture thoroughly before adding chicken; rotate pan halfway through cooking |
| Vegetables are too crunchy | Added at wrong time or pieces too large | Cut vegetables smaller; sauté longer before adding rice |
Nutritional Information
Per Serving (based on 6 servings):
| Nutrient | Amount |
|---|---|
| Calories | 485 |
| Protein | 32g |
| Carbohydrates | 38g |
| Dietary Fiber | 2g |
| Sugars | 2g |
| Fat | 22g |
| Saturated Fat | 7g |
| Cholesterol | 165mg |
| Sodium | 680mg |
| Potassium | 420mg |
| Vitamin A | 45% DV |
| Vitamin C | 30% DV |
| Calcium | 4% DV |
| Iron | 15% DV |
Values are approximate and may vary depending on specific ingredients used.
Make-Ahead and Storage Tips
Make-Ahead Options
This dish can be prepared ahead of time in several ways:
- Prep components: Season the chicken and chop all vegetables up to 24 hours in advance. Store separately in airtight containers in the refrigerator.
- Partial cooking: Complete the recipe through Step 2 of “Combining and Baking” (placing chicken on rice but before baking). Cool completely, cover tightly, and refrigerate for up to 12 hours. When ready to cook, allow the dish to sit at room temperature for 30 minutes, then continue with baking. You may need to add 5-10 minutes to the covered baking time.
- Seasoning mixture: Make larger batches of the spice blend and store in an airtight container for up to 3 months.
Storage and Reheating
- Refrigeration: Store leftovers in an airtight container for up to 4 days.
- Freezing: This dish freezes surprisingly well. Portion into individual servings, cool completely, and freeze in airtight containers for up to 3 months.
- Reheating from refrigerated:
- Microwave: 2-3 minutes, covered with a damp paper towel
- Oven: 350°F for 15-20 minutes in a covered dish with 1-2 tablespoons of water sprinkled over the top
- Stovetop: In a covered skillet over medium-low heat with 1-2 tablespoons of water or broth
- Reheating from frozen: Thaw overnight in the refrigerator before using one of the above methods, or reheat from frozen using the microwave’s defrost setting before heating through.
Serving Suggestions
This one-pan meal is fairly complete on its own, but here are some wonderful accompaniments that complement the flavors perfectly:
- Fresh side salad: A simple green salad with a light vinaigrette cuts through the richness of the dish.
- Steamed green vegetables: Broccoli, green beans, or asparagus add color and nutritional balance.
- Quick pickled vegetables: The acidity and crunch provide wonderful contrast to the savory, tender main dish.
- Crusty bread: Perfect for soaking up any remaining juices.
- Cucumber yogurt sauce: Mix Greek yogurt with grated cucumber, minced garlic, lemon juice, and fresh dill for a cooling side.
- Roasted lemon halves: Serve with roasted lemon halves for squeezing over the dish just before eating.
- Fresh herb garnish: A sprinkle of additional fresh herbs like parsley, cilantro, or dill adds brightness.
Recipe Variations to Try
Mediterranean Style
Transform this dish with a Mediterranean twist:
- Add 1 cup halved cherry tomatoes and ½ cup pitted kalamata olives before baking
- Replace thyme and oregano with 2 teaspoons dried Mediterranean herb blend
- Sprinkle with crumbled feta cheese after baking
- Garnish with fresh oregano and mint instead of parsley
Spanish-Inspired
Create a paella-like version:
- Add ½ teaspoon saffron to the broth
- Include 1 cup frozen peas and ½ cup roasted red peppers
- Add 1 teaspoon smoked paprika and ½ teaspoon ground turmeric
- Garnish with lemon wedges and fresh parsley
Herb Garden Delight
For herb lovers:
- Increase fresh herbs significantly: ½ cup mixed fresh herbs (parsley, dill, basil, tarragon)
- Add herb butter under the chicken skin before roasting
- Finish with a fresh herb oil drizzle (blend olive oil with herbs)
- Garnish with additional finely chopped fresh herbs
Asian Fusion
For an Asian-inspired version:
- Replace the herb seasonings with 2 tablespoons soy sauce, 1 tablespoon rice vinegar, 1 teaspoon fish sauce, 1 tablespoon grated ginger
- Add 1 tablespoon sesame oil to the cooking fat
- Include snow peas and water chestnuts
- Garnish with sliced green onions, cilantro, and sesame seeds
Expert Tips for Success
After making this dish countless times, I’ve collected these essential tips:
- Choose the right chicken: Fresh, high-quality chicken legs make a significant difference in flavor. If possible, opt for air-chilled, free-range chicken.
- Rice rinsing: Rinse the rice under cold water until the water runs clear before adding it to the pan. This removes excess starch and helps prevent the rice from becoming gummy.
- Fat management: If your chicken legs render excessive fat during the initial browning, spoon off all but about 2 tablespoons before adding the vegetables and rice.
- Test for doneness: The most reliable way to check if chicken is cooked properly is with an instant-read thermometer inserted into the thickest part near the bone. It should read 165°F (74°C).
- Positioning matters: Arrange the chicken pieces with some space between them to ensure even cooking and maximum crispy skin surface area.
- Timing precision: Set multiple timers if needed to remind yourself when to remove the foil and when to reduce the oven temperature.
- Rest before serving: This 5-10 minute rest period is non-negotiable for the juiciest chicken and perfectly finished rice.
Why the One-Pan Method Works So Well
I love this cooking method for several reasons:
- Flavor infusion: As the chicken cooks, its juices and fat drip down into the rice, creating layers of flavor impossible to achieve when cooking components separately.
- Perfect timing alignment: The cooking time for bone-in chicken legs aligns beautifully with the time needed for rice to cook properly.
- Textural contrast: You get crispy chicken skin, juicy meat, and tender, flavorful rice all from one pan.
- Minimal cleanup: Using just one pan means fewer dishes to wash afterward.
- Resource efficiency: This method uses less energy than cooking components separately and makes the most of the oven’s heat.
Frequently Asked Questions
Can I use boneless chicken instead of bone-in chicken legs? Yes, but you’ll need to adjust the cooking time. Boneless chicken cooks faster, so add it to the rice mixture about 15 minutes into the baking time. The total baking time will be shorter, approximately 25-30 minutes after adding the chicken.
Is it possible to make this recipe with brown rice? Absolutely! Brown rice requires more liquid and a longer cooking time. Use 2 cups of brown rice with 4 cups of broth, and expect to add about 15-20 minutes to the total cooking time. You might want to partially cook the chicken separately first to avoid overcooking it.
Can I make this dish without browning the chicken first? While you can skip the browning step, I strongly recommend against it. Browning the chicken creates a depth of flavor that’s hard to achieve otherwise. It also renders some fat which flavors the rice and helps crisp the skin during baking.
What’s the best way to crisp up the skin if it turns out soggy? If your chicken skin isn’t as crispy as you’d like after baking, turn on the broiler for 2-3 minutes at the end of cooking time. Watch carefully to prevent burning.
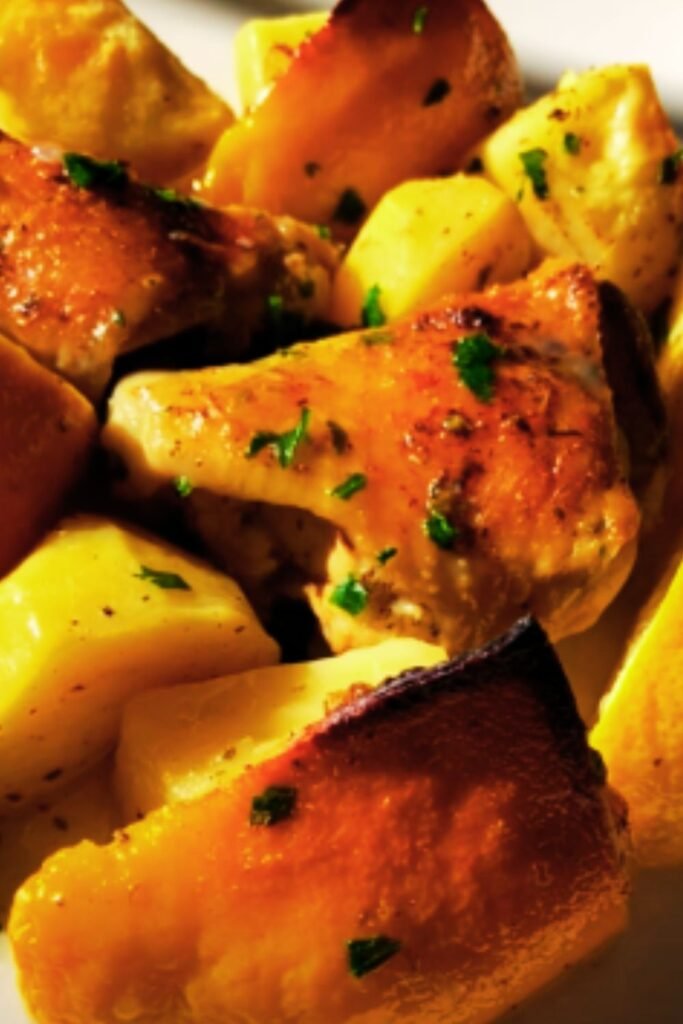
How can I add more vegetables to make this a complete one-pan meal? You can easily incorporate more vegetables into this dish. Add root vegetables like diced sweet potatoes or parsnips with the carrots. Stir frozen peas, corn, or chopped spinach into the rice during the last 5 minutes of cooking.
Why is my rice sometimes undercooked in some spots? This typically happens when the liquid isn’t distributed evenly or when the baking dish is too wide, causing faster evaporation. Make sure to bring the broth to a simmer before adding the chicken and ensure your baking dish size matches the recipe recommendations.
Can I use chicken breasts instead of legs? Yes, though bone-in, skin-on chicken breasts work better than boneless. They tend to cook faster than legs, so check for doneness earlier to prevent them from drying out. The internal temperature should still reach 165°F (74°C).
Is there a dairy-free version of this recipe? Easily! Simply replace the butter with additional olive oil or a plant-based butter alternative. The dish will still be delicious.
Final Thoughts
The beauty of this baked chicken legs and rice recipe lies in its versatility and reliability. It has become my go-to dinner when I need something satisfying that doesn’t require constant attention. The combination of crispy-skinned chicken and flavorful rice underneath creates a complete meal that consistently impresses both family and guests.
What I appreciate most about this dish is how it celebrates simple ingredients. You don’t need fancy techniques or exotic components to create something extraordinary. Good-quality chicken, aromatic vegetables, and well-seasoned rice come together through a straightforward method to create something greater than the sum of its parts.
I encourage you to make this recipe your own. Start with the base version, then explore the variations or create your own based on the flavors your family loves. The fundamental technique will serve you well regardless of which direction you take the seasonings.
This dish represents what I believe good home cooking should be: accessible, flexible, economical, and absolutely delicious. I hope it becomes a trusted recipe in your collection, just as it has in mine.