There’s something magical about that perfect balance of sweet and tangy flavors, combined with the satisfying crunch of battered chicken. Today, I’m excited to share my tried-and-true recipe for sweet and sour chicken that rivals any Chinese restaurant version. After years of testing and tweaking, I’ve finally mastered this beloved dish, and I’m thrilled to help you recreate it in your own kitchen.
A Brief History
Before diving into the recipe, let me share something fascinating about this dish. While many assume sweet and sour chicken is an ancient Chinese recipe, it’s actually a relatively modern creation that emerged from the fusion of Cantonese cooking techniques and Western tastes. The dish we know today was popularized in the mid-20th century as Chinese restaurants began catering to American palates.
The Secret to Perfect Sweet and Sour Chicken
I’ve discovered that the key to exceptional sweet and sour chicken lies in three crucial elements:
- The batter consistency
- Oil temperature control
- Sauce balance
Let me break down each component and share my expert tips for mastering them.
Essential Equipment
Before we begin, here’s what you’ll need:
- Deep heavy-bottomed pan or wok
- Thermometer for oil temperature
- Two mixing bowls
- Whisk
- Sharp knife
- Cutting board
- Paper towels
- Mixing spoons
- Wire rack
Ingredients Breakdown
For the Chicken Marinade:
| Ingredient | Amount | Notes |
|---|---|---|
| Chicken breast | 1.5 pounds | Cut into 1-inch cubes |
| Soy sauce | 2 tablespoons | Light soy preferred |
| White pepper | ¼ teaspoon | Freshly ground |
| Ginger | 1 teaspoon | Finely minced |
| Salt | ½ teaspoon | Sea salt recommended |
For the Batter:
| Ingredient | Amount | Notes |
|---|---|---|
| All-purpose flour | 1 cup | Sifted |
| Cornstarch | ¼ cup | For extra crispiness |
| Baking powder | 1 teaspoon | Must be fresh |
| Salt | ½ teaspoon | |
| Ice-cold water | ¾ cup | Temperature is crucial |
| Egg | 1 large | Room temperature |
For the Sweet and Sour Sauce:
| Ingredient | Amount | Notes |
|---|---|---|
| Pineapple juice | 1 cup | Fresh or canned |
| Rice vinegar | ⅓ cup | Don’t substitute |
| Ketchup | ¼ cup | Adds color and flavor |
| Brown sugar | ⅓ cup | Light or dark |
| Soy sauce | 2 tablespoons | |
| Cornstarch | 2 tablespoons | Mixed with water |
| Garlic | 2 cloves | Minced |

Step-by-Step Instructions
Preparing the Chicken:
- Cut the chicken breast into uniform 1-inch cubes
- Mix marinade ingredients in a bowl
- Add chicken and refrigerate for 30 minutes
- Remove from refrigerator 10 minutes before cooking
Making the Batter:
- Sift dry ingredients together
- Whisk egg and ice-cold water separately
- Combine wet and dry ingredients until just mixed
- Small lumps are okay – don’t overmix
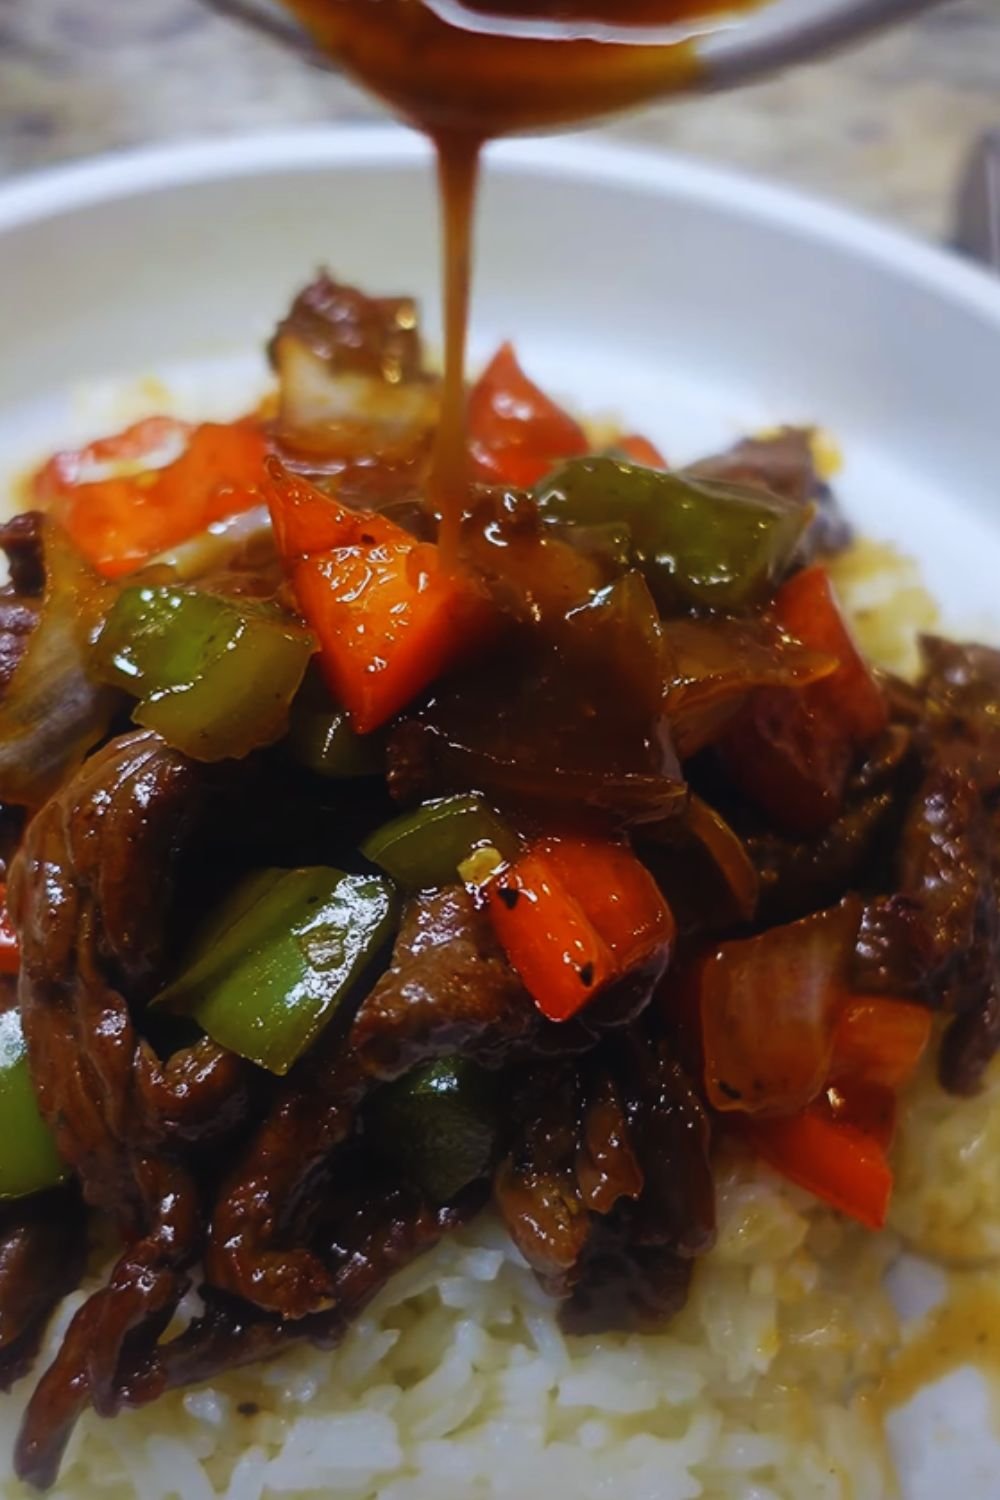
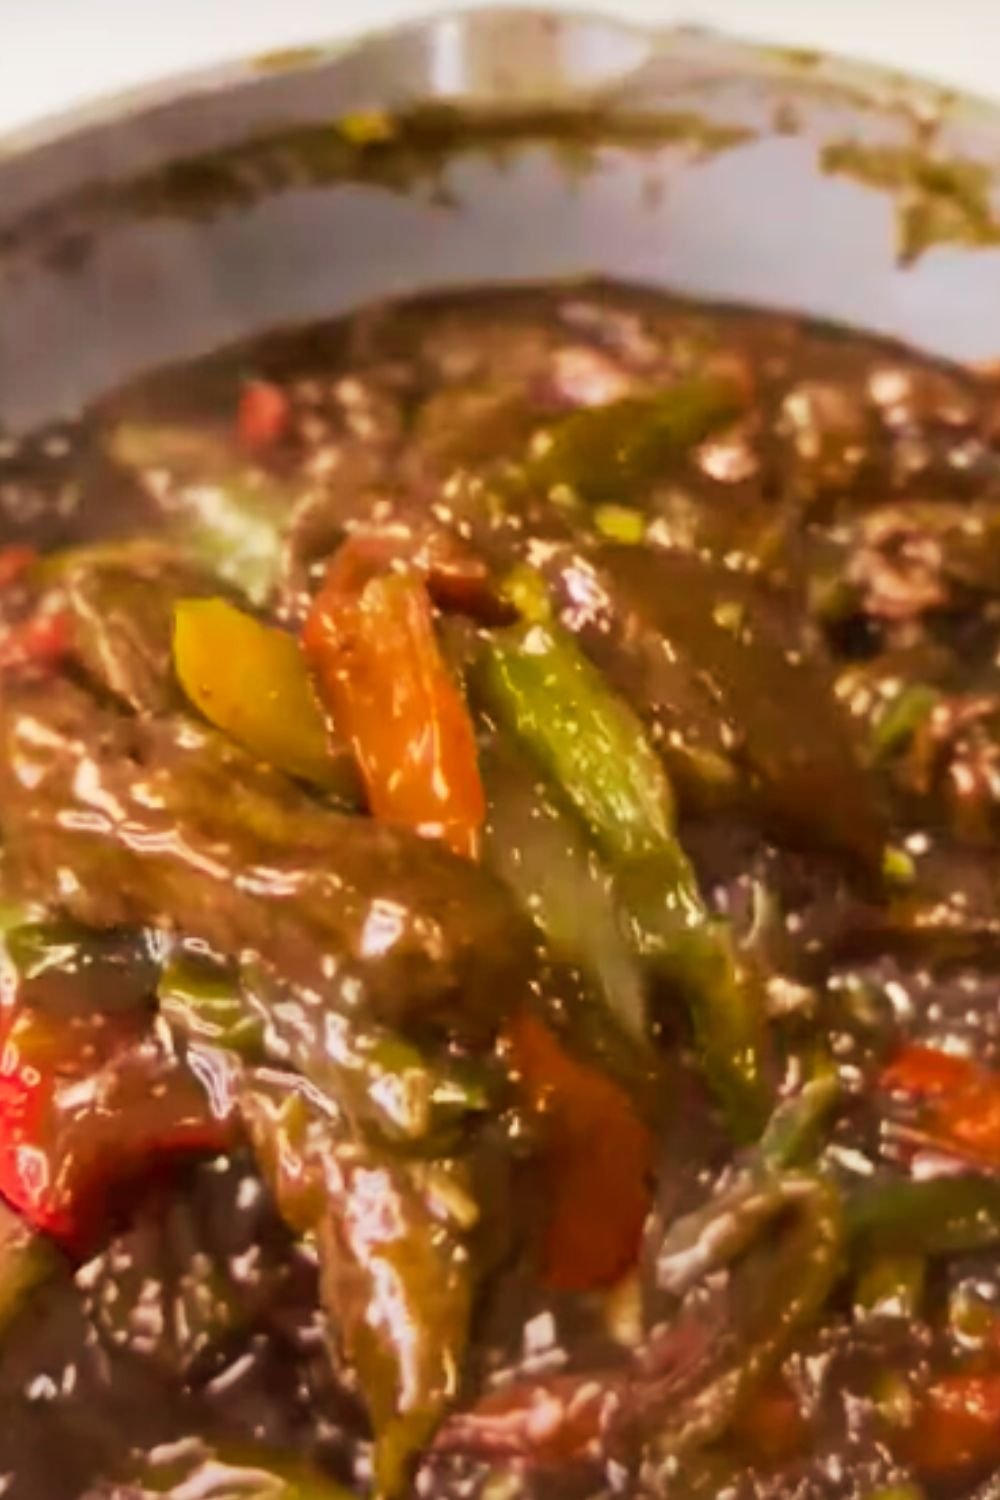
Creating the Perfect Sauce:
- Combine all sauce ingredients except cornstarch in a saucepan
- Bring to a simmer over medium heat
- Mix cornstarch with 3 tablespoons cold water
- Add to simmering sauce and cook until thickened
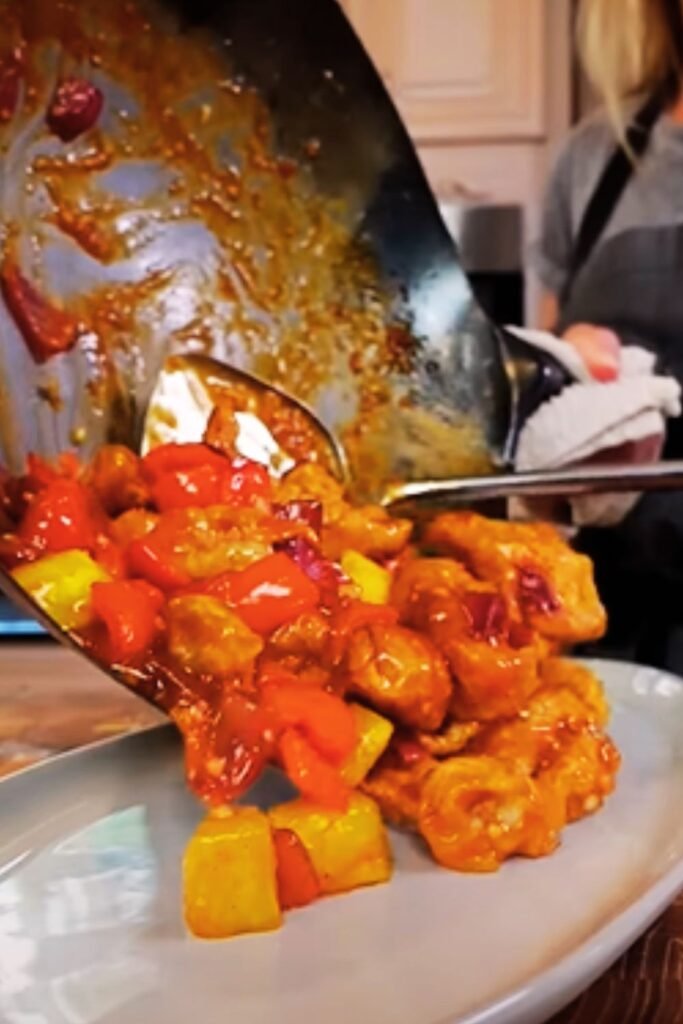
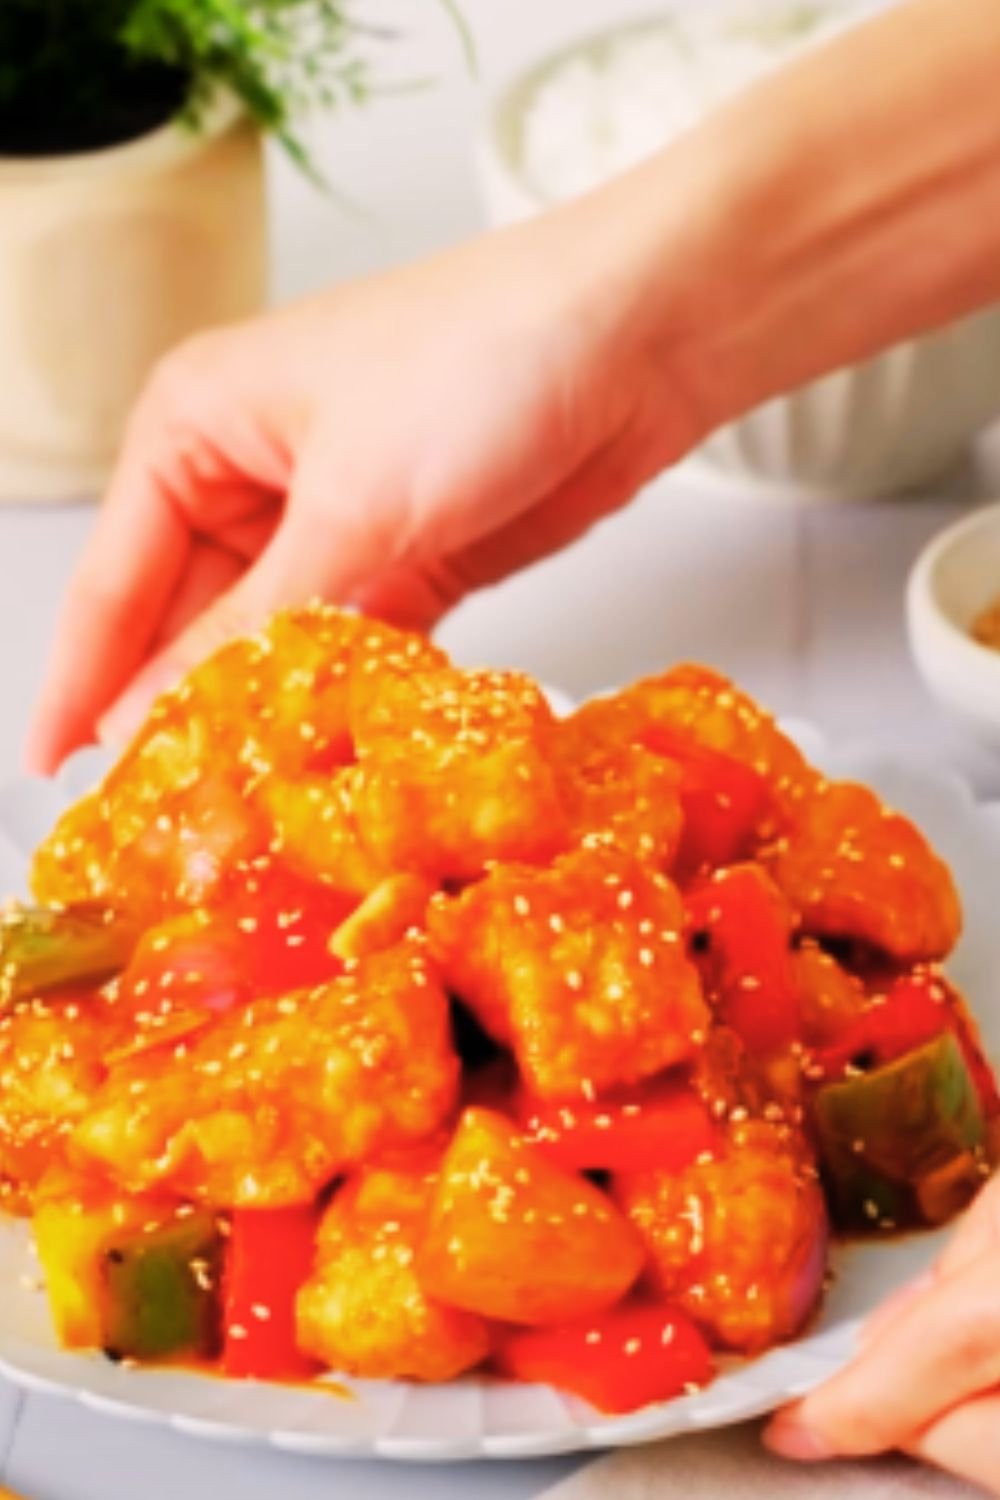
Frying the Chicken:
- Heat oil to 350°F (175°C)
- Dip marinated chicken pieces in batter
- Fry in batches for 3-4 minutes until golden
- Drain on wire rack, not paper towels
Pro Tips for Success
After making this dish countless times, I’ve learned these crucial tips:
- Never overcrowd the frying pan
- Maintain oil temperature between 350-375°F
- Double-fry for extra crispiness
- Let the battered chicken rest for 2 minutes before frying
Common Mistakes to Avoid
- Using cold chicken straight from the refrigerator
- Making the batter too thick or thin
- Frying at too high or low temperature
- Overcooking the sauce until it’s too thick
Serving Suggestions
I love serving this dish with:
- Steamed jasmine rice
- Stir-fried vegetables
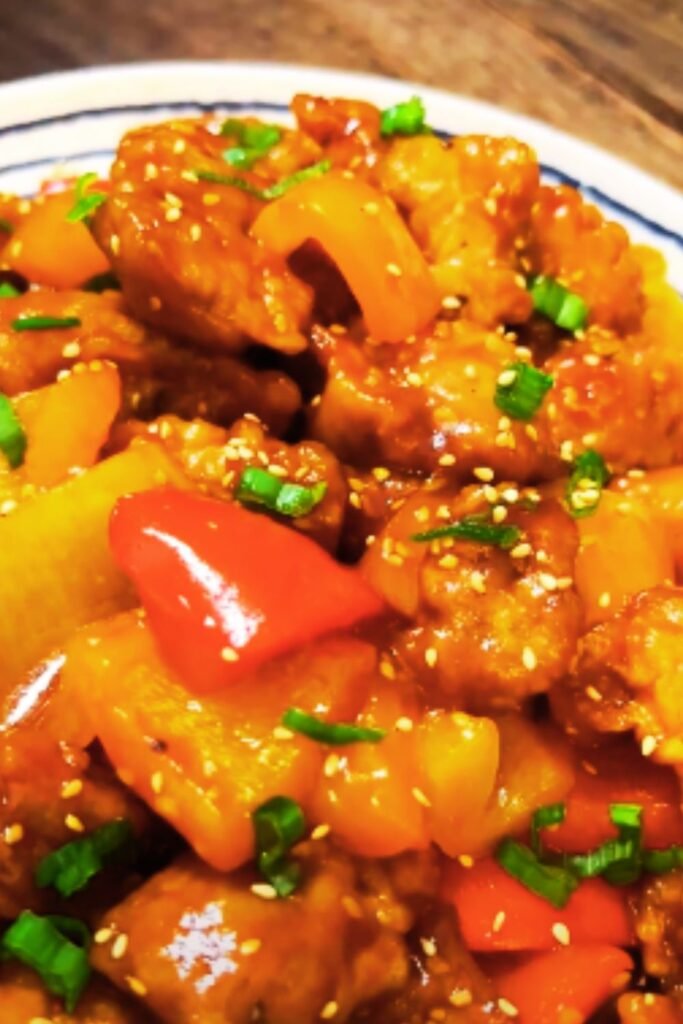
- Fresh pineapple chunks
- Sesame seeds for garnish
- Chopped scallions
Storage and Reheating
Store leftover chicken separate from the sauce in an airtight container for up to 3 days. To reheat:
- Preheat oven to 350°F
- Place chicken on a wire rack
- Heat for 10-12 minutes
- Warm sauce separately
Nutritional Information
| Nutrient | Amount per Serving |
|---|---|
| Calories | 425 |
| Protein | 28g |
| Carbohydrates | 46g |
| Fat | 15g |
| Fiber | 1g |
| Sugar | 24g |
| Sodium | 890mg |
Frequently Asked Questions
Q: Can I make this dish ahead of time?
A: While it’s best served fresh, you can prepare the sauce and marinate the chicken up to 24 hours in advance. Fry the chicken just before serving.
Q: What’s the best oil for frying?
A: I recommend using vegetable oil or peanut oil for their high smoke points and neutral flavors.
Q: Can I make this gluten-free?
A: Yes! Replace all-purpose flour with rice flour and use tamari instead of soy sauce.
Q: Why isn’t my chicken as crispy as restaurant versions?
A: The key is double-frying and maintaining the correct oil temperature. Also, ensure your batter isn’t too thick.
Q: Can I bake this instead of frying?
A: While baking is possible, you won’t achieve the same crispy texture. If you must bake, use a wire rack at 400°F for 20-25 minutes.
Q: How do I prevent the sauce from becoming too thick?
A: Add the cornstarch slurry gradually and stop when you reach desired consistency. The sauce will thicken more as it cools.
Variations
I’ve experimented with several delicious variations:
- Pineapple-free version using orange juice
- Spicy version with added chili sauce
- Extra crispy version with panko coating
- Healthier version with less sugar
- Vegetarian version using cauliflower
Remember, cooking is about experimenting and finding what works best for your taste. Don’t be afraid to adjust the sweet-sour balance to your preference, but always start with small adjustments.
Troubleshooting Guide
If your dish isn’t turning out perfectly, here are some common issues and solutions:
- Soggy coating: Oil temperature too low or coating too thick
- Tough chicken: Overcooked or pieces cut too small
- Lumpy sauce: Cornstarch not properly dissolved
- Pale color: Not enough ketchup in sauce or oil temperature too low
With these detailed instructions and tips, you’re well-equipped to create restaurant-quality sweet and sour chicken at home. Remember, practice makes perfect, and each time you make this dish, you’ll discover new ways to make it even better.