When it comes to grilling, chicken breast remains one of my most requested recipes. I’ve spent years perfecting my technique, and I’m excited to share everything I’ve learned about creating juicy, flavorful grilled chicken breast that never disappoints. Whether you’re a grilling novice or looking to elevate your skills, this comprehensive guide will transform your approach to this versatile protein.
Grilled chicken breast has earned its place as a cornerstone of healthy cooking. I find myself returning to this recipe time and again because it delivers consistent results while offering endless customization possibilities. The key lies in understanding the science behind proper grilling techniques and applying them with confidence.
Understanding Chicken Breast: The Foundation of Great Grilling
Boneless Chicken Breast : The most popular cut for grilling, featuring lean white meat that cooks quickly and evenly when prepared correctly.
Bone-in Chicken Breast : Takes longer to cook but often yields more flavorful results due to the bone conducting heat and retaining moisture.
Butterfly Cut : A technique where I slice the breast horizontally, nearly in half, then open it like a book to create uniform thickness.
Pounding : The process of gently flattening chicken breast to ensure even cooking and reduce cooking time.
My experience has taught me that chicken breast success starts with selection. I always choose pieces that are similar in size and thickness, ideally between 6-8 ounces each. This consistency ensures everything finishes cooking simultaneously.
Essential Equipment and Tools
Before diving into the cooking process, let me share the tools that have made my grilling journey successful:
| Equipment | Purpose | My Recommendation |
|---|---|---|
| Gas or Charcoal Grill | Primary cooking surface | Medium-high heat capability |
| Meat Thermometer | Accurate temperature reading | Instant-read digital preferred |
| Grill Brush | Cleaning grates | Brass or steel bristles |
| Tongs | Flipping and moving chicken | Long-handled for safety |
| Marinade Container | Flavor infusion | Glass or food-grade plastic |
| Cutting Board | Prep and serving | Separate board for raw meat |
| Sharp Knife | Trimming and slicing | 8-inch chef’s knife ideal |
| Timer | Tracking cooking time | Multiple timers for batch cooking |
Preparation: The Key to Grilling Success
My preparation process begins hours before the grill gets hot. I’ve learned that rushed preparation often leads to disappointing results, while thoughtful prep work guarantees success.
Trimming and Sizing
I start by examining each breast carefully, removing any excess fat, cartilage, or tendons. My goal is creating uniform pieces that will cook evenly. If I’m working with particularly thick breasts, I’ll butterfly them or pound them to an even thickness of about ¾ inch.
The Brining Process
Brining has revolutionized my chicken grilling. I dissolve ¼ cup of salt in 4 cups of water, then submerge the chicken for 2-4 hours. This process enhances moisture retention and flavor penetration significantly.
Marinade Magic
My go-to marinade combines olive oil, lemon juice, garlic, herbs, and seasonings. I’ve found that acidic marinades should be limited to 2-4 hours maximum, while oil-based marinades can work overnight without compromising texture.
My Signature Grilled Chicken Breast Recipe
Ingredients
For the Chicken:
- 4 boneless, skinless chicken breasts (6-8 oz each)
- 2 tablespoons olive oil
- 1 teaspoon salt
- ½ teaspoon black pepper
- 1 teaspoon garlic powder
- 1 teaspoon paprika
- ½ teaspoon dried thyme
For the Marinade:
- ¼ cup olive oil
- 2 tablespoons fresh lemon juice
- 3 cloves garlic, minced
- 1 tablespoon honey
- 1 teaspoon Dijon mustard
- 1 teaspoon dried oregano
- ½ teaspoon red pepper flakes (optional)
Instructions
Step 1: Prepare the Chicken I begin by patting the chicken breasts completely dry with paper towels. Moisture is the enemy of good searing, so this step is crucial. I then trim any visible fat or uneven portions.
Step 2: Create the Marinade In a bowl, I whisk together all marinade ingredients until well combined. The honey helps create beautiful caramelization while the acid tenderizes the meat.
Step 3: Marinate I place the chicken in a resealable bag or glass container, pour the marinade over it, and ensure all pieces are well-coated. I refrigerate for at least 2 hours, but preferably 4-6 hours for maximum flavor development.
Step 4: Preheat the Grill I preheat my grill to medium-high heat (around 400-450°F). Clean grates are essential, so I brush them thoroughly and oil them lightly to prevent sticking.
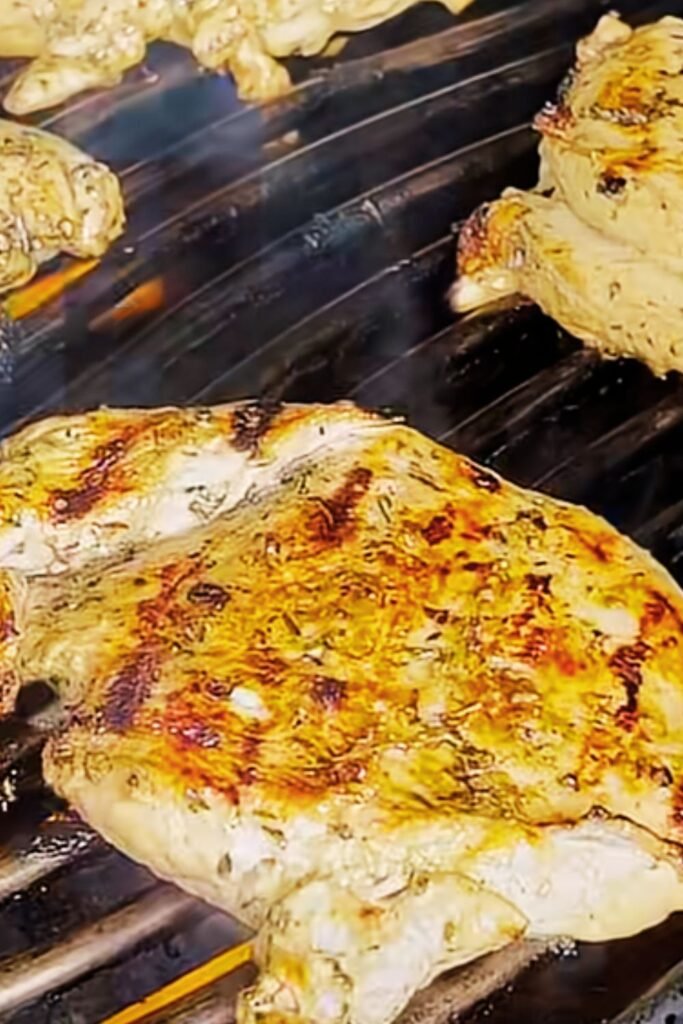
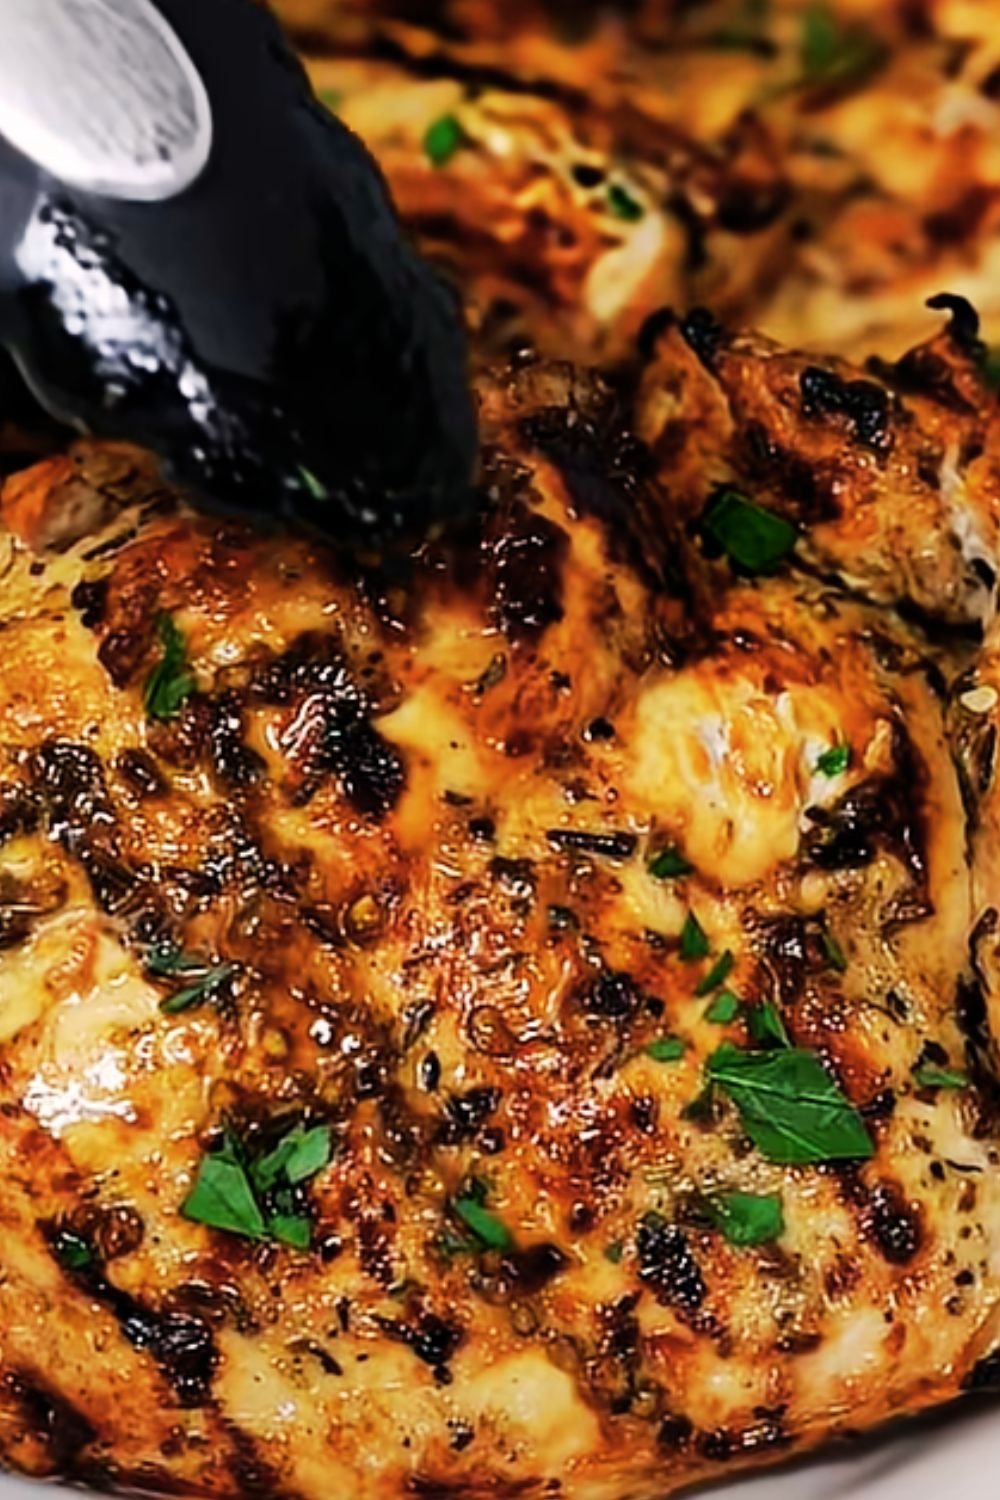
Step 5: Grill the Chicken I remove the chicken from the marinade, allowing excess to drip off. I place the breasts on the hottest part of the grill and cook for 6-7 minutes without moving them. This creates those coveted grill marks.
Step 6: Flip and Finish I flip the chicken once and continue cooking for another 5-6 minutes, until the internal temperature reaches 165°F in the thickest part.
Step 7: Rest This is perhaps the most important step I’ve learned to never skip. I let the chicken rest for 5-10 minutes before slicing, allowing juices to redistribute throughout the meat.
Temperature and Timing Guide
Understanding proper temperatures has eliminated my guesswork and ensures food safety every time:
| Cooking Stage | Temperature | Visual Cues |
|---|---|---|
| Grill Preheat | 400-450°F | Hand test: 3-4 seconds before pulling away |
| Initial Sear | Medium-High | Immediate sizzling upon contact |
| Flip Point | 6-7 minutes | Clear grill marks, easy release |
| Final Temperature | 165°F internal | Juices run clear, no pink |
| Resting Period | 5-10 minutes | Maintains warmth, redistributes juices |
Flavor Variations I Love

Over the years, I’ve developed several signature variations that keep this recipe exciting:
Mediterranean Style I combine oregano, basil, sun-dried tomatoes, and feta cheese for a Greek-inspired twist that transports me to coastal tavernas.
Cajun Spiced My blend includes paprika, cayenne, garlic powder, onion powder, and thyme for a Louisiana kick that pairs beautifully with grilled vegetables.
Asian-Inspired Soy sauce, ginger, sesame oil, and rice vinegar create an umami-rich profile that I love serving over rice or in salads.
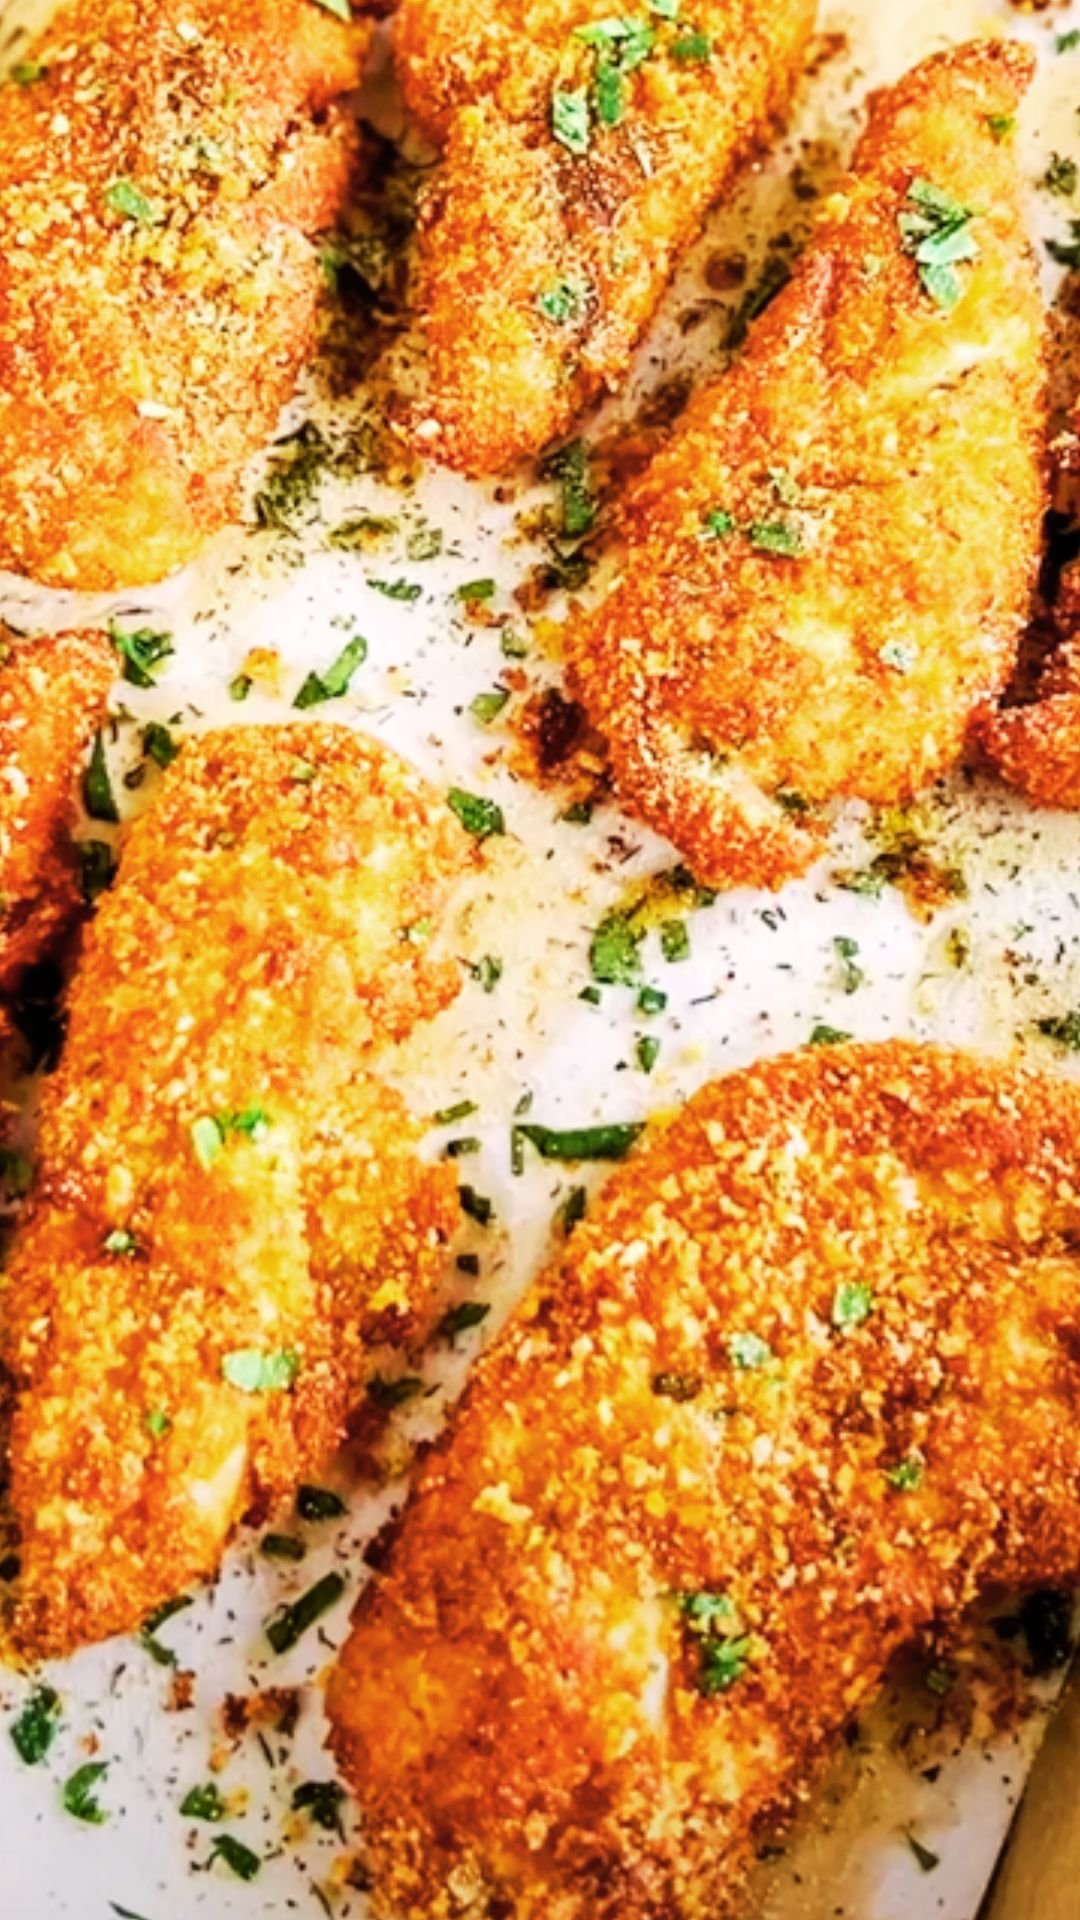
Herb-Crusted Fresh rosemary, thyme, and sage mixed with breadcrumbs create a aromatic crust that adds textural interest.
Common Mistakes I’ve Learned to Avoid
Through trial and error, I’ve identified the pitfalls that can derail perfect grilled chicken:
Overcooking The biggest mistake I see (and made myself early on) is cooking chicken beyond 165°F. This leads to dry, tough meat that no amount of sauce can save.
Insufficient Resting Cutting into chicken immediately after grilling releases all those precious juices onto the cutting board instead of keeping them in the meat.
Skipping the Thermometer Visual cues can be deceiving. I always use a meat thermometer to ensure accuracy and food safety.
Overcrowding the Grill I’ve learned to give each piece adequate space for proper heat circulation and even cooking.
Serving Suggestions and Pairings
Grilled chicken breast’s versatility makes it perfect for countless meal combinations. Here are my favorite pairings:
Fresh Salads I love slicing grilled chicken over mixed greens with seasonal vegetables, nuts, and a light vinaigrette. The warm protein contrasts beautifully with crisp, cool ingredients.
Grain Bowls Quinoa, brown rice, or farro provide hearty bases that I top with chicken, roasted vegetables, and flavorful sauces like chimichurri or tahini dressing.
Pasta Dishes I often slice grilled chicken and toss it with pasta, olive oil, garlic, and fresh herbs for a simple yet satisfying meal.
Sandwich Options The chicken works perfectly in wraps, paninis, or served open-faced on crusty bread with avocado and tomatoes.
Nutritional Benefits
| Nutrient | Amount per 4oz serving | Daily Value % |
|---|---|---|
| Protein | 26g | 52% |
| Calories | 140 | 7% |
| Fat | 3g | 5% |
| Saturated Fat | 1g | 5% |
| Cholesterol | 85mg | 28% |
| Sodium | 70mg | 3% |
| Potassium | 220mg | 6% |
| Vitamin B6 | 0.5mg | 30% |
| Niacin | 11mg | 55% |
Chicken breast provides exceptional nutritional value, delivering high-quality protein with minimal saturated fat. I appreciate how it supports muscle maintenance and provides essential B vitamins for energy metabolism.
Storage and Meal Prep Tips
I’ve developed an efficient system for batch cooking and storing grilled chicken:
Refrigeration Properly stored grilled chicken keeps for 3-4 days in the refrigerator. I wrap it tightly or store it in airtight containers to maintain moisture.
Freezing For longer storage, I wrap individual portions in plastic wrap, then aluminum foil, and freeze for up to 3 months. This double-wrapping prevents freezer burn.
Reheating Methods I prefer reheating in the oven at 350°F rather than the microwave to maintain texture. A few minutes in a covered dish with a splash of broth works perfectly.
Troubleshooting Common Issues
Dry Chicken If your chicken turns out dry, it’s likely overcooked. Next time, remove it at 160°F and let carryover cooking bring it to 165°F during resting.
Sticking to Grates This usually indicates the grates weren’t properly cleaned and oiled, or the chicken wasn’t ready to flip. I wait until it releases easily.
Uneven Cooking Inconsistent thickness is often the culprit. I always pound or butterfly thick pieces to ensure uniform cooking.
Lack of Flavor Insufficient seasoning time or bland marinades cause this issue. I always season generously and allow adequate marinating time.
Frequently Asked Questions
Q: How long should I marinate chicken breast? I recommend 2-6 hours for most marinades. Acidic marinades work quickly and shouldn’t exceed 4 hours, while oil-based marinades can work overnight.
Q: Can I grill frozen chicken breast? I never recommend grilling frozen chicken. It won’t cook evenly and increases the risk of foodborne illness. I always thaw completely in the refrigerator first.
Q: What’s the best way to check doneness without a thermometer? While I always recommend using a thermometer, you can check by making a small cut in the thickest part. The meat should be white throughout with clear juices.
Q: Why does my chicken breast always turn out dry? Overcooking is the most common cause. Chicken breast is lean and cooks quickly. I remove it promptly when it reaches 165°F internal temperature.
Q: Can I use bone-in chicken breast for this recipe? Absolutely! Bone-in breasts take longer to cook (typically 25-30 minutes total) but often yield more flavorful results. Just adjust your timing accordingly.
Q: How do I prevent flare-ups while grilling? I keep a spray bottle of water nearby for emergency flare-ups, but prevention is better. I trim excess fat and move chicken to cooler zones if needed.
Q: What’s the best oil for grilling chicken? I prefer oils with high smoke points like avocado oil, grapeseed oil, or light olive oil. These won’t burn at grilling temperatures.
Q: Should I flip chicken breast multiple times while grilling? I flip only once to develop proper grill marks and even cooking. Multiple flips can lead to moisture loss and prevent proper searing.
Q: How do I know when my grill is hot enough? I use the hand test: holding my hand 5 inches above the grates, I should be able to keep it there for only 3-4 seconds for medium-high heat.
Q: Can I make this recipe on a gas grill versus charcoal? Both work excellently! Gas grills offer more temperature control, while charcoal provides smoky flavor. I adjust cooking times slightly based on heat consistency.
The beauty of grilled chicken breast lies in its simplicity and adaptability. With proper technique and quality ingredients, you’ll create restaurant-worthy results every time. I encourage you to experiment with different seasonings and marinades to discover your personal favorites. Remember, confidence comes with practice, so don’t be discouraged if your first attempts aren’t perfect. Each grilling session teaches valuable lessons that will improve your skills.
Start with my basic recipe, master the fundamentals, then let your creativity guide you toward exciting variations. Your family and friends will be impressed with the consistently delicious results, and you’ll have the satisfaction of knowing you’ve mastered one of grilling’s essential skills.

![One-Pan Creamy Parmesan Chicken & Rice [40 Minutes]](https://deliciouscookinghub.com/wp-content/uploads/2025/06/Black-Modern-Musik-Festival-Pinterest-Pin-1080-x-1920-2025-06-26T123008.184.jpg)
