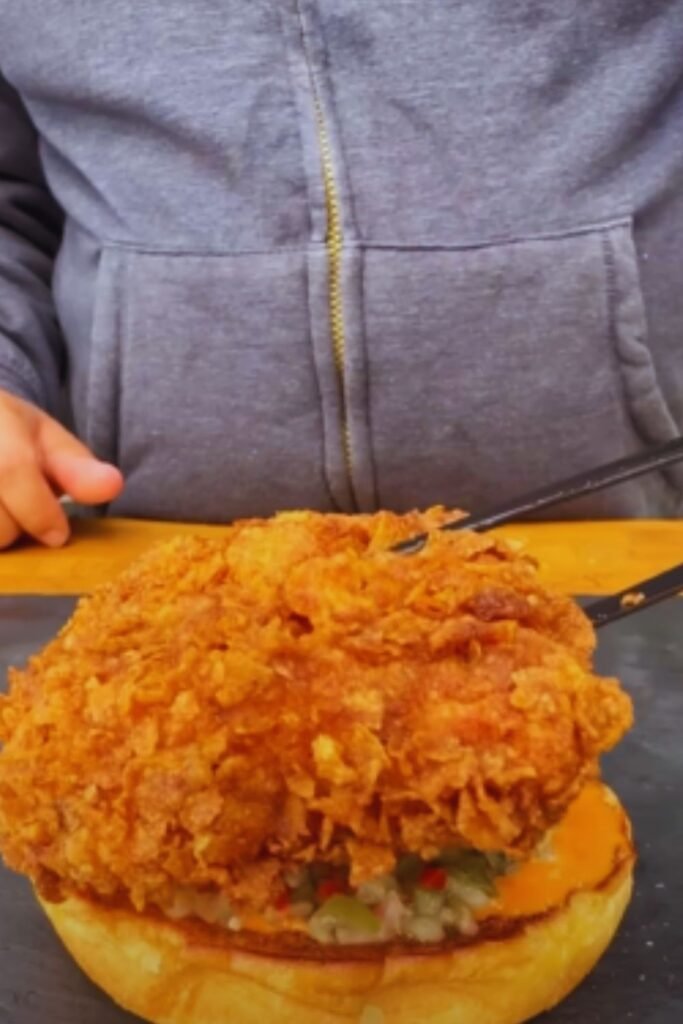
There’s nothing quite like biting into a perfectly crispy chicken sandwich. After years of testing and tweaking, I’m excited to share my foolproof recipe that delivers restaurant-quality results right in your kitchen. This sandwich features a supremely crunchy crust, juicy meat, and a perfect blend of seasonings that’ll make your taste buds sing.
Secret to the Perfect Crunch
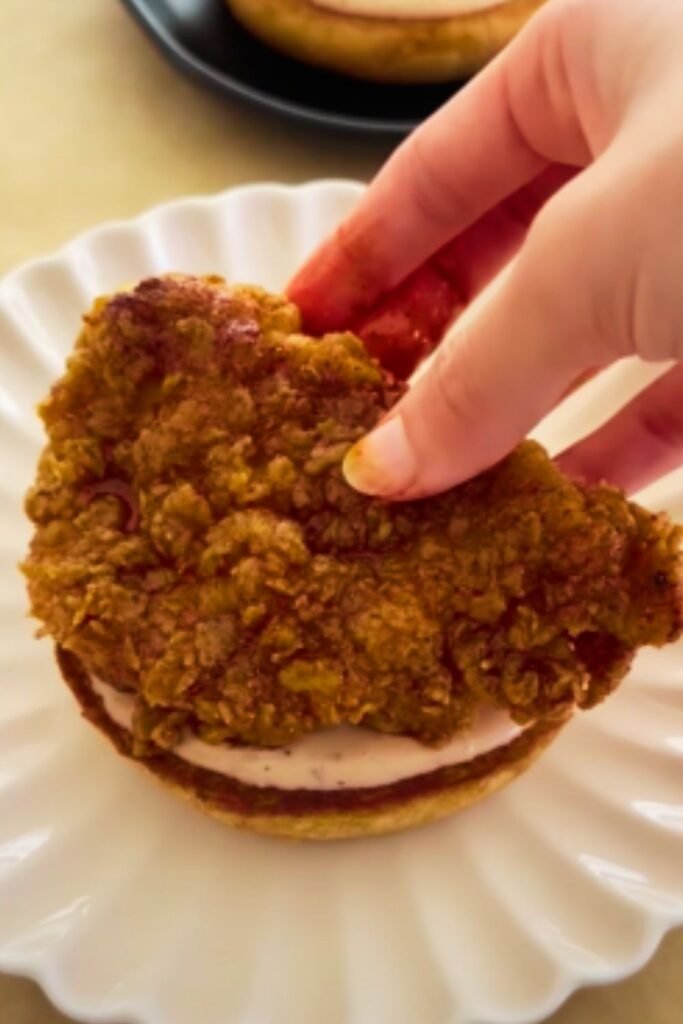
The key to achieving that enviable crackly exterior lies in a double-dredging technique I’ve perfected over countless attempts. By combining buttermilk brine with a specialized flour mixture, we create layers of crispy goodness that stay crunchy long after cooking.
Essential Equipment
| Equipment | Purpose | Recommended Type |
|---|---|---|
| Dutch Oven | Frying | Heavy-bottom, 6-quart |
| Thermometer | Oil Temperature | Digital instant-read |
| Wire Rack | Draining | Stainless steel |
| Kitchen Tongs | Handling | 12-inch, spring-loaded |
| Mixing Bowls | Preparation | Glass or stainless steel |
Ingredients
For the Chicken:
- 4 chicken breasts, butterflied and pounded to ½-inch thickness
- 2 cups buttermilk
- 1 tablespoon hot sauce
- 2 teaspoons kosher salt
- 1 teaspoon black pepper
For the Dredge:
- 3 cups all-purpose flour
- 1 tablespoon paprika
- 2 teaspoons garlic powder
- 2 teaspoons onion powder
- 1 tablespoon kosher salt
- 2 teaspoons black pepper
- 1 teaspoon cayenne pepper
For Assembly:
- 4 brioche buns, toasted
- Mayonnaise
- Dill pickles
- Shredded lettuce
- Sliced tomatoes
- Neutral oil for frying (peanut or canola)
The Perfect Brine
The first step to achieving sandwich perfection is the brine. This isn’t just about soaking chicken in buttermilk – it’s about creating the foundation for flavor and moisture that will make your sandwich memorable.
| Brining Time | Result | Notes |
|---|---|---|
| 4 hours | Good tenderness | Suitable for same-day cooking |
| 8 hours | Better flavor penetration | Recommended minimum |
| 12 hours | Optimal results | My preferred timing |
| 24 hours | Maximum flavor | Don’t exceed this time |
Step-by-Step Instructions
- Prepare the Brine
- Whisk buttermilk, hot sauce, salt, and pepper in a large bowl
- Submerge chicken pieces fully
- Cover and refrigerate for 8-12 hours
- Set Up Your Station
- Create dredging mixture in a shallow dish
- Line a baking sheet with wire rack
- Heat oil to 350°F (175°C) in Dutch oven
- Dredging Process
- Remove chicken from brine
- Dredge in seasoned flour mixture
- Dip back in buttermilk
- Dredge in flour again
- Rest on wire rack for 5 minutes
- Frying Technique
- Maintain oil temperature between 325-350°F
- Fry 5-7 minutes per side
- Look for golden brown color
- Internal temperature should reach 165°F
Temperature Control Table
| Stage | Temperature | Duration |
|---|---|---|
| Oil Preheating | 350°F | Until stable |
| Initial Frying | 325-350°F | 5-7 minutes |
| Second Side | 325-350°F | 5-7 minutes |
| Final Internal | 165°F | Check before removing |
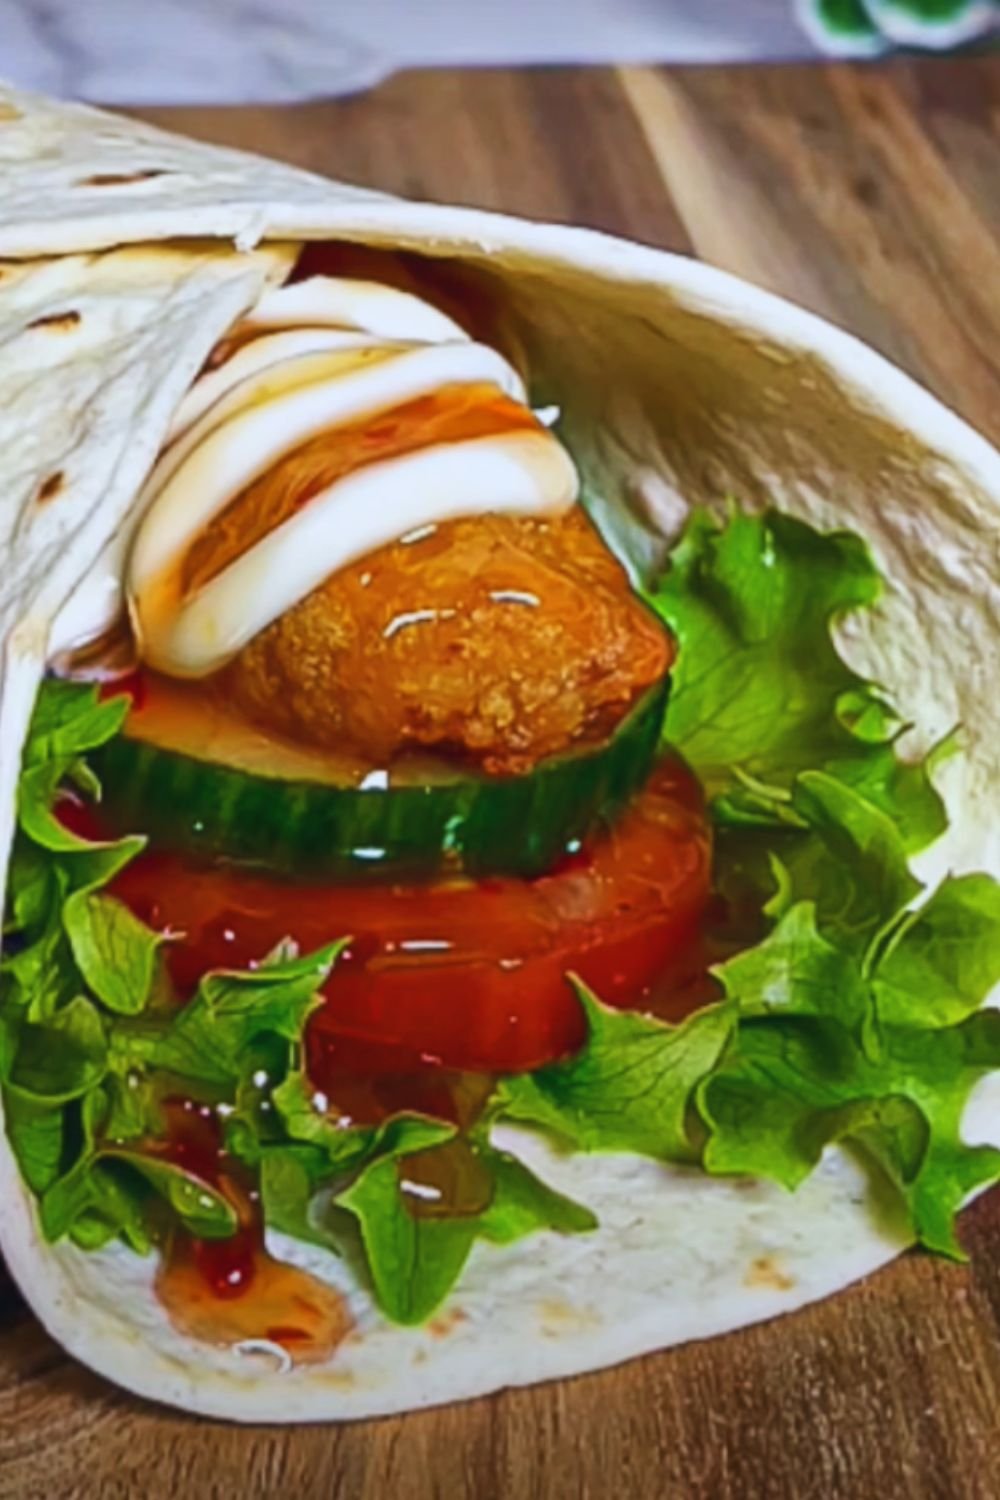
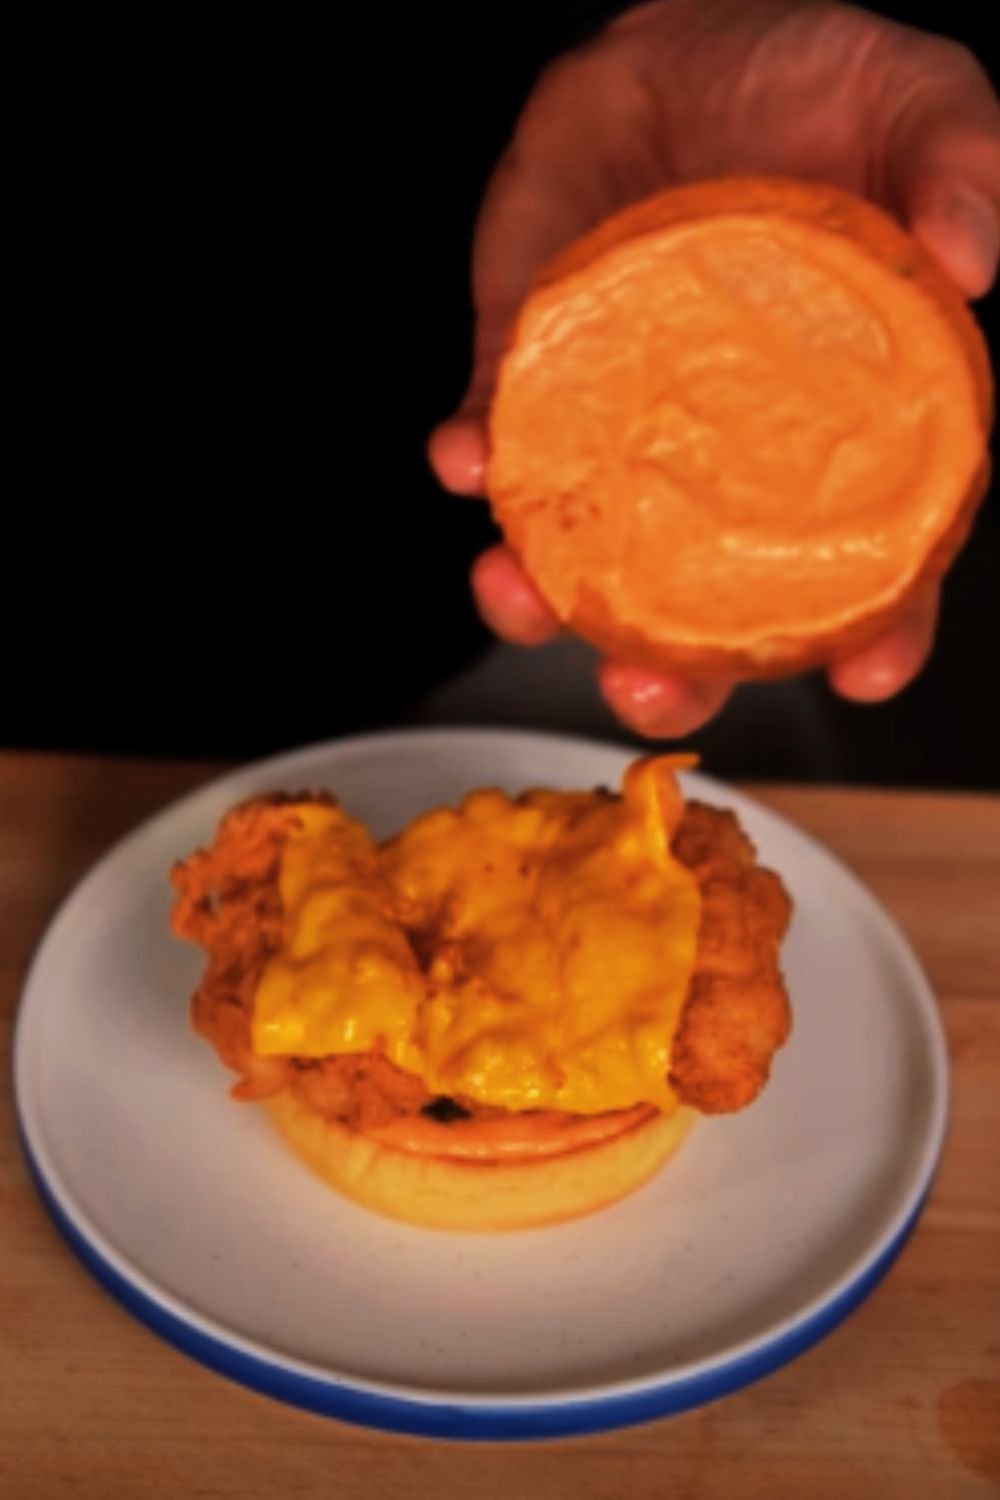
Assembly and Presentation

The assembly order matters more than you might think. Here’s my tried-and-true layering technique:
- Bottom Bun
- Toast until golden
- Apply mayonnaise generously
- Lettuce Base
- Creates moisture barrier
- Maintains bun integrity
- Chicken Placement
- Place while still hot
- Position center of bun
- Toppings
- Add pickles
- Layer tomato slices
- Additional lettuce if desired
- Top Bun
- Light mayonnaise spread
- Press gently to set
Troubleshooting Guide
| Issue | Cause | Solution |
|---|---|---|
| Soggy Coating | Oil too cool | Maintain 325-350°F |
| Burnt Exterior | Oil too hot | Use thermometer |
| Undercooked Interior | Too thick | Pound to ½-inch |
| Falling Apart | Poor assembly | Follow layering guide |
Storage and Reheating
While best served fresh, you can store and reheat these sandwiches:
| Storage Method | Duration | Reheating Instructions |
|---|---|---|
| Room Temperature | 2 hours max | Not recommended |
| Refrigerated | 2-3 days | Oven at 350°F for 10 minutes |
| Frozen | 1 month | Thaw overnight, oven at 350°F |
Frequently Asked Questions
Q: Can I use regular milk instead of buttermilk?
A: While possible, buttermilk’s acidity tenderizes the chicken. Mix 1 cup milk with 1 tablespoon lemon juice as a substitute.
Q: Why isn’t my coating staying crispy?
A: Double-check your oil temperature and ensure you’re not overcrowding the pan. Let the chicken rest on a wire rack, not paper towels.
Q: Can I air fry this chicken?
A: Yes, but the results won’t be identical. Spray with oil and cook at 380°F for 12-15 minutes, flipping halfway.
Q: How do I prevent the breading from falling off?
A: Let the chicken rest 5 minutes after breading and ensure your oil is hot enough before frying.
Q: Can I make this gluten-free?
A: Yes, substitute all-purpose flour with your preferred gluten-free flour blend. Results may vary slightly.
Nutritional Information
| Component | Amount per Serving |
|---|---|
| Calories | 850 |
| Protein | 45g |
| Carbohydrates | 65g |
| Fat | 42g |
| Fiber | 3g |
| Sodium | 1250mg |
Serving Suggestions
- Fresh coleslaw
- Sweet potato fries
- Pickle spears
- Honey mustard sauce
- Garden salad
- Fresh lemonade
- Iced tea
Remember, the key to mastering this recipe is patience and attention to detail. Don’t rush the brining process, and always maintain proper oil temperature. With practice, you’ll be creating restaurant-quality chicken sandwiches that will have everyone asking for seconds!