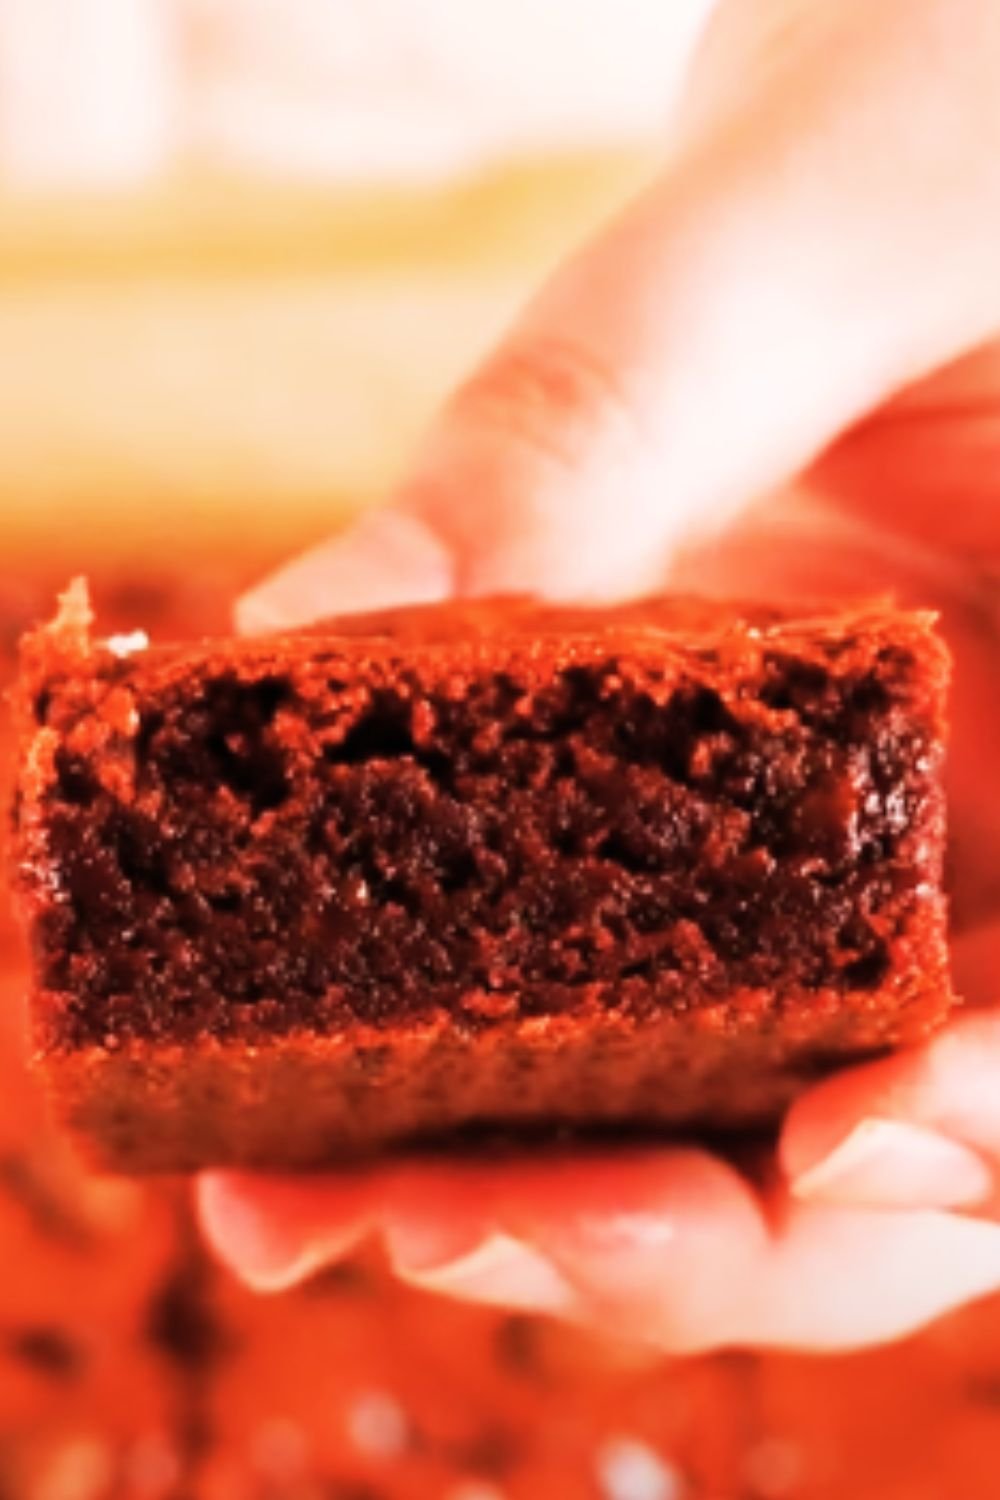
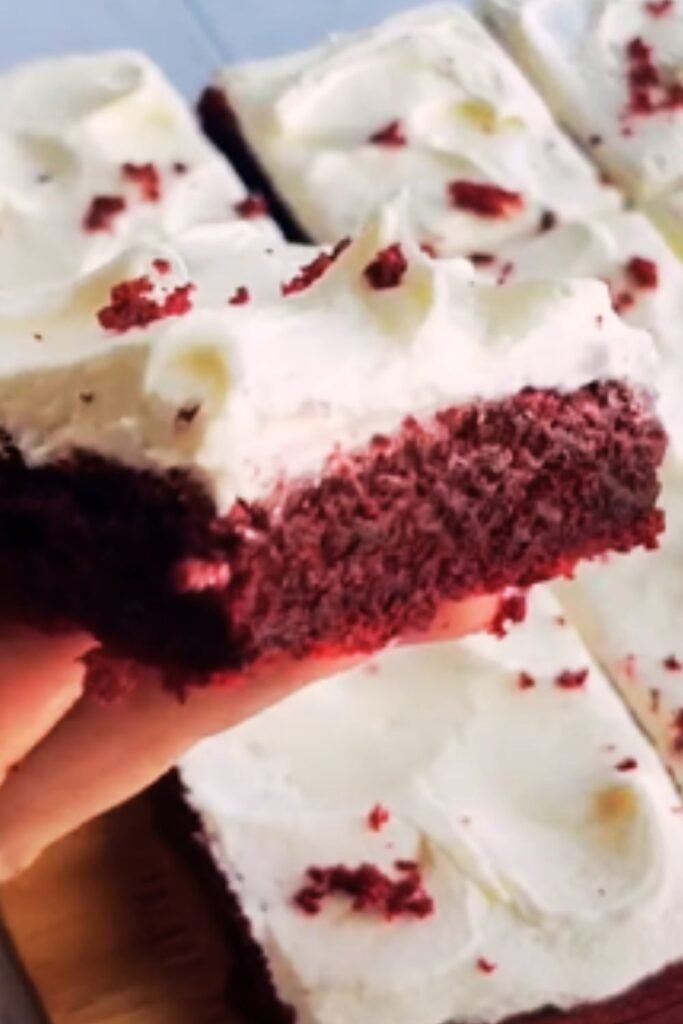
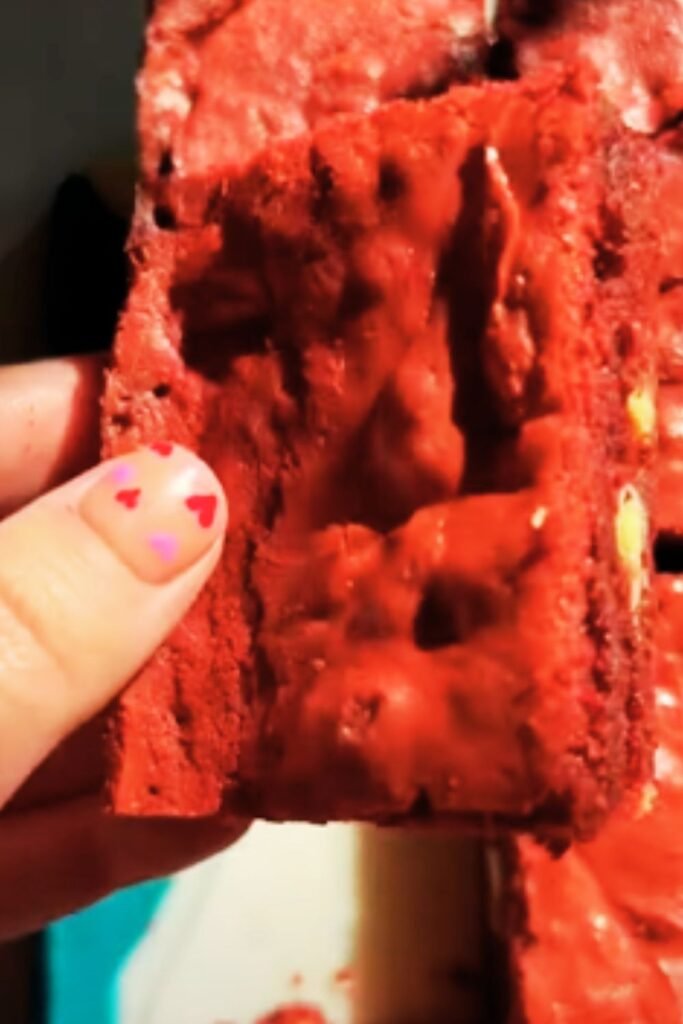
There’s something utterly magical about the perfect red velvet brownie. That deep crimson color contrasting with creamy white frosting, the perfect balance between chocolate and vanilla, and that unmistakable fudgy texture that melts in your mouth. After years of baking and countless batches of trial and error, I’ve finally perfected what I consider to be the ultimate red velvet brownie recipe, and I’m thrilled to share it with you today.
As someone who has always been drawn to the allure of red velvet desserts, I’ve made it my mission to understand what separates the truly exceptional from the merely good. The secret, I’ve discovered, lies in achieving that perfect balance: chocolatey but not overwhelmingly so, moist but not underbaked, with a texture that’s somewhere between a cake and a traditional brownie.
If you’ve ever been disappointed by dry, bland red velvet treats or ones where the food coloring taste overpowers everything else, this recipe will be your new go-to. So let’s roll up our sleeves and dive into creating these decadent, show-stopping red velvet brownies that will have everyone asking for the recipe.
What Makes These Red Velvet Brownies Special
Before we get to the recipe itself, let me explain what sets these brownies apart:
- The perfect fudge factor: These aren’t cakey brownies masquerading in red velvet clothing. They have that coveted fudgy center that slowly gives way when you bite into it.
- Balanced flavor profile: Just enough cocoa to provide that subtle chocolate undertone that defines authentic red velvet, without overwhelming the delicate vanilla notes.
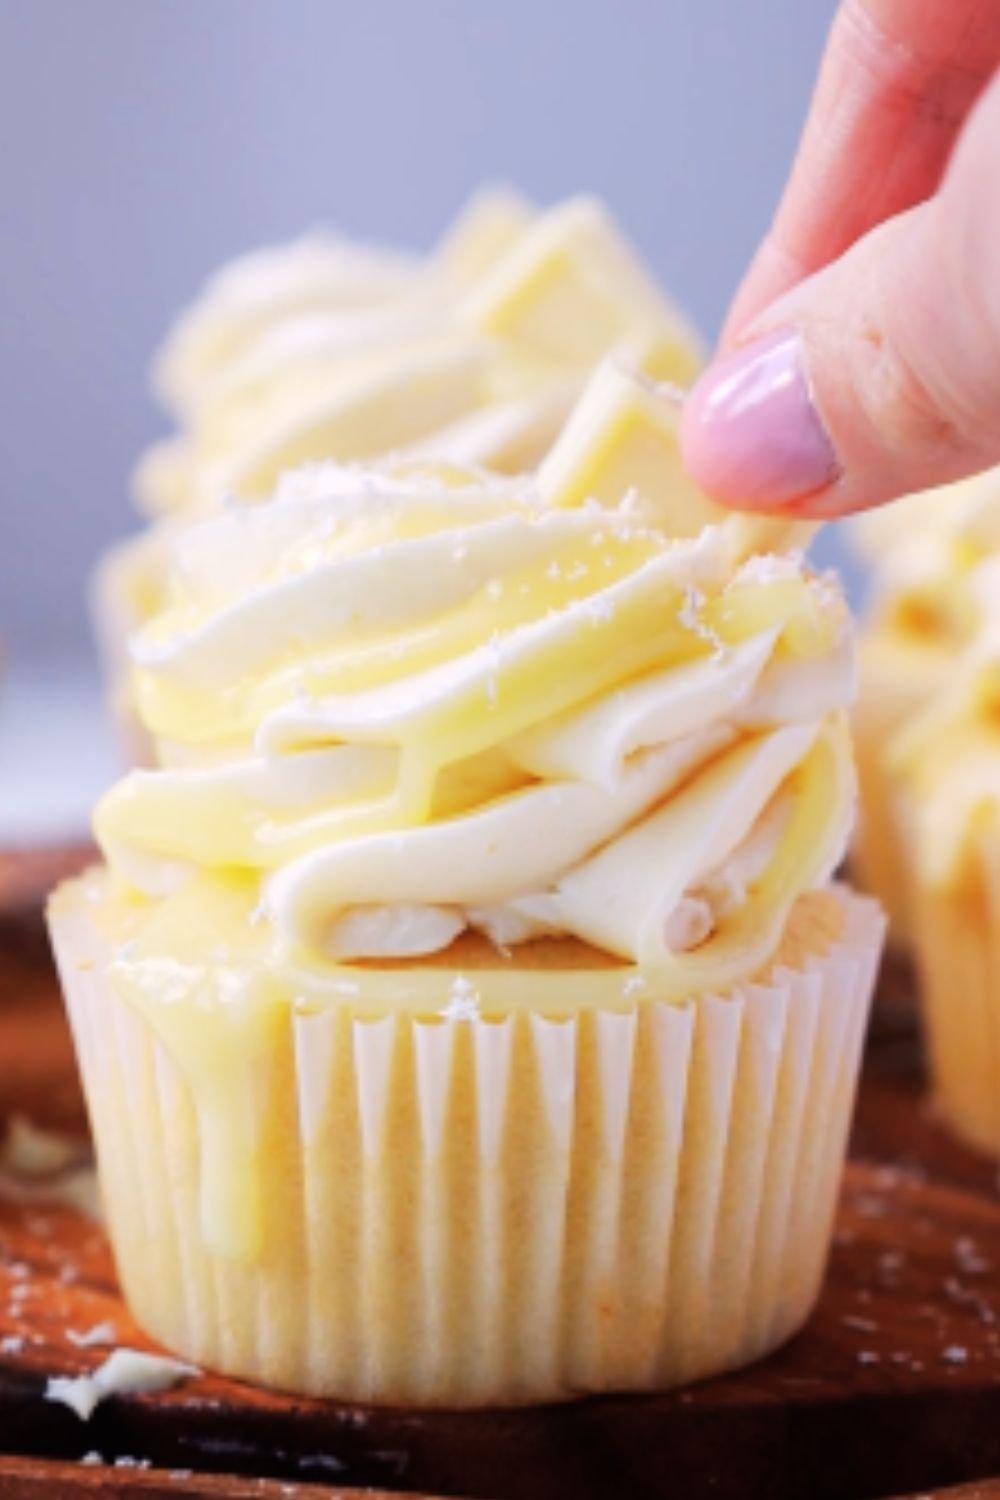
- Cream cheese swirl: Rather than a simple frosting on top, these brownies feature beautiful cream cheese swirls that bake into the batter, creating pockets of tangy creaminess throughout.
- Vibrant color without the chemical taste: My method ensures you get that stunning red color without the unpleasant aftertaste some red velvet desserts have.
- Perfectly crackly top: That signature shiny, slightly crackled top that all the best brownies have.
Essential Ingredients for Perfect Red Velvet Brownies
Here’s everything you’ll need to make these show-stopping brownies:
For the Brownie Base:
- 1/2 cup (113g) unsalted butter
- 3/4 cup (150g) granulated sugar
- 1/4 cup (50g) brown sugar, packed
- 2 large eggs, room temperature
- 1 tablespoon vanilla extract
- 1 tablespoon buttermilk (helps with tenderness)
- 2 teaspoons white vinegar (reacts with cocoa for the red velvet effect)
- 1-2 tablespoons red food coloring gel (not liquid)
- 3/4 cup (95g) all-purpose flour
- 2 tablespoons (15g) unsweetened cocoa powder
- 1/4 teaspoon baking powder
- 1/4 teaspoon salt
For the Cream Cheese Swirl:
- 8 oz (226g) full-fat cream cheese, softened
- 1/4 cup (50g) granulated sugar
- 1 large egg
- 1/2 teaspoon vanilla extract
Optional Toppings:
- White chocolate chips
- Cream cheese frosting (recipe included below)
- Fresh berries for serving
The Science Behind Red Velvet
What exactly makes red velvet “red velvet”? It’s not just the food coloring! Traditionally, red velvet got its reddish hue from a chemical reaction between cocoa powder (which was less processed in the past and contained more anthocyanins) and acidic ingredients like buttermilk and vinegar. When these ingredients mix, they create a reddish-brown color.
Modern cocoa powder is more processed, so we now enhance that natural reaction with food coloring to get that dramatic crimson shade. But the acid components are still crucial for the flavor and texture profile of true red velvet. That’s why my recipe includes both buttermilk and vinegar – they’re not just there for tradition but play a vital role in creating that distinctive red velvet taste.
Step-by-Step Instructions
Preparing Your Kitchen
Before diving in, here’s what you’ll need to prepare:
- Preheat your oven to 350°F (175°C)
- Line an 8×8 inch square baking pan with parchment paper, leaving overhang for easy removal
- Bring all refrigerated ingredients to room temperature
- Measure all ingredients before starting
Making the Brownie Batter
- Melt the butter: In a microwave-safe bowl, melt the butter in 30-second intervals until fully melted but not hot. Let it cool slightly.
- Mix the wet ingredients: In a large bowl, whisk together the melted butter, granulated sugar, and brown sugar until well combined. Add the eggs one at a time, whisking well after each addition until the mixture is light and fluffy.
- Add the flavors: Stir in the vanilla extract, buttermilk, and white vinegar.
- Incorporate the color: Add the red food coloring gel gradually, stirring well between additions until you reach your desired shade. Remember that the color will darken slightly when baked.
- Combine the dry ingredients: In a separate bowl, whisk together the flour, cocoa powder, baking powder, and salt.
- Complete the batter: Gently fold the dry ingredients into the wet ingredients using a spatula. Mix just until combined – overmixing will lead to tough brownies. The batter should be thick and smooth.
Preparing the Cream Cheese Swirl
- In a medium bowl, beat the softened cream cheese and sugar until smooth and fluffy, about 2 minutes.
- Add the egg and vanilla extract, beating until just combined and smooth.
- Set aside while you prepare the pan.
Assembling and Baking
- Pour about 2/3 of the red velvet batter into your prepared baking pan, spreading it evenly to the corners.
- Dollop spoonfuls of the cream cheese mixture over the red velvet layer.
- Drop the remaining red velvet batter in spoonfuls over the cream cheese layer.
- Create the swirl: Using a knife or skewer, gently swirl the two batters together. Don’t overmix – you want distinct swirls of each batter visible.
- If using white chocolate chips, sprinkle them over the top now.
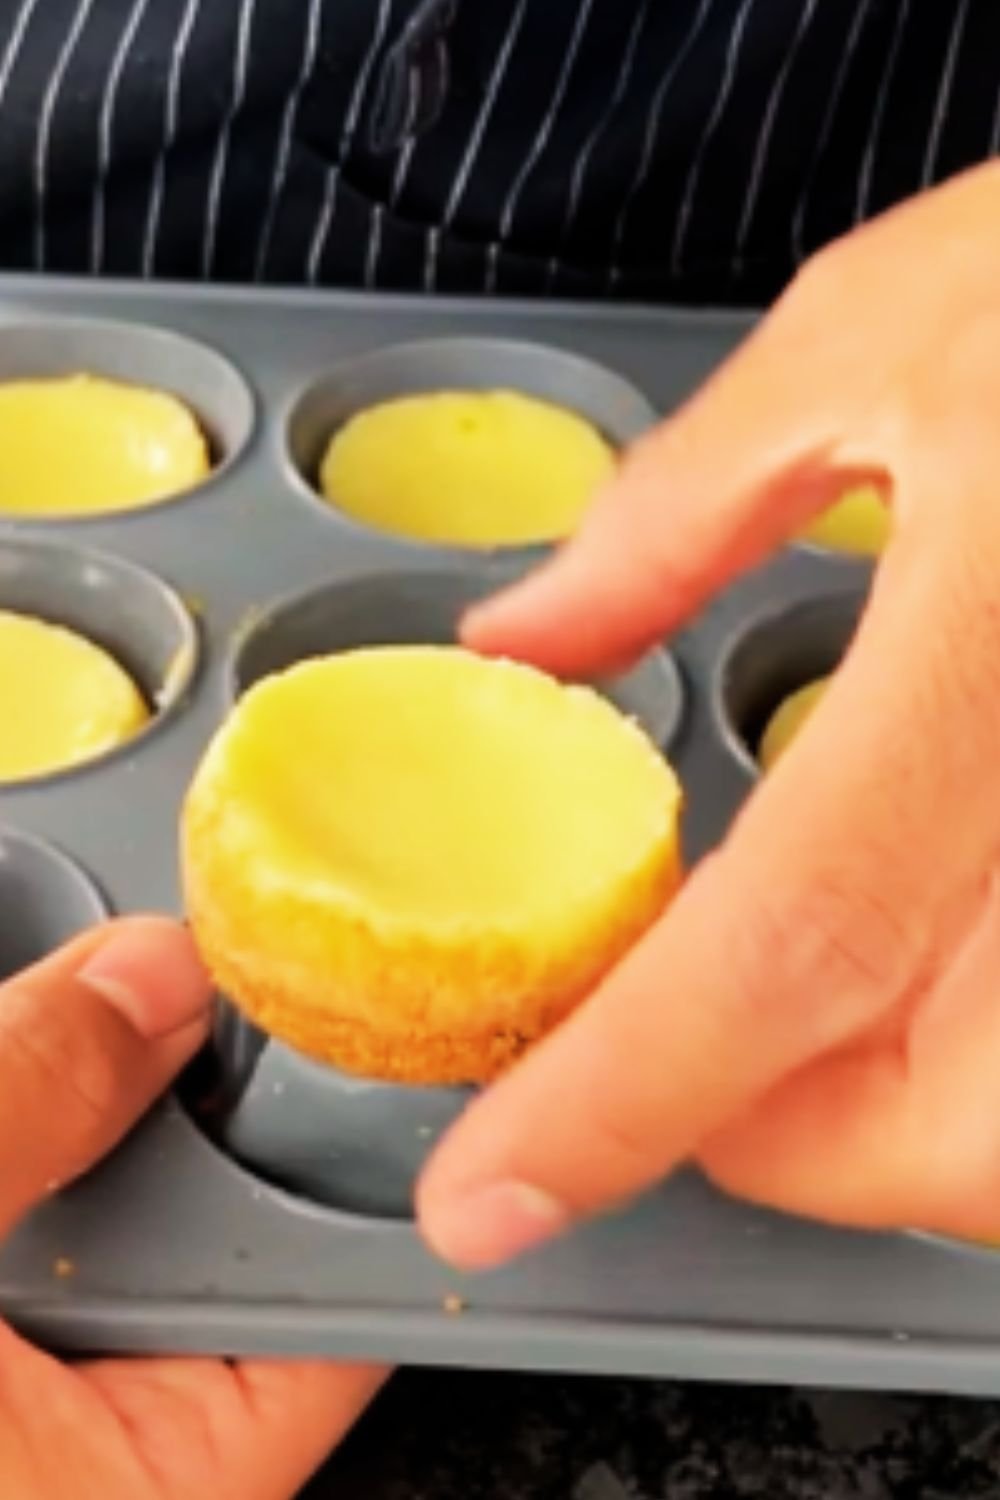
- Bake in your preheated oven for 25-30 minutes. The brownies are done when a toothpick inserted in the center comes out with a few moist crumbs (not wet batter).
- Cool completely in the pan on a wire rack before cutting. For the cleanest cuts, refrigerate for at least 2 hours after cooling.
Tips for Perfect Results Every Time
- Don’t overmix the batter: Mix just until the ingredients are combined to keep the brownies tender.
- Use room temperature ingredients: This ensures everything blends smoothly, especially the cream cheese swirl.
- Gel food coloring is superior: It provides vibrant color without adding excess liquid to the batter. If using liquid food coloring, you may need to use more and slightly reduce the buttermilk.
- The toothpick test: The center should have a few moist crumbs when tested – if it comes out completely clean, the brownies might be overbaked and less fudgy.
- Patience pays off: These brownies taste even better the day after baking once the flavors have had time to meld. If you can resist eating them immediately, I recommend waiting!
- For picture-perfect cuts: Use a warm knife (run it under hot water and wipe dry between cuts) to slice chilled brownies.
Variations to Try
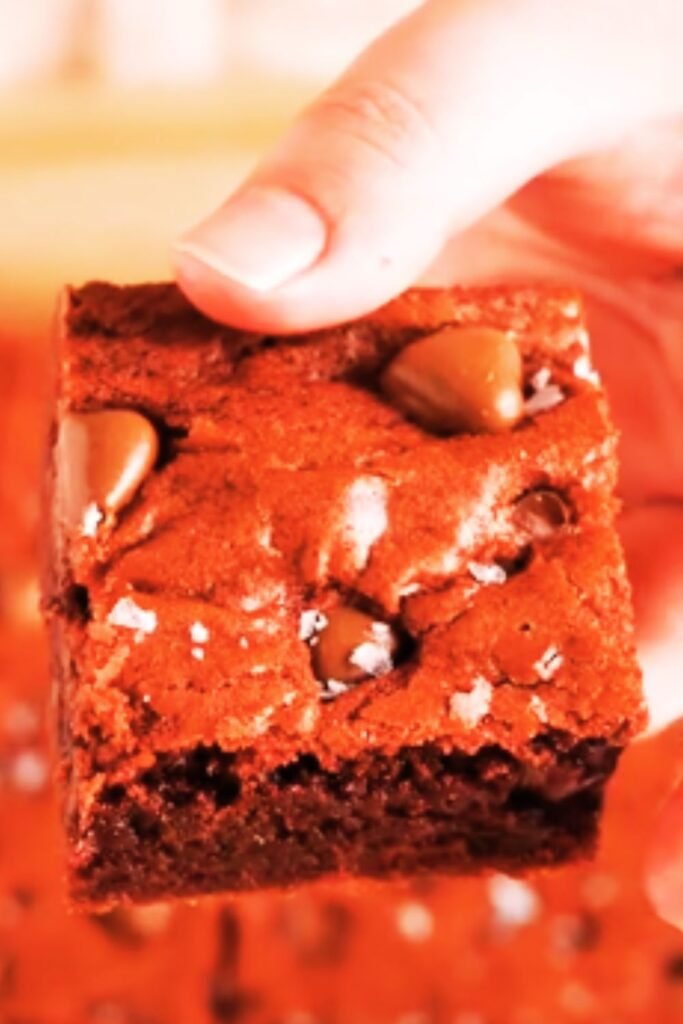
Chocolate Chip Red Velvet Brownies
Fold 1/2 cup of semisweet chocolate chips into the batter before pouring it into the pan.
Cream Cheese Frosted Version
Instead of the swirl, make a simple cream cheese frosting to spread on top:
- 8 oz cream cheese, softened
- 1/4 cup unsalted butter, softened
- 2 cups powdered sugar
- 1 teaspoon vanilla extract
Beat cream cheese and butter until fluffy, then gradually add powdered sugar and vanilla. Spread over completely cooled brownies.
Red Velvet Brownie Cookies
Use the same batter but drop by tablespoonfuls onto baking sheets and bake for 10-12 minutes at 350°F for a cookie-brownie hybrid.
Nutty Red Velvet Brownies
Add 1/2 cup of chopped walnuts or pecans to the batter for added texture.
Nutritional Information
Here’s a breakdown of approximate nutritional values per serving (assuming you cut the 8×8 pan into 16 squares):
| Nutrient | Amount per Serving |
|---|---|
| Calories | 225 |
| Total Fat | 12g |
| Saturated Fat | 7g |
| Cholesterol | 65mg |
| Sodium | 115mg |
| Total Carbohydrates | 25g |
| Dietary Fiber | <1g |
| Sugars | 18g |
| Protein | 3g |
Storage and Make-Ahead Tips
These red velvet brownies store beautifully, making them perfect for preparing ahead of time:
- Counter storage: In an airtight container at room temperature for up to 2 days.
- Refrigeration: Store in the refrigerator for up to 5 days. The chilled texture is particularly delicious!
- Freezing: Wrap individual brownies or the whole uncut block tightly in plastic wrap, then aluminum foil, and freeze for up to 3 months. Thaw overnight in the refrigerator.
Serving Suggestions
These brownies are divine on their own, but here are some ways to elevate them for special occasions:
- Serve warm with a scoop of vanilla ice cream for an indulgent dessert
- Add a drizzle of white chocolate sauce
- Pair with fresh berries like raspberries or strawberries
- Serve with a dollop of whipped cream and a dusting of cocoa powder
- For a festive touch, add seasonal sprinkles on top before baking
Common Problems and Solutions
| Problem | Possible Cause | Solution |
|---|---|---|
| Brownies too dry | Overbaking | Check 5 minutes before recommended time |
| Color not vibrant | Too much cocoa or wrong food coloring | Use gel coloring and measure cocoa precisely |
| Cream cheese layer sank | Batter too thin | Ensure proper measurements and don’t overmix |
| Brownies too cakey | Too much flour or overmixing | Measure flour correctly and mix minimally |
| Uneven swirls | Batters different consistency | Ensure cream cheese mixture isn’t too thin |
The History Behind Red Velvet
Red velvet desserts have a fascinating history dating back to the Victorian era when cocoa was first introduced to cakes to create a softer texture. The term “velvet” was used to describe the silky texture of these cakes.
The vibrant red color became associated with these desserts during the Great Depression, when the Adams Extract company began promoting their red food coloring alongside a red velvet cake recipe as a way to boost sales.
Red velvet became truly iconic in the American South, particularly after it was featured as an armadillo-shaped groom’s cake in the 1989 film “Steel Magnolias.” Since then, its popularity has continued to grow, evolving into different forms like cupcakes, cookies, and our star today – brownies!
Q&A Section
Q: Can I make these brownies without food coloring? A: Absolutely! You’ll still get a slight reddish-brown hue from the reaction between the cocoa, buttermilk, and vinegar. They’ll be more of a “natural” red velvet but still delicious.
Q: My cream cheese mixture seems too runny. What did I do wrong? A: This usually happens if your cream cheese was too warm or if you overbeat the mixture after adding the egg. Try chilling it for 15 minutes before swirling into the batter.
Q: Can I double this recipe for a larger batch? A: Yes! Double all ingredients and bake in a 9×13 inch pan. You may need to add 5-10 minutes to the baking time, but still use the toothpick test to determine doneness.
Q: Are these suitable for a special occasion like Valentine’s Day? A: These red velvet brownies are perfect for Valentine’s Day, Christmas, or any special occasion where you want to impress! Their vibrant color and rich taste make them a showstopper dessert.
Q: I only have Dutch-processed cocoa. Will that work? A: Natural unsweetened cocoa powder works best for the traditional red velvet reaction, but Dutch-processed will still be delicious – you might just need a bit more food coloring to achieve the same vibrant red.
Q: Why do my brownies sink in the middle after baking? A: This usually happens when brownies are underbaked or when the oven door is opened too early in the baking process. Make sure to wait until at least 20 minutes of baking before checking on them.
Perfect Pairings
Here are some beverages that pair beautifully with these rich brownies:
- Coffee – the slight bitterness complements the sweetness
- Milk – a classic that helps balance the richness
- Hot chocolate – for the ultimate chocolate experience
- Tea – particularly Earl Grey or a vanilla-infused blend
Final Thoughts
There’s something truly special about biting into a perfectly made red velvet brownie. That moment when the fudgy texture gives way, revealing beautiful swirls of cream cheese against that vibrant red background – it’s a little bit of culinary magic.
What I love most about this recipe is how versatile it is. Whether you’re making them for a romantic Valentine’s dinner, a Christmas dessert table, or just because you deserve something special on a random Tuesday, these brownies rise to every occasion.
I’ve shared these with friends and family countless times, and they’re always met with wide eyes and requests for the recipe. I hope they bring the same joy to your kitchen and to everyone lucky enough to taste them.
Remember, baking is both a science and an art. Don’t be afraid to make these your own, and most importantly, have fun with the process. The time and love you put into these brownies will be evident in every delicious bite.
Happy baking!
Recipe Card
| The Best Fudgy Red Velvet Brownies |
|---|
| Prep Time: 20 minutes |
| Cook Time: 30 minutes |
| Cooling Time: 2 hours |
| Total Time: 2 hours 50 minutes |
| Servings: 16 brownies |
| Difficulty: Intermediate |
Ingredients
- 1/2 cup (113g) unsalted butter
- 3/4 cup (150g) granulated sugar
- 1/4 cup (50g) brown sugar, packed
- 2 large eggs, room temperature
- 1 tablespoon vanilla extract
- 1 tablespoon buttermilk
- 2 teaspoons white vinegar
- 1-2 tablespoons red food coloring gel
- 3/4 cup (95g) all-purpose flour
- 2 tablespoons (15g) unsweetened cocoa powder
- 1/4 teaspoon baking powder
- 1/4 teaspoon salt
- 8 oz (226g) cream cheese, softened
- 1/4 cup (50g) additional sugar for cream cheese swirl
- 1 additional egg for cream cheese swirl
- 1/2 teaspoon additional vanilla for cream cheese swirl
Instructions
- Preheat oven to 350°F (175°C). Line 8×8 inch pan with parchment.
- Melt butter, mix with sugars, then add eggs one at a time.
- Stir in vanilla, buttermilk, vinegar, and food coloring.
- Separately mix dry ingredients, then fold into wet ingredients.
- Make cream cheese mixture by beating cream cheese, sugar, egg, and vanilla.
- Layer batters in pan and create swirls with a knife.
- Bake 25-30 minutes until toothpick has few moist crumbs.
- Cool completely before cutting, preferably refrigerate 2 hours for clean cuts.