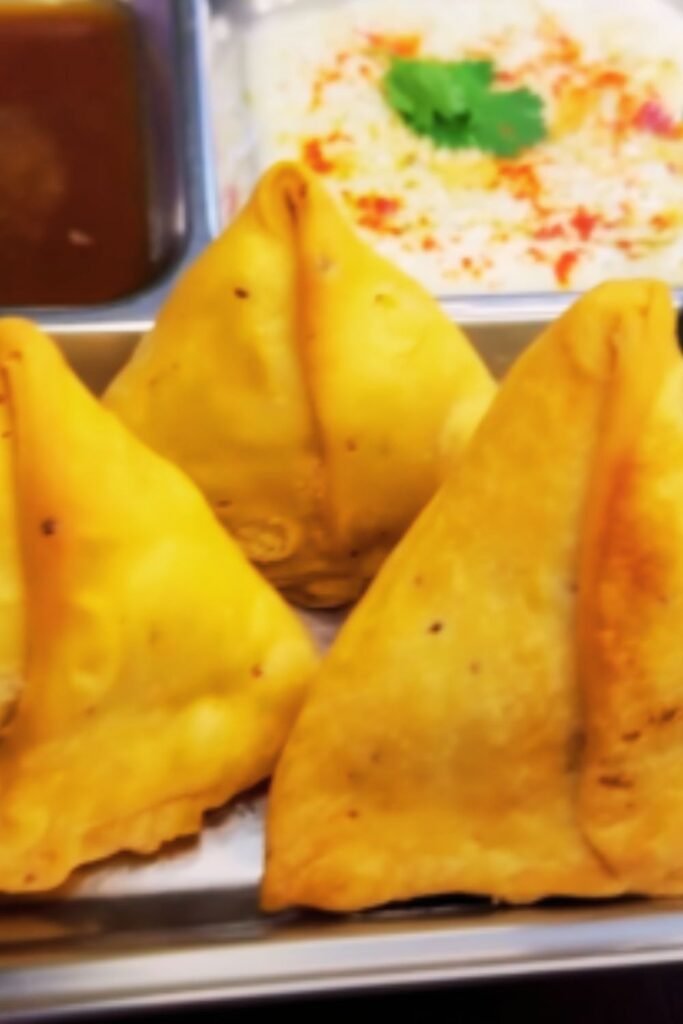
There’s something magical about biting into a perfectly crisp samosa, with its flaky crust giving way to a flavorful spiced filling. I’ve been making samosas for over two decades, and I’m excited to share my tried-and-true recipe that will help you create restaurant-quality samosas right in your home kitchen.
Introduction to Samosas
Samosas are arguably one of the most beloved Indian snacks worldwide. These triangular pastries stuffed with spiced fillings have traveled far beyond South Asian borders to become a global favorite. I first learned to make samosas from my grandmother, and over the years, I’ve perfected the technique to achieve that perfect balance of a crispy exterior and flavorful filling.
Traditional samosas typically contain a spiced potato and pea filling, but regional variations across India and neighboring countries offer different fillings ranging from minced meat to sweet options. The beauty of making samosas at home is that you can customize them exactly to your taste preferences.
The Perfect Samosa: What Makes It Special
What distinguishes an exceptional samosa from an average one? In my experience, it comes down to three key elements:
- The dough: It must be perfectly balanced – not too thick (which makes it doughy) and not too thin (which causes it to break). The ideal samosa crust should be flaky, crisp, and just sturdy enough to hold the filling.
- The filling: A harmonious blend of spices with perfectly cooked vegetables or meat. The filling shouldn’t be too dry or too moist.
- The frying technique: The temperature control during frying is crucial for achieving that golden-bronze color without burning or undercooking.
Let’s dive into creating the perfect samosa from scratch!
Ingredients You’ll Need
For the Dough:
- 2 cups all-purpose flour (maida)
- ¼ cup vegetable oil or ghee
- ½ teaspoon salt
- ½ teaspoon carom seeds (ajwain) – this is the secret ingredient!
- Cold water (approximately ½ cup)
For the Potato Filling:
- 4 medium potatoes, boiled and coarsely mashed
- 1 cup green peas (fresh or frozen)
- 2 tablespoons oil or ghee
- 1 teaspoon cumin seeds
- 1 medium onion, finely chopped
- 1 tablespoon ginger, finely minced
- 1-2 green chilies, finely chopped (adjust to taste)
- ½ teaspoon turmeric powder
- 1 teaspoon red chili powder (adjust to taste)
- 1 teaspoon coriander powder
- ½ teaspoon garam masala
- 1 teaspoon dried mango powder (amchur) – for tanginess
- Salt to taste
- 2 tablespoons fresh coriander leaves, chopped
For Frying:
- Vegetable oil or any neutral oil with high smoke point
Equipment Needed
- Large mixing bowl
- Rolling pin and board
- Heavy-bottomed pan for making filling
- Deep frying pan or kadai
- Slotted spoon
- Paper towels for draining
Detailed Step-by-Step Process
Preparing the Samosa Dough
- In a large mixing bowl, add the flour, salt, and carom seeds. Mix well.
- Add the oil or ghee to the flour mixture.
- Rub the oil into the flour with your fingertips until the mixture resembles breadcrumbs. This step is crucial for getting that flaky texture!
- To test if you’ve added enough fat, take a small portion of the mixture and press it in your palm. If it forms a ball and stays together, you’re good to proceed. If not, add a little more oil.
- Gradually add cold water and knead into a firm but pliable dough. Don’t overknead!
- Cover the dough with a damp cloth and let it rest for at least 30 minutes. This resting period allows the gluten to relax, making the dough easier to roll.
Making the Potato Filling
- Heat oil or ghee in a pan over medium heat.
- Add cumin seeds and let them splutter.
- Add chopped onions and sauté until they turn translucent (about 3-4 minutes).
- Add ginger and green chilies, and sauté for another minute until fragrant.
- Add the green peas and cook for 2-3 minutes until slightly tender.
- Lower the heat and add all the dry spices – turmeric, red chili powder, coriander powder, garam masala, and salt. Mix well.
- Add the boiled and mashed potatoes to the spice mixture. Stir well to combine.
- Add the dried mango powder and fresh coriander leaves. Mix thoroughly.
- Turn off the heat and allow the filling to cool completely before using it to fill the samosas.
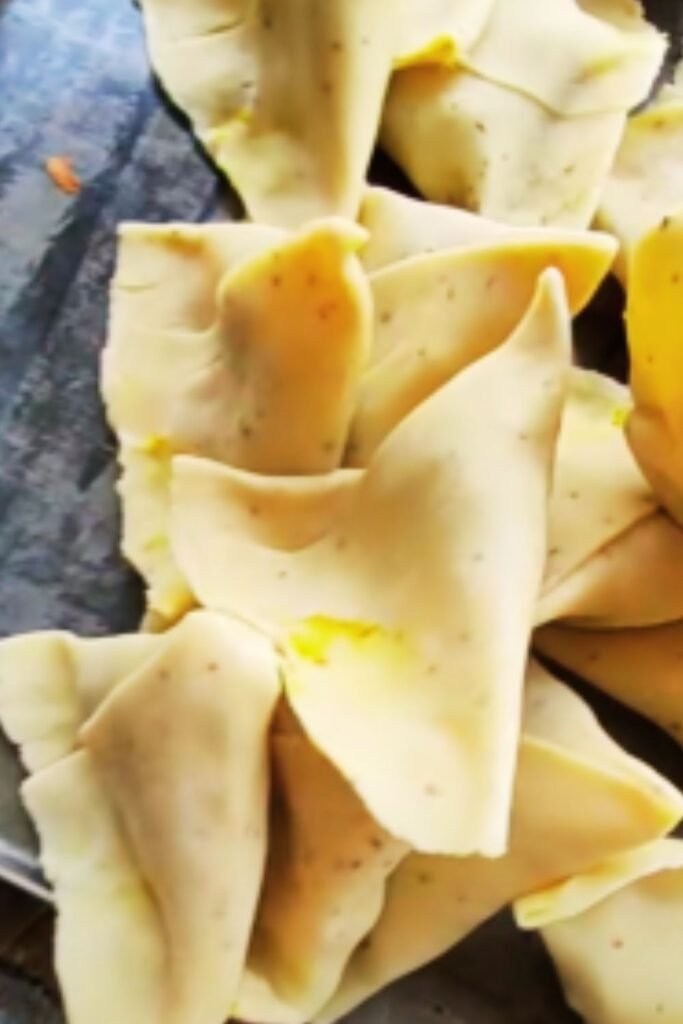
Shaping and Filling the Samosas
- Divide the rested dough into 8 equal portions.
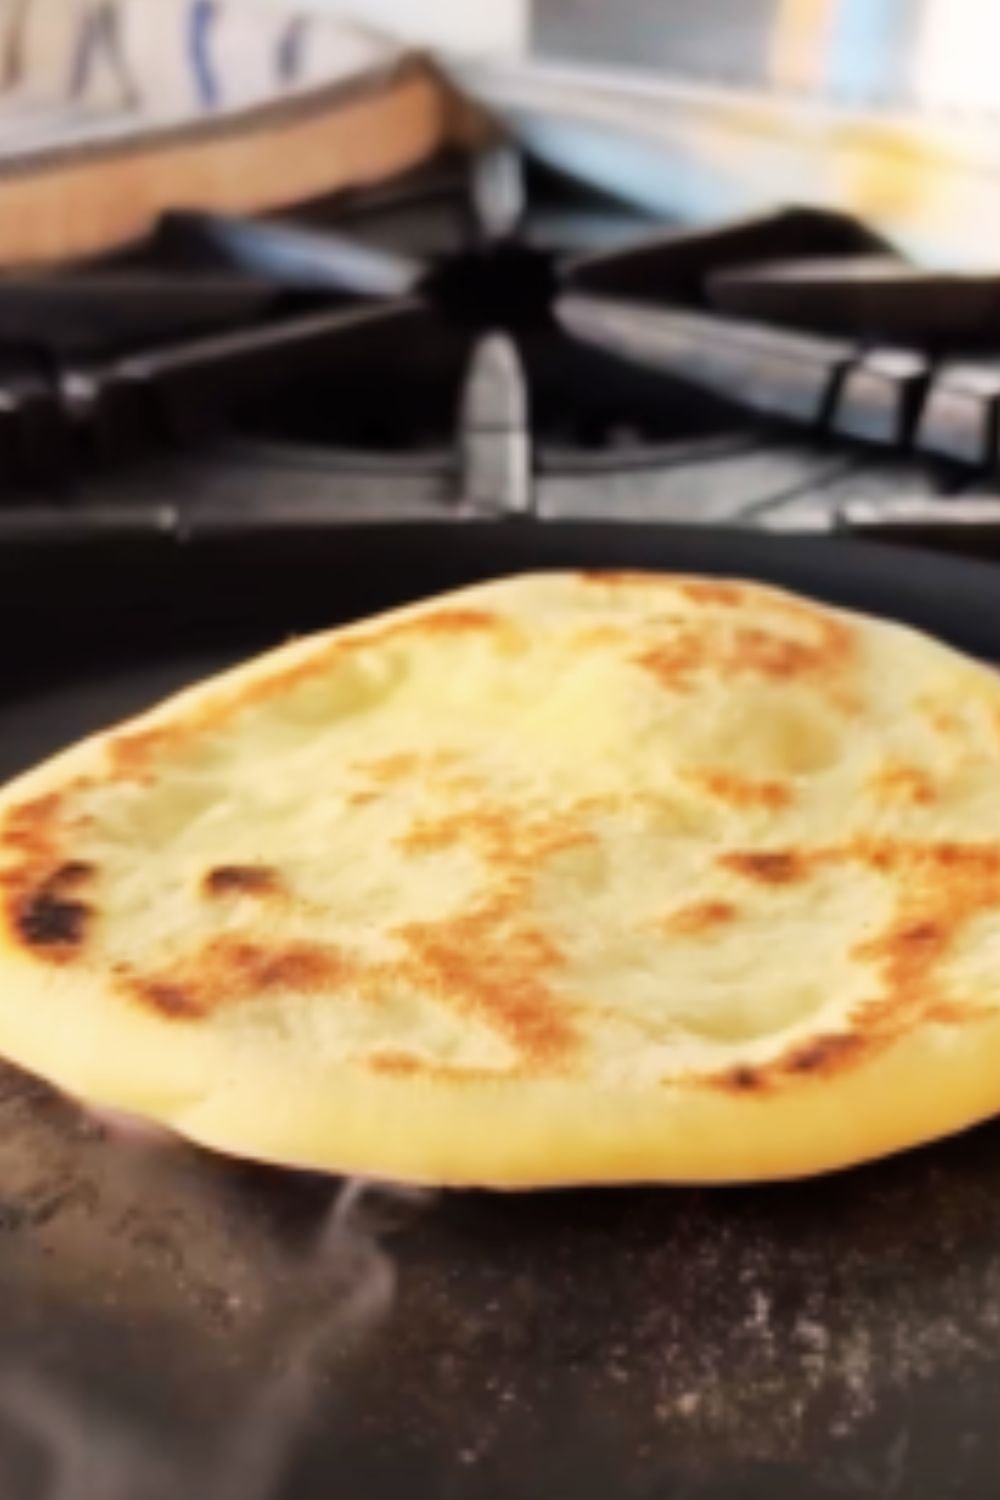
- Take one portion and roll it into a ball. Using a rolling pin, roll it into an oval shape about 7-8 inches in length and 5-6 inches in width.
- Cut this oval in half with a knife to get two semicircles.
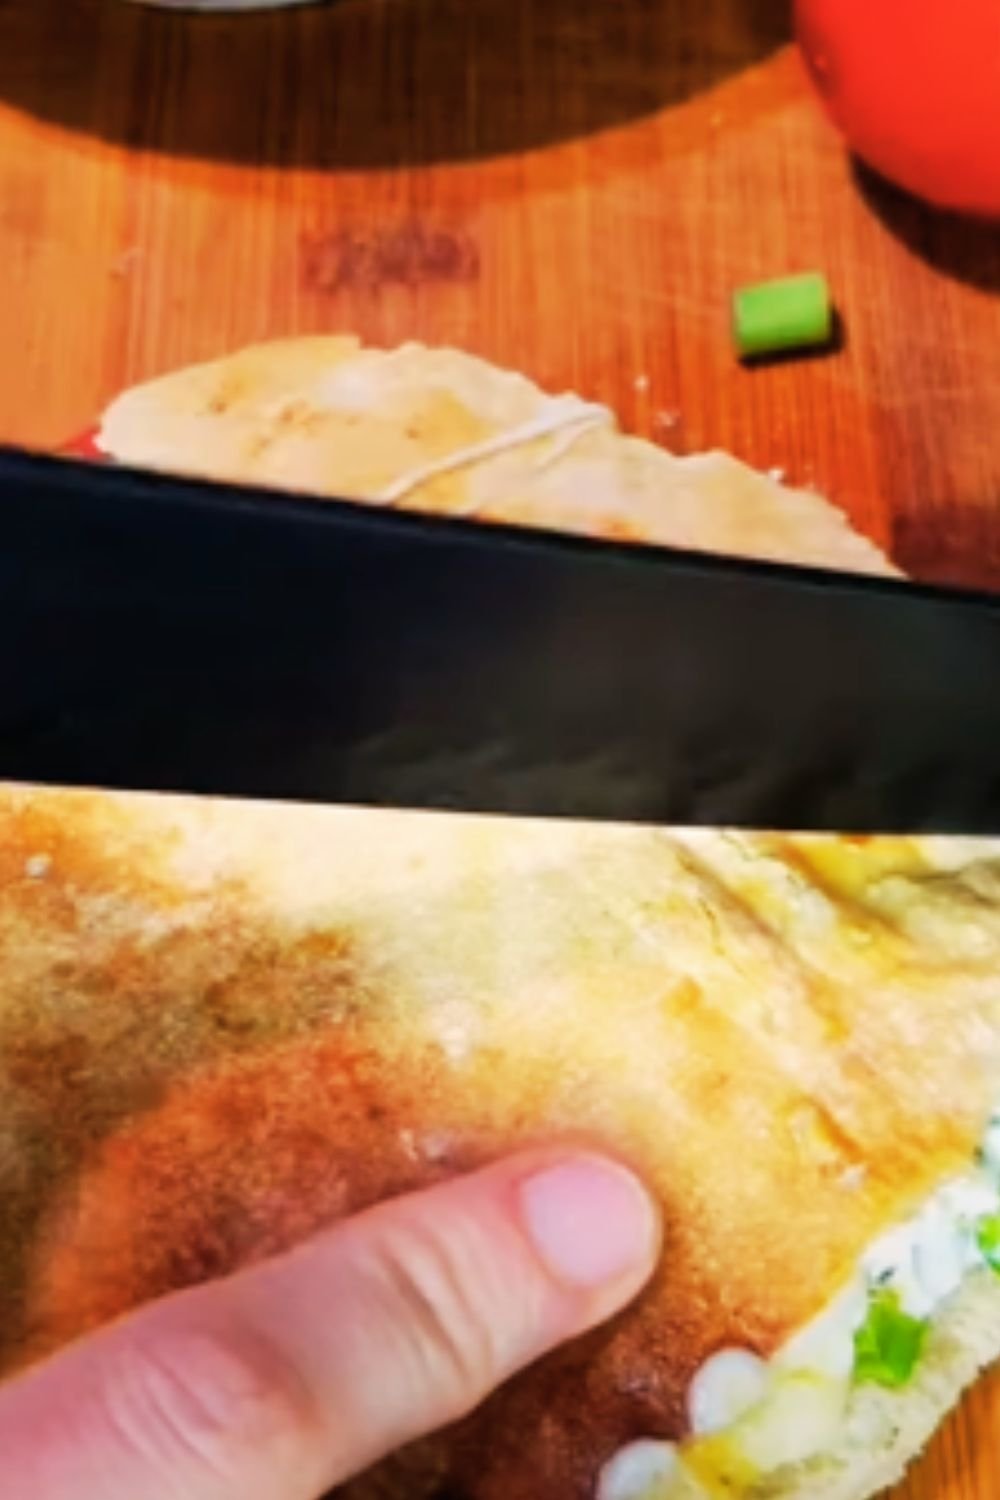
- Take one semicircle and moisten the straight edge with a little water.
- Fold the straight edge to form a cone, overlapping the edges slightly and pressing firmly to seal.
- Hold this cone in your hand, with the pointed end at the bottom, and fill it with approximately 2 tablespoons of the prepared potato filling.
- Moisten the open edges of the cone with water and press them together to seal completely. Make sure there are no openings or the filling might come out during frying.
- Repeat with the remaining dough and filling.
The Perfect Frying Technique
- Heat oil in a deep frying pan or kadai over medium heat. The oil should be about 3 inches deep.
- To test if the oil is ready, drop a small piece of dough into it. If it rises to the surface without browning too quickly, the oil is at the right temperature.
- Gently slide 2-3 samosas into the hot oil, depending on the size of your pan. Don’t overcrowd!
- Fry on medium-low heat. This is crucial – if the oil is too hot, the samosas will brown quickly but remain raw inside.
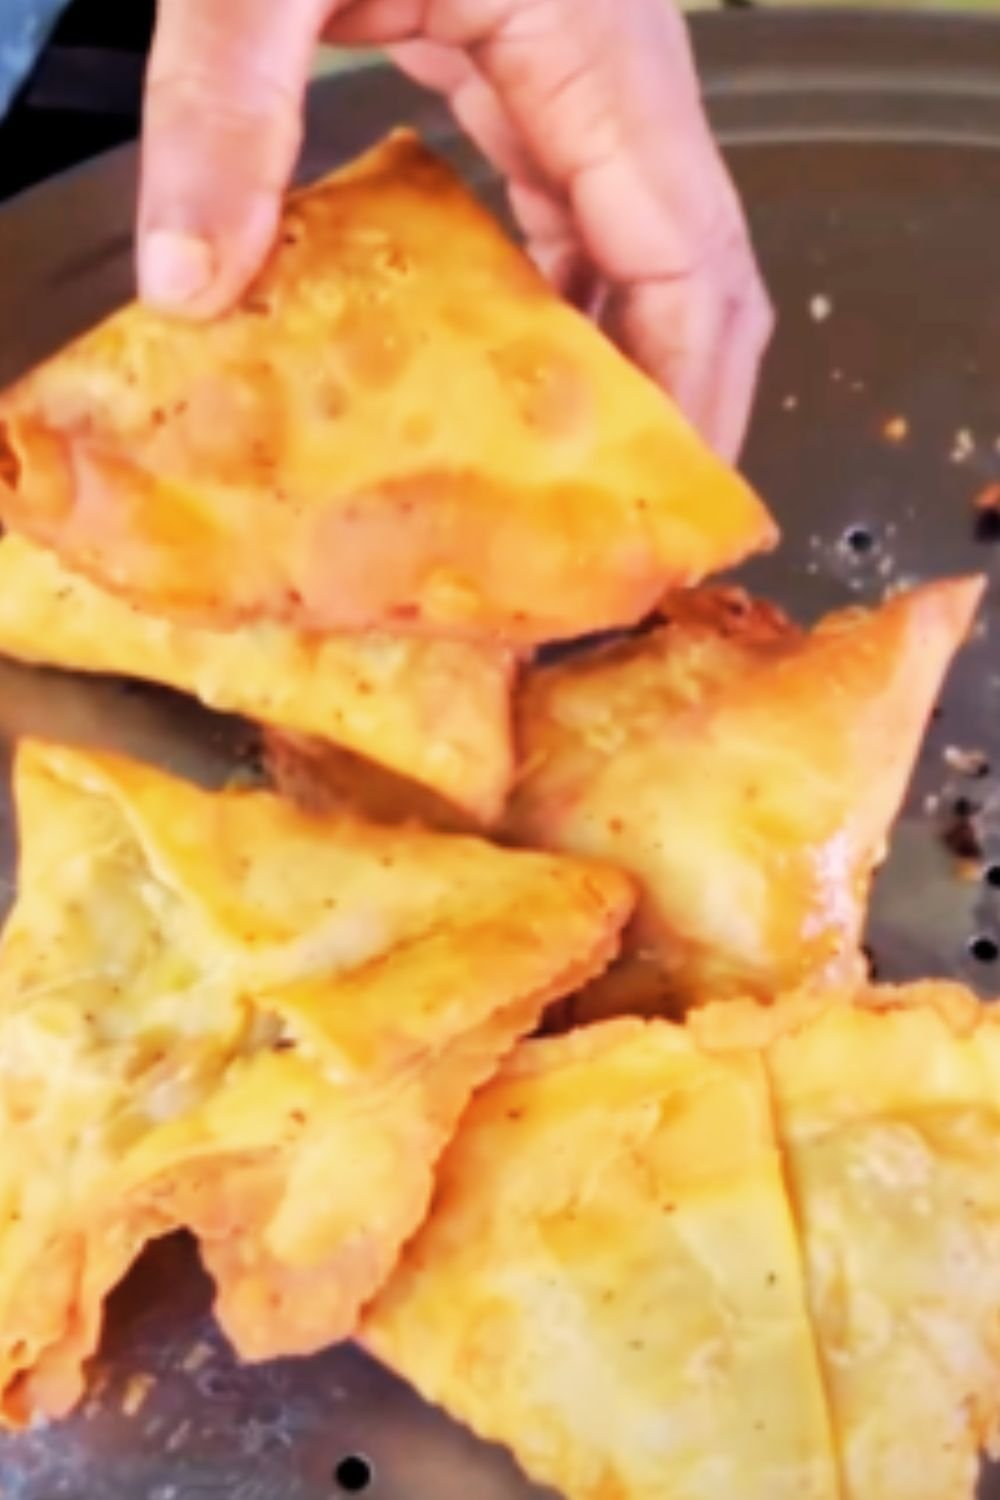
- Use a slotted spoon to occasionally turn the samosas, ensuring even cooking on all sides.
- Fry until they turn golden brown and crisp, which usually takes about 10-12 minutes.
- Remove with a slotted spoon and place on paper towels to drain excess oil.
Common Mistakes to Avoid
| Mistake | Consequence | How to Avoid |
|---|---|---|
| Adding too much water to dough | Soft, non-crispy crust | Add water gradually, only enough to form a firm dough |
| Not resting the dough | Tough, chewy crust | Allow at least 30 minutes of resting time |
| Overfilling samosas | Bursting during frying | Use moderate amount of filling (about 2 tablespoons) |
| Improper sealing | Filling leaks out during frying | Ensure edges are moistened and pressed firmly |
| Frying at high temperature | Brown outside, raw inside | Maintain medium-low heat throughout frying |
| Overcrowding the frying pan | Uneven cooking | Fry only 2-3 samosas at a time |
Variations to Try
Meat Filling
Replace potatoes with 1 pound ground meat (lamb, chicken, or beef). Cook meat with the same spices until well browned and thoroughly cooked before using as filling.
Paneer Filling
Substitute half the potatoes with crumbled paneer (Indian cottage cheese) for a creamier texture.
Sweet Samosas
Fill with a mixture of nuts, dried fruits, cardamom, and sugar for a delightful dessert version.
Baked Version
For a healthier alternative, brush samosas with oil and bake at 375°F (190°C) for about 25-30 minutes until golden and crisp.
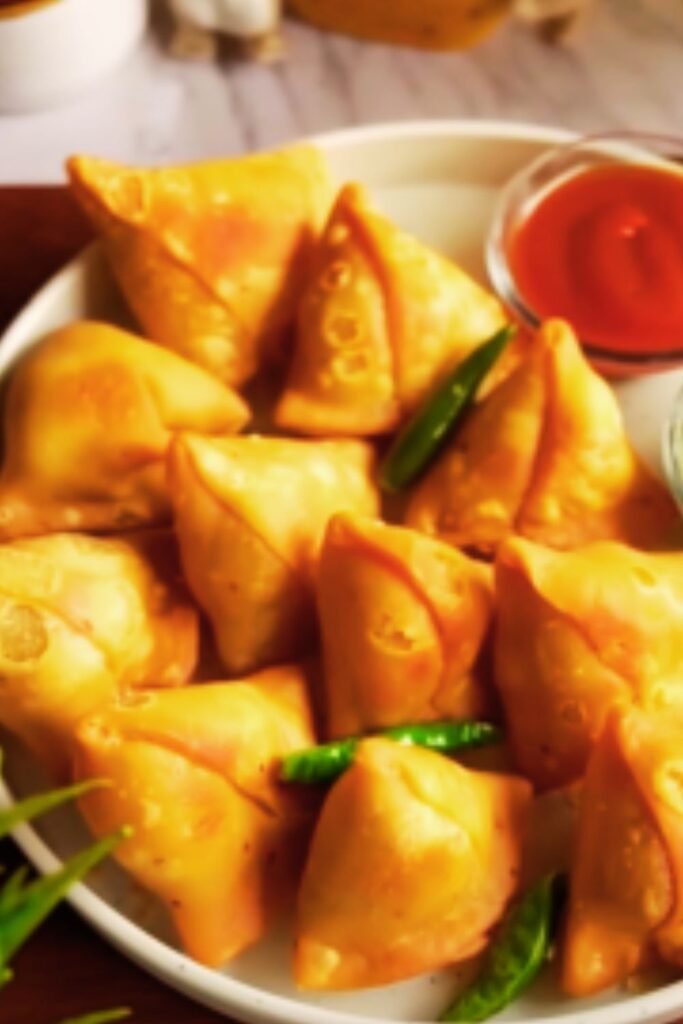
Serving Suggestions
A samosa is never complete without its accompaniments! Here are some classic pairings:
- Mint-Coriander Chutney: Blend fresh mint leaves, coriander, green chilies, lemon juice, and a pinch of salt for a refreshing dip.
- Tamarind Chutney: Sweet and tangy, perfect to balance the spices in the samosa.
- Yogurt Dip: Mix plain yogurt with a pinch of salt, roasted cumin powder, and a touch of sugar.
- Masala Chai: The traditional beverage pairing that complements samosas perfectly.
- Ketchup: A modern, fusion accompaniment popular with younger generations.
Storage and Reheating Tips
Fresh is Best: Samosas taste best when freshly fried, but if you need to make them ahead:
Storing Unfried Samosas:
- Place shaped, unfried samosas in a single layer on a tray.
- Freeze until solid (about 2 hours).
- Transfer to airtight containers or freezer bags.
- They can be stored in the freezer for up to 3 months.
- Fry directly from frozen (no need to thaw) – just add an extra minute or two to the frying time.
Storing Fried Samosas:
- Cool completely before storing.
- Refrigerate in an airtight container for up to 3 days.
- Freeze for longer storage (up to 1 month).
Reheating Methods:
| Method | Procedure | Result |
|---|---|---|
| Oven | Preheat to 350°F (175°C), place samosas on baking sheet, heat for 10-15 minutes | Maintains crispiness well |
| Air Fryer | 350°F (175°C) for 3-5 minutes | Best for restoring crispiness |
| Microwave | 30 seconds on high power (note: will soften the crust) | Quick but sacrifices texture |
| Stovetop | Heat in a covered pan on low heat for 3-4 minutes | Good compromise of speed and texture |
Nutritional Information
Each samosa (based on this recipe yielding 16 samosas) contains approximately:
| Nutrient | Amount per Samosa |
|---|---|
| Calories | 145-165 kcal |
| Carbohydrates | 18-20g |
| Protein | 2-3g |
| Fat | 7-9g |
| Fiber | 1-2g |
| Sodium | 120-150mg |
Note: Values are approximate and may vary based on exact ingredients and portion sizes.
Tips for Perfect Samosas Every Time
- The fat-to-flour ratio matters: Ensure you have enough oil or ghee in the dough for flakiness.
- Temperature control is key: Fry on medium-low heat for perfectly cooked samosas.
- Don’t skip the resting period: Allowing the dough to rest makes a significant difference in texture.
- Cool the filling completely: Hot filling can make the dough soggy and difficult to seal.
- Amchur (dried mango powder) adds that authentic tangy flavor – if unavailable, substitute with lemon juice.
- Add a pinch of asafoetida (hing) to the filling for enhanced flavor and improved digestibility.
- Seal edges properly: Any openings will cause oil to seep in and filling to leak out.
- Test the oil temperature: Too hot will burn the outside while leaving the inside raw; too cool will make greasy samosas.

Frequently Asked Questions
Q: Why did my samosa dough turn out hard? The dough may have been overworked or didn’t contain enough fat. Remember to knead just until the dough comes together and ensure you’ve added enough oil or ghee to the flour before adding water.
Q: Can I make samosas ahead of time for a party? Absolutely! You can either prepare the dough and filling a day ahead (store separately in the refrigerator) or shape the samosas and freeze them. Fry them just before serving for the best taste and texture.
Q: Is there a way to make samosas less oily? Yes, ensure your oil is at the right temperature (not too cool) and drain samosas well on paper towels after frying. Alternatively, try the baked version mentioned in the variations section.
Q: My samosas burst open during frying. What went wrong? This typically happens when the samosas aren’t sealed properly or the oil temperature is too high. Make sure to moisten the edges before sealing and maintain medium-low heat during frying.
Q: Can I use whole wheat flour instead of all-purpose flour? Yes, though the texture will be different – less flaky and more substantial. You can try a 50-50 mix of whole wheat and all-purpose flour for a healthier version that still maintains some flakiness.
Q: How do I know when the oil is at the right temperature for frying? Drop a small piece of dough into the oil. If it rises to the surface gradually with small bubbles around it (not too vigorously), the temperature is perfect. If it browns too quickly, the oil is too hot; if it sits at the bottom, the oil isn’t hot enough.
Q: My filling turned out too dry/too wet. How can I fix it? For dry filling, add a splash of water or a bit more oil while mixing. For wet filling, cook it longer to evaporate excess moisture or add a few tablespoons of breadcrumbs to absorb the liquid.
Q: Why add carom seeds (ajwain) to the dough? Carom seeds add a distinctive flavor and also aid digestion, which is helpful for fried foods. If you don’t have them, you can substitute with a pinch of dried thyme or omit entirely.
Conclusion
Making perfect samosas at home might seem intimidating at first, but with practice and attention to detail, you’ll soon be creating these delicious treats with confidence. I’ve found that the joy of sharing homemade samosas with friends and family makes all the effort worthwhile.
Remember that samosa-making is as much an art as it is a science. Don’t be discouraged if your first batch isn’t perfect – each time you make them, you’ll improve your technique and develop your personal touch. The crispy, flaky exterior combined with the aromatic, spiced filling makes samosas one of the most satisfying snacks to master in your culinary repertoire.
So gather your ingredients, set aside some time, and embark on this rewarding cooking adventure. Your taste buds will thank you, and you’ll have the satisfaction of creating an authentic Indian classic in your own kitchen!