There’s something magical about a meal that comes together in just one pan, especially when it delivers restaurant-quality flavors without the mountain of dishes afterward. I’ve perfected this creamy Parmesan chicken and rice recipe over countless dinner preparations, and I can confidently say it’s become my go-to solution for busy weeknights when I want something both comforting and impressive.
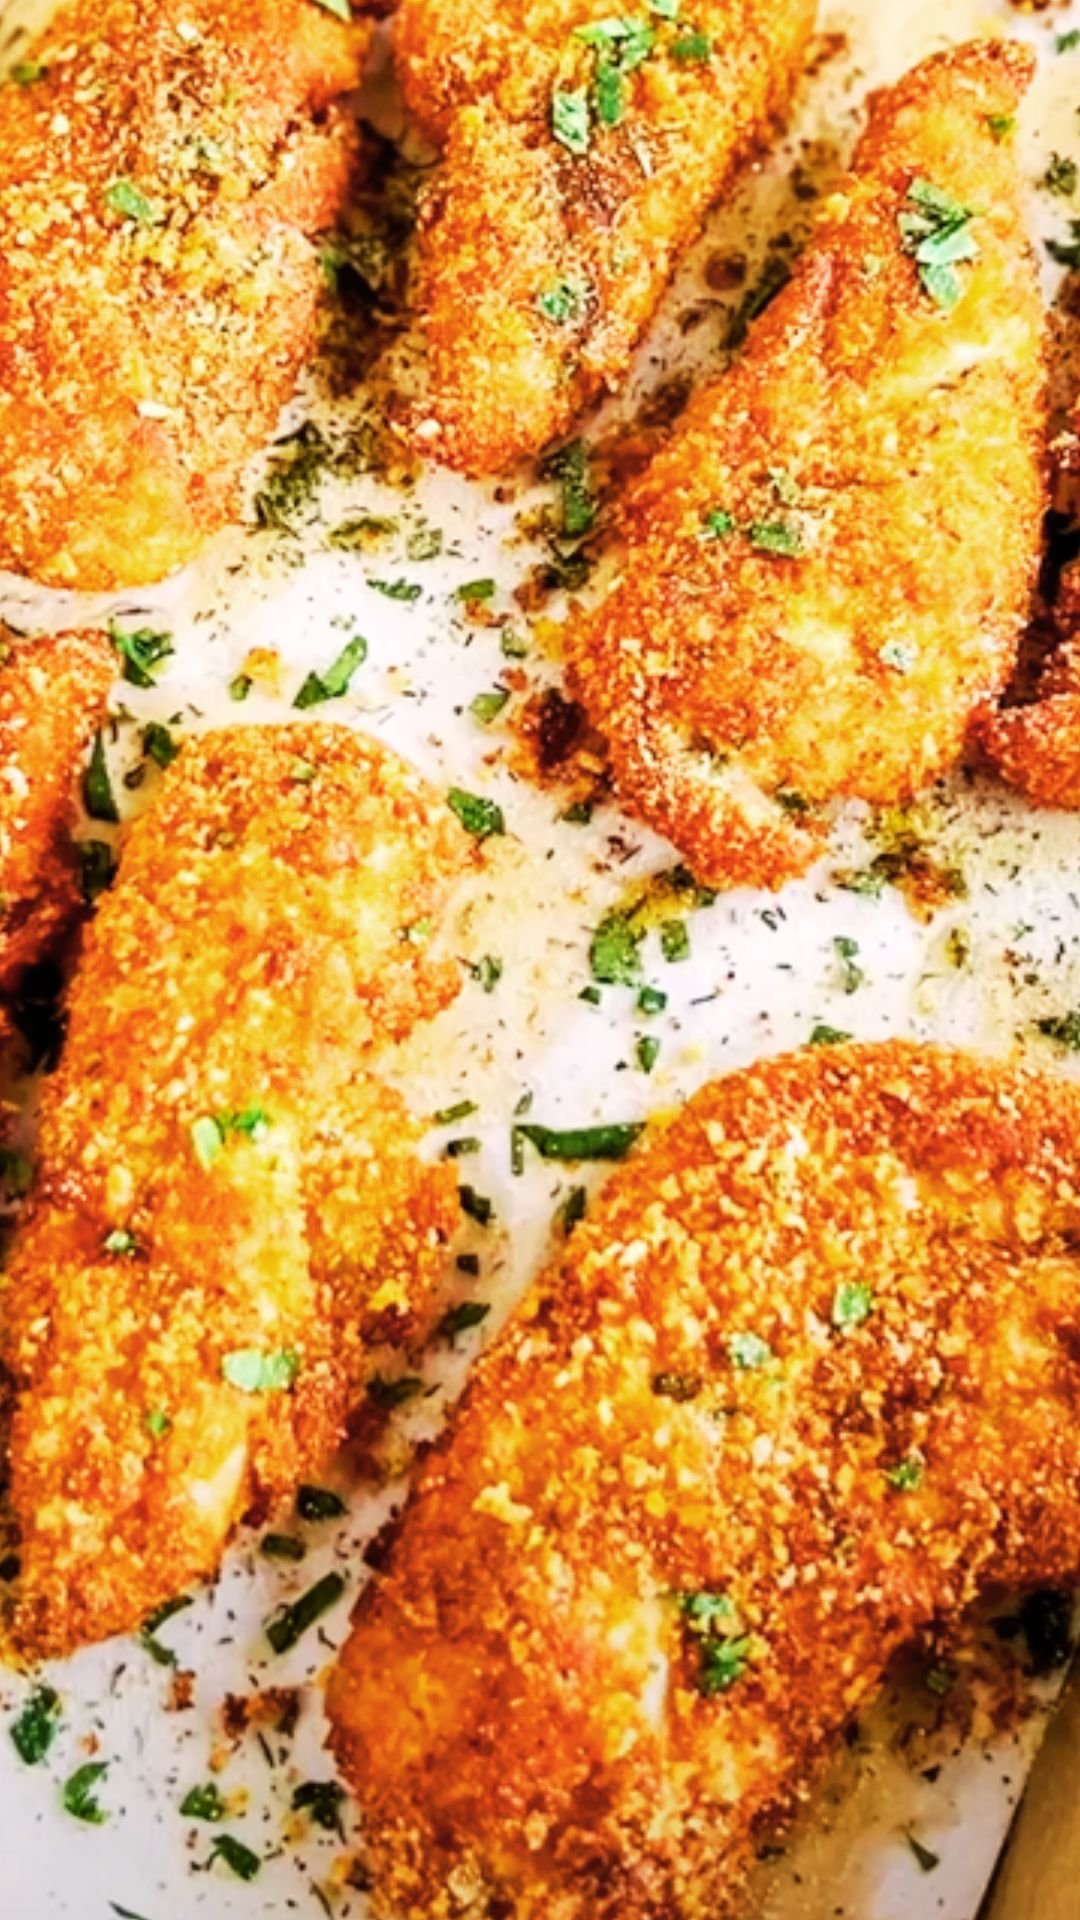
This dish combines tender, golden chicken thighs with perfectly cooked rice, all swimming in a rich, creamy Parmesan sauce that’ll have your family asking for seconds. What I love most about this recipe is how it transforms simple pantry staples into something extraordinary, and the best part? Everything cooks in one pan, making cleanup a breeze.
The secret lies in the layering technique I’ve developed, where each ingredient builds upon the last to create complex flavors that taste like you’ve been cooking all day. From the initial searing of the chicken to the final creamy finish, every step is designed to maximize flavor while minimizing effort.
Understanding the Perfect One-Pan Method
One-Pan Cooking: A technique where all ingredients are prepared and cooked in a single cooking vessel, allowing flavors to meld while reducing cleanup time and maximizing convenience.
Layered Cooking: The process of building flavors sequentially in the same pan, using the fond (browned bits) from previous ingredients to enhance subsequent additions.
Rice Absorption Method: A cooking technique where rice absorbs flavored liquids gradually, resulting in more flavorful grains compared to traditional boiling methods.
The beauty of one-pan cooking extends beyond convenience. When you cook chicken and rice together, the rice absorbs all those incredible chicken drippings and seasonings, creating a depth of flavor that’s impossible to achieve when cooking components separately. I’ve learned that timing is everything in this method – the chicken needs enough time to develop a golden crust while the rice cooks to perfect tenderness.
Essential Ingredients and Their Roles
| Ingredient | Quantity | Purpose | Substitution Options |
|---|---|---|---|
| Chicken Thighs (bone-in, skin-on) | 6-8 pieces | Primary protein, provides flavor base | Chicken breasts (adjust cooking time) |
| Long-grain White Rice | 1½ cups | Absorbs flavors, provides substance | Jasmine rice, Basmati rice |
| Heavy Cream | 1 cup | Creates creamy sauce base | Half-and-half (thinner consistency) |
| Parmesan Cheese (freshly grated) | 1 cup | Flavor enhancer, thickening agent | Pecorino Romano, Asiago |
| Chicken Broth | 2½ cups | Cooking liquid for rice | Vegetable broth, bone broth |
| Yellow Onion | 1 large | Aromatic base | Shallots, white onion |
| Garlic | 4 cloves | Flavor foundation | Garlic powder (1 tsp) |
| Italian Seasoning | 2 tsp | Herb blend for complexity | Individual herbs (oregano, basil, thyme) |
| Paprika | 1 tsp | Color and mild flavor | Smoked paprika for deeper flavor |
| Fresh Thyme | 2 tbsp | Fresh herb brightness | Dried thyme (1 tsp) |
| Olive Oil | 3 tbsp | Cooking fat | Avocado oil, vegetable oil |
Nutritional Information Per Serving
| Nutrient | Amount | % Daily Value |
|---|---|---|
| Calories | 485 | 24% |
| Protein | 35g | 70% |
| Carbohydrates | 42g | 14% |
| Fat | 22g | 34% |
| Saturated Fat | 8g | 40% |
| Cholesterol | 125mg | 42% |
| Sodium | 680mg | 30% |
| Fiber | 1g | 4% |
| Calcium | 285mg | 22% |
| Iron | 2.1mg | 12% |
Based on 6 servings using bone-in, skin-on chicken thighs
Step-by-Step Cooking Instructions
Preparation Phase (10 minutes)
I always start by getting my ingredients ready because this recipe moves quickly once you begin cooking. Pat the chicken thighs completely dry with paper towels – this step is crucial for achieving that beautiful golden-brown sear. Season both sides generously with salt, pepper, paprika, and half of the Italian seasoning.
While the chicken comes to room temperature, I dice the onion finely and mince the garlic. I’ve found that letting these aromatics sit for a few minutes actually intensifies their flavors. Measure out your rice and have your liquids ready to go.
Searing the Chicken (8 minutes)
Heat the olive oil in a large, heavy-bottomed pan or Dutch oven over medium-high heat. I prefer using a 12-inch cast-iron skillet or enameled Dutch oven because they retain heat beautifully and create excellent browning.
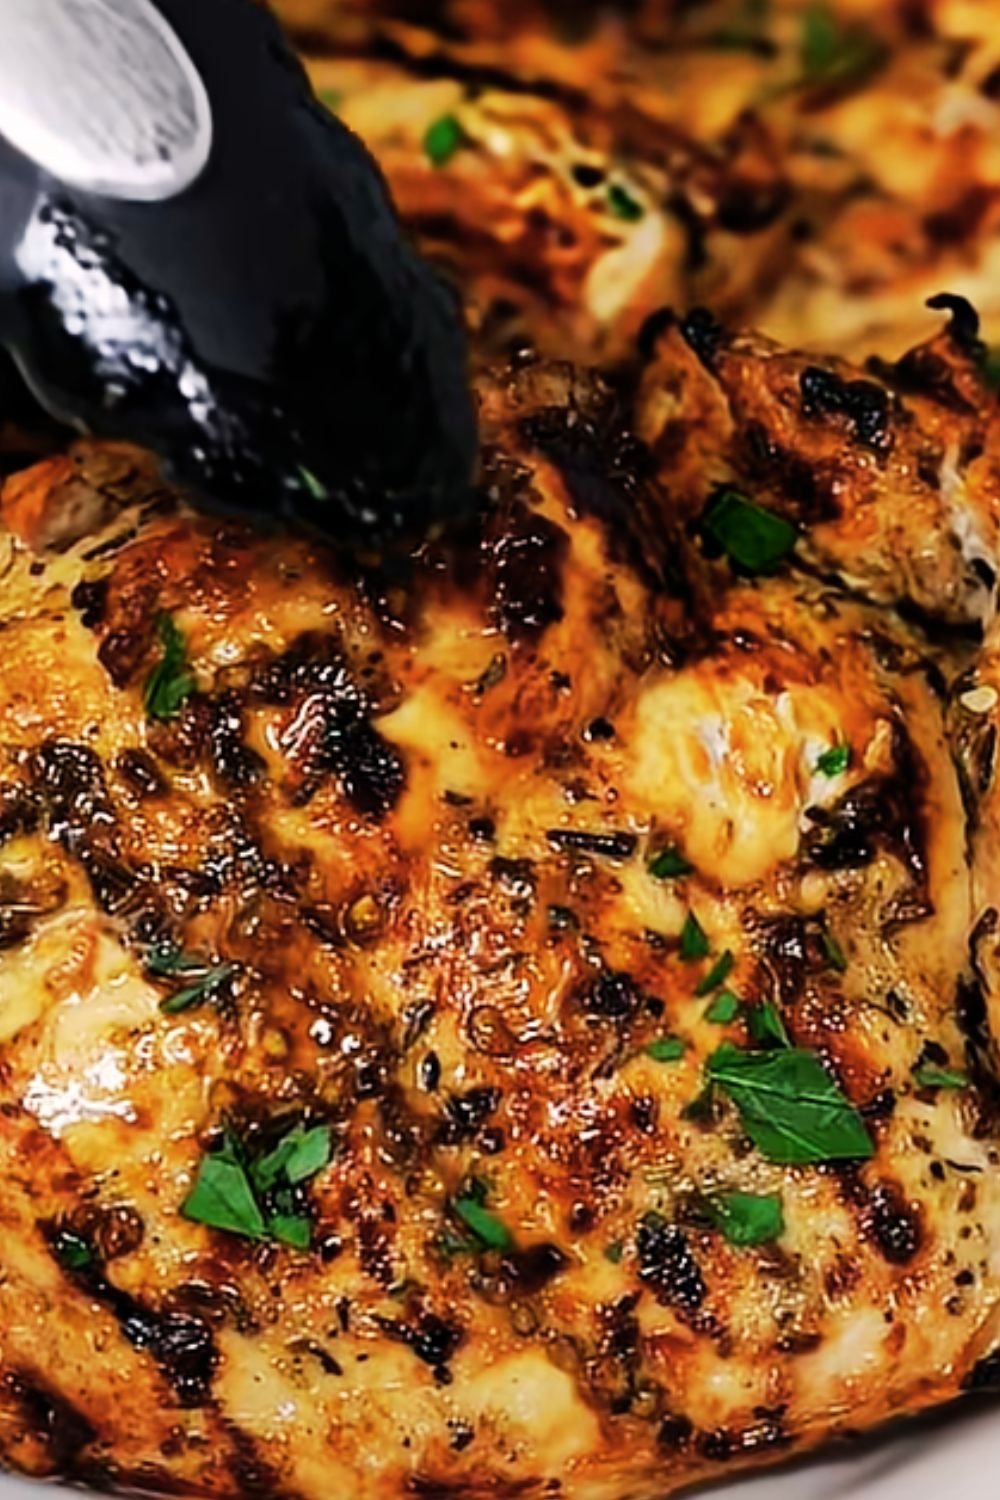
Place the chicken thighs skin-side down in the hot oil. Don’t move them! I know it’s tempting to peek and adjust, but let them sear undisturbed for 4-5 minutes until the skin releases easily and turns golden brown. Flip and sear the other side for another 3-4 minutes. The chicken won’t be fully cooked at this point – we’re just building that flavorful foundation.
Remove the chicken to a plate and don’t worry about the bits stuck to the bottom of the pan. Those browned bits (called fond) are pure gold for our sauce.
Building the Flavor Base (5 minutes)
Reduce the heat to medium and add the diced onion to the same pan. The residual fat from the chicken will be perfect for sautéing. Cook the onion for 3-4 minutes, stirring occasionally, until it becomes translucent and starts to caramelize slightly.
Add the minced garlic and remaining Italian seasoning, cooking for another 30 seconds until fragrant. I’ve learned not to cook garlic too long at this stage because it can become bitter.
Creating the Rice Base (3 minutes)
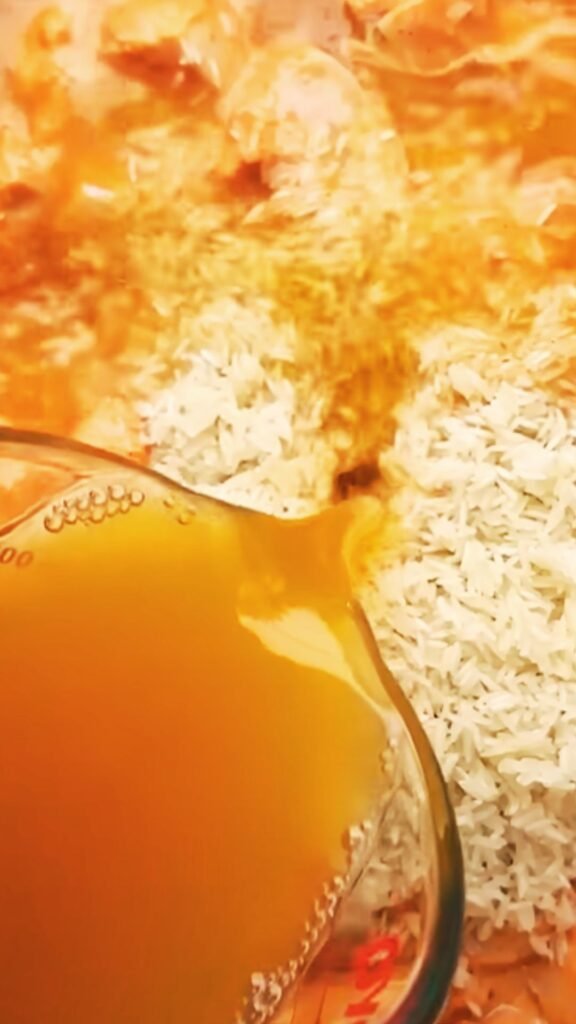
Add the rice to the pan and stir it around for 2-3 minutes. This toasting step is something I picked up from risotto techniques, and it adds a wonderful nutty depth to the final dish. The rice should look slightly translucent around the edges.
Pour in the chicken broth gradually while stirring, scraping up all those delicious browned bits from the bottom of the pan. This deglazing step incorporates all that concentrated flavor into our cooking liquid.
The Final Assembly (15 minutes)
Nestle the seared chicken thighs back into the pan, skin-side up, ensuring they sit on top of the rice rather than buried in it. This positioning allows the skin to stay crispy while the rice cooks below.
Bring the mixture to a gentle boil, then reduce the heat to low and cover the pan. I use a tight-fitting lid to trap all the steam. Cook for 15 minutes without lifting the lid – I know it’s tempting, but opening it releases precious steam needed for proper rice cooking.
The Creamy Finish (5 minutes)
After 15 minutes, remove the lid and check that the rice is tender and has absorbed most of the liquid. If it needs a few more minutes, cover and continue cooking.
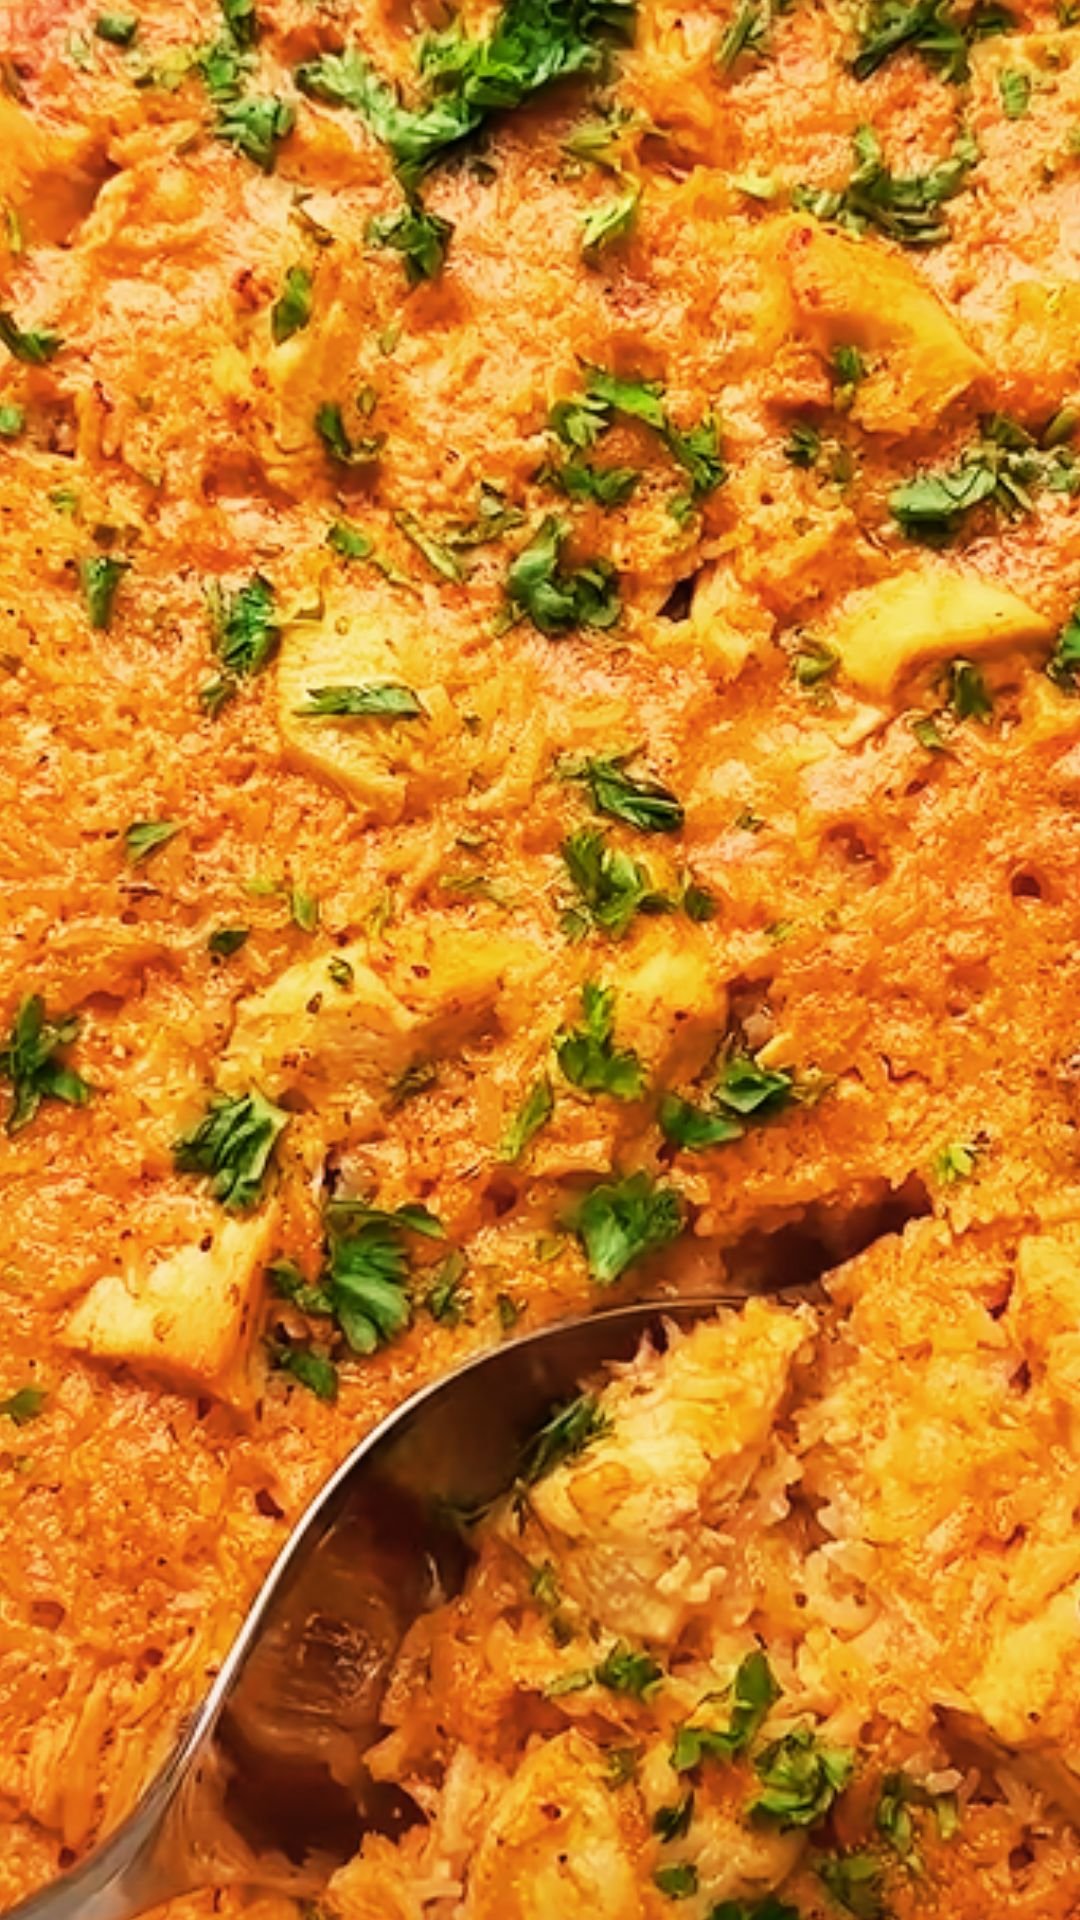
Once the rice is perfect, pour the heavy cream around the chicken (not over it – we want to keep that crispy skin). Sprinkle the grated Parmesan cheese over the cream and rice. Gently stir the cream and cheese into the rice, being careful not to break up the grains.
Let everything simmer uncovered for 2-3 minutes until the sauce thickens slightly. The residual heat will melt the cheese into a silky, creamy coating for the rice.
Timing and Temperature Guidelines
| Cooking Phase | Temperature | Duration | Visual Cues |
|---|---|---|---|
| Chicken Searing | Medium-high (375°F) | 8 minutes total | Golden-brown, releases easily |
| Onion Sautéing | Medium (325°F) | 3-4 minutes | Translucent, slightly caramelized |
| Rice Toasting | Medium (325°F) | 2-3 minutes | Edges look translucent |
| Rice Cooking | Low simmer | 15 minutes | Gentle bubbling, covered |
| Cream Integration | Low (250°F) | 2-3 minutes | Sauce coats spoon lightly |
| Final Rest | Off heat | 5 minutes | Flavors meld, temperature stabilizes |
Troubleshooting Common Issues
Rice Too Firm: If your rice isn’t tender after 15 minutes, add 2-3 tablespoons of additional broth and continue cooking covered for 3-5 more minutes. Different rice varieties and pan types can affect cooking times.
Sauce Too Thin: Remove the lid and let the dish simmer for an additional 2-3 minutes. The cream will reduce and thicken naturally. You can also add an extra tablespoon of Parmesan cheese.
Chicken Skin Not Crispy: This usually happens when the chicken is placed too deep in the liquid. Next time, ensure the chicken sits on top of the rice mixture, and avoid covering the skin with sauce.
Burnt Bottom: If you notice sticking during cooking, lower the heat immediately and add a splash of broth around the edges. Don’t stir vigorously – just gently loosen any stuck bits.
Serving Suggestions and Pairings
This creamy Parmesan chicken and rice is substantial enough to serve as a complete meal, but I love adding some colorful vegetables to round out the nutritional profile and add visual appeal.
Vegetable Sides: Roasted broccoli with lemon zest, steamed green beans with almonds, or a simple arugula salad with balsamic vinaigrette complement the richness beautifully. I often roast asparagus spears in the same oven while the chicken finishes cooking.
Bread Options: Warm focaccia, garlic breadsticks, or crusty sourdough are perfect for soaking up any extra creamy sauce. I’ve found that a light, herb-crusted bread doesn’t compete with the dish’s flavors.
Fresh Elements: A sprinkle of fresh parsley, basil, or chives over the finished dish adds a bright pop of color and freshness that cuts through the richness. Lemon wedges on the side allow guests to add a citrusy brightness if desired.
Storage and Reheating Instructions
| Storage Method | Duration | Container Type | Reheating Instructions |
|---|---|---|---|
| Refrigerator | 3-4 days | Airtight container | Add 2-3 tbsp broth, heat covered on low |
| Freezer | 2-3 months | Freezer-safe container | Thaw overnight, reheat as above |
| Individual Portions | 3-4 days | Single-serve containers | Microwave with splash of cream, 1-2 minutes |
When reheating, I always add a splash of chicken broth or cream to restore the creamy consistency. The rice tends to absorb the sauce as it sits, so this extra liquid brings back that luscious texture.
Recipe Variations and Adaptations
Mediterranean Style: Replace Italian seasoning with oregano and add sun-dried tomatoes, olives, and feta cheese instead of Parmesan. Use chicken broth infused with lemon juice.
Mushroom Lovers: Sauté 8 oz of sliced mushrooms after the onions and before adding the rice. Button, cremini, or shiitake mushrooms all work wonderfully.
Lighter Version: Substitute half-and-half for heavy cream and use reduced-sodium chicken broth. You can also remove the chicken skin before cooking to reduce fat content.
Vegetarian Adaptation: Replace chicken with thick portobello mushroom caps or firm tofu, and use vegetable broth instead of chicken broth.
Spicy Kick: Add red pepper flakes with the garlic, or include diced jalapeños with the onions for heat lovers.
Equipment Recommendations
| Equipment | Preferred Type | Why It Matters |
|---|---|---|
| Pan | 12-inch cast iron or enameled Dutch oven | Even heat distribution, retention |
| Lid | Tight-fitting | Prevents steam escape during rice cooking |
| Spatula | Thin, flexible | Won’t break rice grains when stirring |
| Tongs | Spring-loaded | Easy chicken handling and turning |
| Measuring Cups | Liquid and dry | Accurate ingredient proportions |
The right equipment makes a significant difference in this recipe’s success. I’ve made this dish in various pans, and heavy-bottomed options consistently produce the best results with even browning and no hot spots.
Frequently Asked Questions
Q: Can I use boneless, skinless chicken thighs instead? Yes, absolutely! Boneless thighs will cook faster, so reduce the initial searing time to 3-4 minutes per side. The cooking time for the rice portion remains the same, but check for doneness at 12-13 minutes instead of 15.
Q: What if I only have chicken breasts? Chicken breasts work, but they require more careful attention to prevent overcooking. Pound them to even thickness (about ¾ inch) and reduce all cooking times by about 20-25%. Use a meat thermometer to ensure they reach 165°F internal temperature.
Q: Can I make this dish dairy-free? You can substitute the heavy cream with full-fat coconut milk and use nutritional yeast instead of Parmesan cheese. The flavor profile will change, but it’s still delicious. Add the coconut milk gradually to prevent curdling.
Q: Why does my rice sometimes turn out mushy? Mushy rice usually results from too much liquid or overcooking. Make sure you’re using long-grain rice (not short-grain or instant rice) and measuring liquids accurately. Also, avoid stirring the rice once you’ve covered the pan.
Q: Can I prep this dish ahead of time? You can season the chicken and prep all vegetables up to 24 hours ahead. However, I don’t recommend fully cooking and storing this dish, as the rice texture suffers. The recipe moves quickly enough that fresh preparation is best.
Q: What’s the best way to get crispy chicken skin? Start with completely dry chicken thighs and don’t move them once they hit the hot oil. Make sure your pan is properly preheated, and always place the chicken skin-side up during the final cooking phase so it stays above the liquid.
Q: Can I double this recipe for a larger family? Yes, but you’ll need a larger pan (at least 14-16 inches) or two separate pans. When doubling, increase cooking times slightly – about 18-20 minutes for the rice cooking phase instead of 15.
Q: How do I know when the rice is perfectly cooked? The rice should be tender but still have a slight bite (al dente). It should have absorbed most of the liquid, with just a small amount of creamy sauce remaining. If you can see standing liquid after 15 minutes, continue cooking uncovered for 2-3 more minutes.
Q: What should I do if my sauce breaks or curdles? If the cream separates, remove the pan from heat immediately and whisk in a tablespoon of cold cream or milk. This usually happens from too high heat. Prevention is better – always use low heat when adding dairy products.
Q: Can I use brown rice instead of white rice? Brown rice requires longer cooking time and more liquid. If using brown rice, increase the chicken broth to 3 cups and extend the cooking time to 25-30 minutes. The texture will be chewier but equally delicious.
This one-pan creamy Parmesan chicken and rice has become more than just a recipe in my kitchen – it’s a reliable friend that delivers comfort and satisfaction every single time. The combination of crispy-skinned chicken, perfectly cooked rice, and that luxurious creamy sauce creates a harmony of flavors and textures that feels both familiar and special.
What I love most about sharing this recipe is watching how it becomes part of other families’ dinner rotations. It’s forgiving enough for beginners but sophisticated enough to impress dinner guests. The technique you’ll learn here – building layers of flavor in one pan – will serve you well in countless other recipes.
Remember, cooking is about more than following instructions; it’s about understanding your ingredients and trusting your instincts. Once you’ve made this dish a few times, you’ll start to recognize the visual and aromatic cues that signal each stage of cooking. That’s when you know you’ve truly mastered not just this recipe, but the art of one-pan cooking itself.