There’s something magical about watching a flat disc of dough puff up into a perfect pocket of steamy, pillowy bread. I’ve been making homemade pita bread for years, and I still get a little thrill every time those bubbles form and the dough balloons in the oven. If you’ve only experienced store-bought pita, you’re in for a revelation—fresh homemade pita is an entirely different experience that will transform your sandwiches, dips, and meals.
I discovered my passion for pita bread during a cooking class in Greece. The instructor, a grandmother who’d been making pita for over 50 years, showed us how simple yet transformative this ancient bread could be. When I returned home, I was determined to recreate that experience, and after many trials (and some hilariously deflated failures), I perfected my recipe. Today, I’m sharing everything I’ve learned so you can enjoy this incredible bread at home.
Why Homemade Pita Bread Will Change Your Sandwich Game
Forget those dry, stiff pitas from the grocery store. Homemade pita bread is:
- Incredibly fresh: The difference between day-old and fresh-from-the-oven pita is like comparing a garden tomato to the mealy winter variety
- Perfectly pocketable: When made correctly, homemade pitas reliably form that signature pocket for stuffing with delicious fillings
- Customizable: Add herbs, spices, or whole grain flours to match your sandwich fillings
- Cost-effective: A batch costs pennies compared to store-bought versions
- Surprisingly simple: The technique takes practice, but the ingredients and equipment are minimal
Making your own pita bread isn’t just about better taste—it’s about transforming the entire sandwich experience. When you bite into a sandwich made with warm, fresh pita that you created with your own hands, it elevates even the simplest fillings into something special.
Essential Ingredients for Perfect Pita Bread
The beauty of pita bread lies in its simplicity. You’ll need just a few basic ingredients, but each plays a crucial role:
Flour: Your choice of flour dramatically affects the final texture and flavor:
- All-purpose flour: Creates a reliably good pita with moderate chew
- Bread flour: Higher protein content produces a chewier, more elastic pita with excellent pockets
- Whole wheat flour: Adds nutty flavor and nutrition (best used in a blend with white flour)
Yeast: The leavening agent that creates those all-important bubbles:
- Active dry yeast: Requires activation in warm water before use
- Instant yeast: Can be mixed directly with dry ingredients (my preference for reliability)
Water: The temperature matters significantly:
- Too cold: Slow, inconsistent rise
- Too hot: Kills the yeast
- Just right (105-110°F): Perfect activation
Salt: More than flavor, salt regulates yeast activity and strengthens the gluten structure.
Olive oil: A small amount creates tenderness and enhances browning.
Sugar (optional): A pinch helps activate yeast and promotes browning.
Let’s look at exact measurements for a standard batch:
| Ingredient | Amount | Notes |
|---|---|---|
| Bread flour | 3 cups (375g) | Can substitute up to 1 cup with whole wheat |
| Instant yeast | 2 teaspoons (7g) | Or 2¼ teaspoons active dry yeast |
| Salt | 1½ teaspoons (9g) | Table salt or fine sea salt |
| Sugar | 1 teaspoon (4g) | Optional but recommended |
| Warm water | 1¼ cups (295ml) | 105-110°F (40-43°C) |
| Olive oil | 2 tablespoons (30ml) | Extra virgin provides more flavor |
Equipment You’ll Need
While pita bread is relatively simple, having the right tools makes a huge difference in your success rate:
- Kitchen scale: For precise measurements (strongly recommended)
- Stand mixer with dough hook (optional but helpful)
- Large mixing bowl
- Clean kitchen towel or plastic wrap
- Rolling pin
- Baking stone or heavy baking sheet
- Pizza peel or rimless baking sheet (for transferring dough)
The baking surface is particularly important. A preheated baking stone or steel provides the intense bottom heat that helps create that initial burst of steam inside the dough, forming the pocket. If you don’t have one, an inverted heavy baking sheet works decently well.
The Step-by-Step Pita Making Process
Stage 1: Creating the Dough
- Activate the yeast (if using active dry): Combine warm water with sugar and sprinkle yeast over the surface. Let sit for 5-10 minutes until foamy.
- Mix dry ingredients: In a large bowl, whisk together flour and salt.
- Combine wet and dry: Add activated yeast mixture (or water and instant yeast) and olive oil to the flour. Stir until a shaggy dough forms.
- Knead the dough: Turn onto a floured surface and knead for 8-10 minutes until smooth and elastic. The dough should pass the “windowpane test” – when stretched thin, it should become translucent without tearing.
- First rise: Place dough in an oiled bowl, cover with a damp towel, and let rise in a warm spot until doubled, about 1-2 hours.
Stage 2: Shaping the Pitas
- Punch down the dough to release excess air bubbles.
- Divide the dough into 8 equal pieces (about 85-90g each for medium pitas). For more precise portions, use a scale.
- Shape into balls: Roll each piece into a tight ball by cupping your hand around the dough and moving in a circular motion against the work surface.
- Rest the dough: Cover the balls with a towel and let rest for 15-20 minutes. This relaxes the gluten and makes rolling easier.
- Roll out the pitas: On a lightly floured surface, roll each ball into a circle about ¼-inch thick (6mm) and 6-7 inches (15-18cm) in diameter. Maintain even thickness throughout.

Stage 3: Baking to Perfection
- Preheat your oven: Set to 475°F (245°C) with a baking stone or inverted baking sheet inside for at least 30 minutes.
- Transfer to oven: Carefully place 2-3 pitas directly on the hot surface.
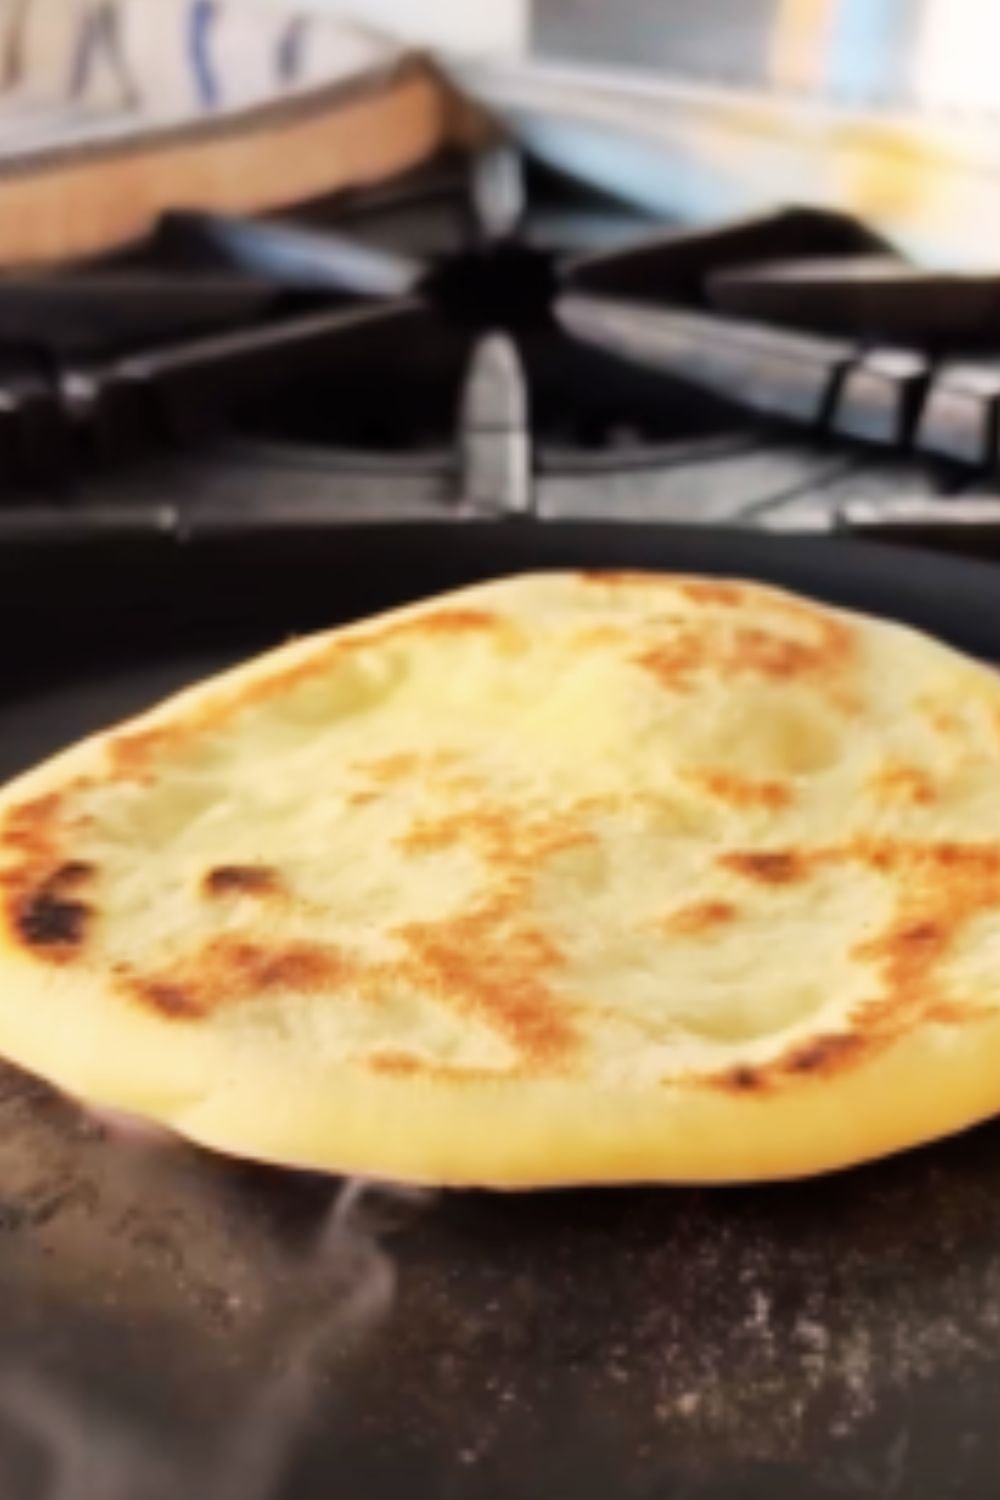
- Watch the magic: The pitas should begin to puff within 1-2 minutes.
- Bake until done: Cook for 3-4 minutes total, until puffed and lightly golden on the bottom.
- Cool properly: Transfer baked pitas to a wire rack and cover with a clean kitchen towel to keep them soft as they cool.
Troubleshooting: Why Aren’t My Pitas Puffing?
The pocket is the defining feature of pita bread, but achieving it consistently can be tricky. Here’s how to diagnose and fix common problems:
| Problem | Possible Causes | Solutions |
|---|---|---|
| No puffing at all | Oven not hot enough | Preheat longer or increase temperature |
| Dough too dry | Add a bit more water to next batch | |
| Uneven thickness | Roll more carefully with consistent pressure | |
| Partial puffing | Overhandled dough | Handle gently after rolling |
| Surface not hot enough | Ensure stone/sheet is fully preheated | |
| Puffing but collapsing | Underbaked | Increase baking time slightly |
| Dough too wet | Add a bit more flour to next batch | |
| Tough texture | Overkneaded | Reduce kneading time |
| Too much flour added | Use a scale for more precise measurements |
One of my favorite tricks for stubborn dough is adding a light spritz of water to the tops of the pitas just before baking. The extra moisture helps create steam inside the dough, encouraging better puffing.
Variations to Elevate Your Pita Game
Once you’ve mastered the basic recipe, try these flavorful variations:
Whole Wheat Blend
Replace up to 50% of the white flour with whole wheat for a more nutritious, nutty-flavored pita. You’ll need to increase the water slightly (about 2 extra tablespoons) as whole wheat absorbs more moisture.
Herb-Infused Pita
Add 2-3 tablespoons of finely chopped fresh herbs to the dough:
- Mediterranean: Rosemary, thyme, and oregano
- Middle Eastern: Parsley, mint, and za’atar
- Italian: Basil, oregano, and garlic powder
Multigrain Power Pita
Add 3 tablespoons mixed seeds (sesame, flax, sunflower, pumpkin) to the dough for extra crunch and nutrition.
Garlic and Onion Pita
Add 2 teaspoons garlic powder and 2 tablespoons dried minced onion to the flour mixture for an aromatic twist.
Storing and Refreshing Your Homemade Pitas
For maximum enjoyment, I recommend eating pitas the same day they’re made. However, proper storage can extend their life:
Short-Term Storage (1-2 days)
- Cool completely
- Store in a plastic bag or airtight container at room temperature
- Add a paper towel to absorb excess moisture
Longer Storage (up to 3 months)
- Cool completely
- Wrap tightly in plastic wrap and then foil
- Place in freezer-safe bag
- Freeze
Refreshing Stale Pitas
Even day-old pitas can be revitalized with these methods:
- Oven method: Sprinkle with water, wrap in foil, and heat at 350°F (175°C) for 5-7 minutes
- Stovetop method: Dampen slightly and warm in a covered skillet over medium-low heat for 1-2 minutes per side
- Microwave method (last resort): Wrap in damp paper towel and microwave for 10-15 seconds
Taking Your Sandwich Game to the Next Level
Fresh pita bread deserves equally thoughtful fillings. Here are some inspired combinations that pair perfectly with your homemade pitas:
Mediterranean Classic
- Hummus (homemade or store-bought)
- Thinly sliced cucumber and tomato
- Crumbled feta cheese
- Kalamata olives
- Fresh mint leaves
- Squeeze of lemon juice
Falafel Fantasy
- Crispy fried or baked falafel
- Tahini sauce
- Pickled turnips or radishes
- Chopped Israeli salad
- Fresh parsley
- Hot sauce (optional)
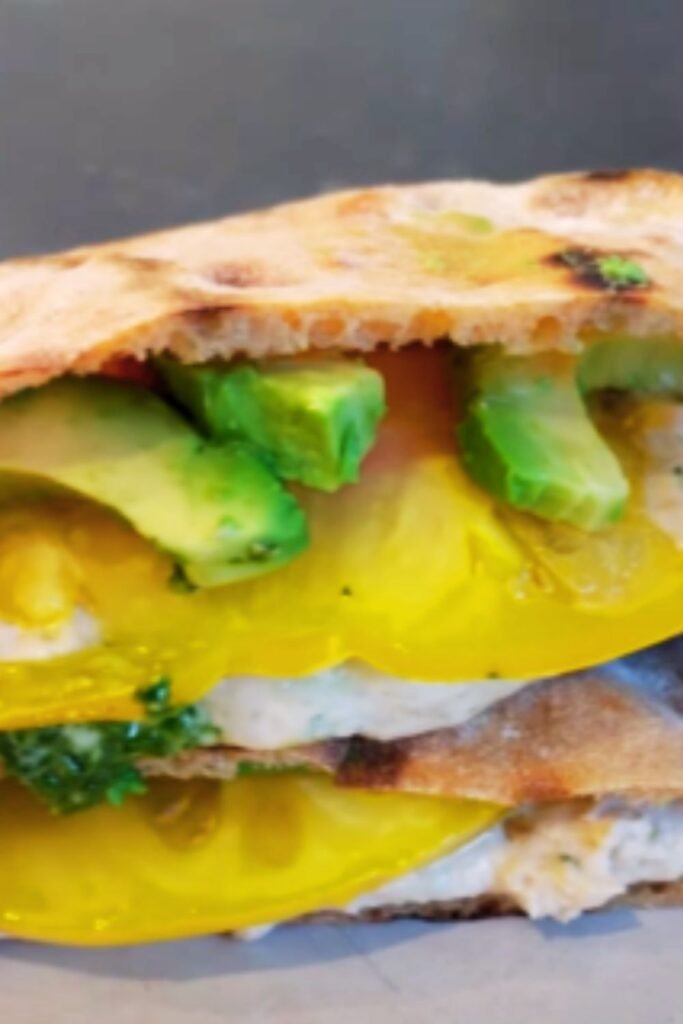
Breakfast Pocket
- Scrambled eggs with herbs
- Avocado slices
- Roasted cherry tomatoes
- Crumbled goat cheese
- Baby spinach
- Za’atar seasoning
Roasted Veggie Delight
- Roasted eggplant, zucchini, and bell peppers
- Labneh or Greek yogurt
- Fresh mint and dill
- Sumac and olive oil drizzle
- Toasted pine nuts

Serving Suggestions Beyond Sandwiches
While pita sandwiches are divine, don’t limit yourself! Here are other delicious ways to enjoy your homemade pita:
- Pita chips: Cut into triangles, brush with olive oil, season, and bake until crisp
- Pizza base: Top a whole pita with sauce, cheese, and toppings for a quick personal pizza
- Bread replacement: Serve alongside soups, stews, or curries
- Dip vehicle: Tear into pieces for scooping hummus, baba ganoush, or tzatziki
- Breakfast toast alternative: Top with avocado, eggs, or nut butter
Why the Effort is Worth It
I know making bread from scratch might seem intimidating or time-consuming, but I promise the results are worth it. There’s a profound satisfaction in creating something so fundamental and delicious with your own hands. The process becomes meditative after a few tries, and the difference in quality compared to store-bought is immeasurable.
Plus, once you get the hang of it, you can have fresh pita ready in about 3 hours total (most of which is hands-off rising time). Make a double batch on weekends and freeze the extras for quick meals throughout the week.
Frequently Asked Questions
Q: Can I make pita bread without a stand mixer?
Absolutely! While a stand mixer makes the process easier, people have been making pita bread by hand for thousands of years. Simply mix the ingredients with a wooden spoon until combined, then turn out onto a floured surface and knead by hand for 8-10 minutes until smooth and elastic.
Q: Why are store-bought pitas often dry and crumbly?
Commercial pitas typically contain preservatives and dough conditioners to extend shelf life, but these affect texture and flavor. They’re also likely several days old by the time you purchase them. Fresh homemade pitas contain only natural ingredients and have superior texture when eaten within a day of baking.
Q: My pitas didn’t form pockets. What went wrong?
Pita pockets form when steam builds up inside the dough during baking. Ensure your oven and baking surface are properly preheated, your dough isn’t too dry, and you’re rolling the pitas to an even thickness. Sometimes, spritzing the tops with water before baking can help create more steam.
Q: Can I make whole wheat pita bread?
Yes! Start by replacing just 25-50% of the all-purpose flour with whole wheat, as 100% whole wheat can be challenging for beginners. Whole wheat flour absorbs more water, so you’ll likely need to add 2-3 extra tablespoons of water to achieve the right dough consistency.
Q: How can I make my pitas softer and more pliable?
For softer pitas, add a bit more olive oil to the dough (up to 3 tablespoons total). Also, be sure to cover the freshly baked pitas with a clean kitchen towel as they cool – this traps steam and keeps them soft. Finally, don’t overbake them; remove from the oven as soon as they’ve puffed and have just a light golden color.
Q: Can I make gluten-free pita bread?
Traditional pita relies heavily on gluten for its characteristic pocket and texture. While you can make flatbreads with gluten-free flour blends, achieving the pocket is difficult. Your best bet is using a high-quality cup-for-cup gluten-free flour blend with xanthan gum, plus adding 1 tablespoon of psyllium husk powder to help with structure.
Q: How do I prevent my pitas from deflating after baking?
Some deflation is normal as the bread cools. However, ensure you’re baking long enough (3-4 minutes) and let the pitas cool on a wire rack covered with a clean kitchen towel. The towel traps just enough moisture while allowing excess to escape, helping maintain structure.
A Final Note on the Joy of Homemade Bread
There’s something deeply satisfying about making your own bread. In our fast-paced world of convenience foods, taking the time to create something as fundamental as bread connects us to thousands of years of human tradition. The aroma that fills your kitchen, the anticipation as you watch the dough rise, and the pride when you pull perfectly puffed pitas from the oven are experiences that nourish more than just the body.
I encourage you to approach this recipe with patience and curiosity. Your first batch might not be perfect, and that’s okay. Each time you make pita bread, you’ll develop a better feel for the dough and more confidence in your technique. Before long, you’ll be creating pitas that make the store-bought version pale in comparison.
So heat up that oven, dust your counters with flour, and discover the satisfaction of making your own perfect pita pockets. Your sandwiches will never be the same again.