There’s something magical about the crispy, golden coating that transforms ordinary chicken into a family favorite. I remember the first time I tried to recreate that beloved boxed coating mix at home – my kitchen counter looked like a flour bomb had exploded, but the results were absolutely worth it. Making your own Shake and Bake coating isn’t just about saving money; it’s about controlling every ingredient that goes into your family’s meal.
After years of perfecting this recipe, I’ve discovered that homemade versions taste infinitely better than store-bought alternatives. You can adjust the seasoning to your family’s preferences, eliminate unnecessary preservatives, and create a coating that’s perfectly suited to your taste buds. Plus, you probably already have most of these ingredients sitting in your pantry right now.
What Makes Perfect Shake and Bake Coating
Creating an exceptional homemade Shake and Bake coating requires understanding the science behind what makes it work. The combination of breadcrumbs and flour provides structure, while the right blend of seasonings delivers that signature flavor we all crave.
Breadcrumb Base: The foundation of any great coating lies in the breadcrumbs. I prefer using panko breadcrumbs for their superior crunch, but regular fine breadcrumbs work beautifully too. The key is ensuring they’re completely dry – any moisture will result in a soggy coating that doesn’t crisp up properly.
Flour Component: All-purpose flour acts as a binding agent, helping the coating adhere to the chicken while creating that perfect golden exterior. The ratio of breadcrumbs to flour is crucial – too much flour makes the coating heavy, while too little results in poor adhesion.
Seasoning Symphony: This is where the magic happens. My blend includes paprika for color and mild heat, garlic powder for depth, onion powder for sweetness, and a carefully balanced mix of herbs and spices that complement rather than overpower the chicken.
Essential Ingredients Breakdown
Let me walk you through each component and explain why it’s essential to achieving that perfect coating:
Panko Breadcrumbs (2 cups): These Japanese-style breadcrumbs create the crispiest coating imaginable. Their irregular shape and larger size trap air, resulting in maximum crunch.
All-Purpose Flour (1/2 cup): Acts as the binding agent and helps create a golden-brown color when baked.
Paprika (2 tablespoons): Provides that signature reddish color and adds a subtle smoky flavor without too much heat.
Garlic Powder (1 tablespoon): Delivers savory depth that penetrates the chicken during cooking.
Onion Powder (1 tablespoon): Adds sweetness and complexity to balance the other flavors.
Dried Oregano (2 teaspoons): Brings an earthy, herbaceous note that’s essential to the classic flavor profile.
Dried Basil (2 teaspoons): Contributes a subtle sweetness and aromatic quality.
Salt (2 teaspoons): Enhances all other flavors and helps draw moisture from the chicken surface.
Black Pepper (1 teaspoon): Adds a gentle heat and complexity.
Cayenne Pepper (1/2 teaspoon): Optional, but I love the subtle kick it provides.
Step-by-Step Preparation Method
Creating this coating is surprisingly simple, but attention to detail makes all the difference. Here’s my foolproof method:
Step 1: Combine Dry Ingredients In a large mixing bowl, combine all the dry ingredients. I use a whisk to ensure everything is evenly distributed. Don’t skip this step – uneven seasoning distribution will result in some pieces being bland while others are overpowering.
Step 2: Test and Adjust Before using the entire batch, I always test a small amount on one piece of chicken. This allows me to adjust seasoning levels if needed. Everyone’s taste preferences are different, and this step ensures perfect results every time.
Step 3: Storage Preparation If you’re not using the coating immediately, transfer it to an airtight container. Properly stored, this mixture stays fresh for up to three months, making it perfect for meal prep.
Coating Application Techniques
The way you apply the coating is just as important as the mixture itself. I’ve learned these techniques through trial and error, and they make a significant difference in the final result.
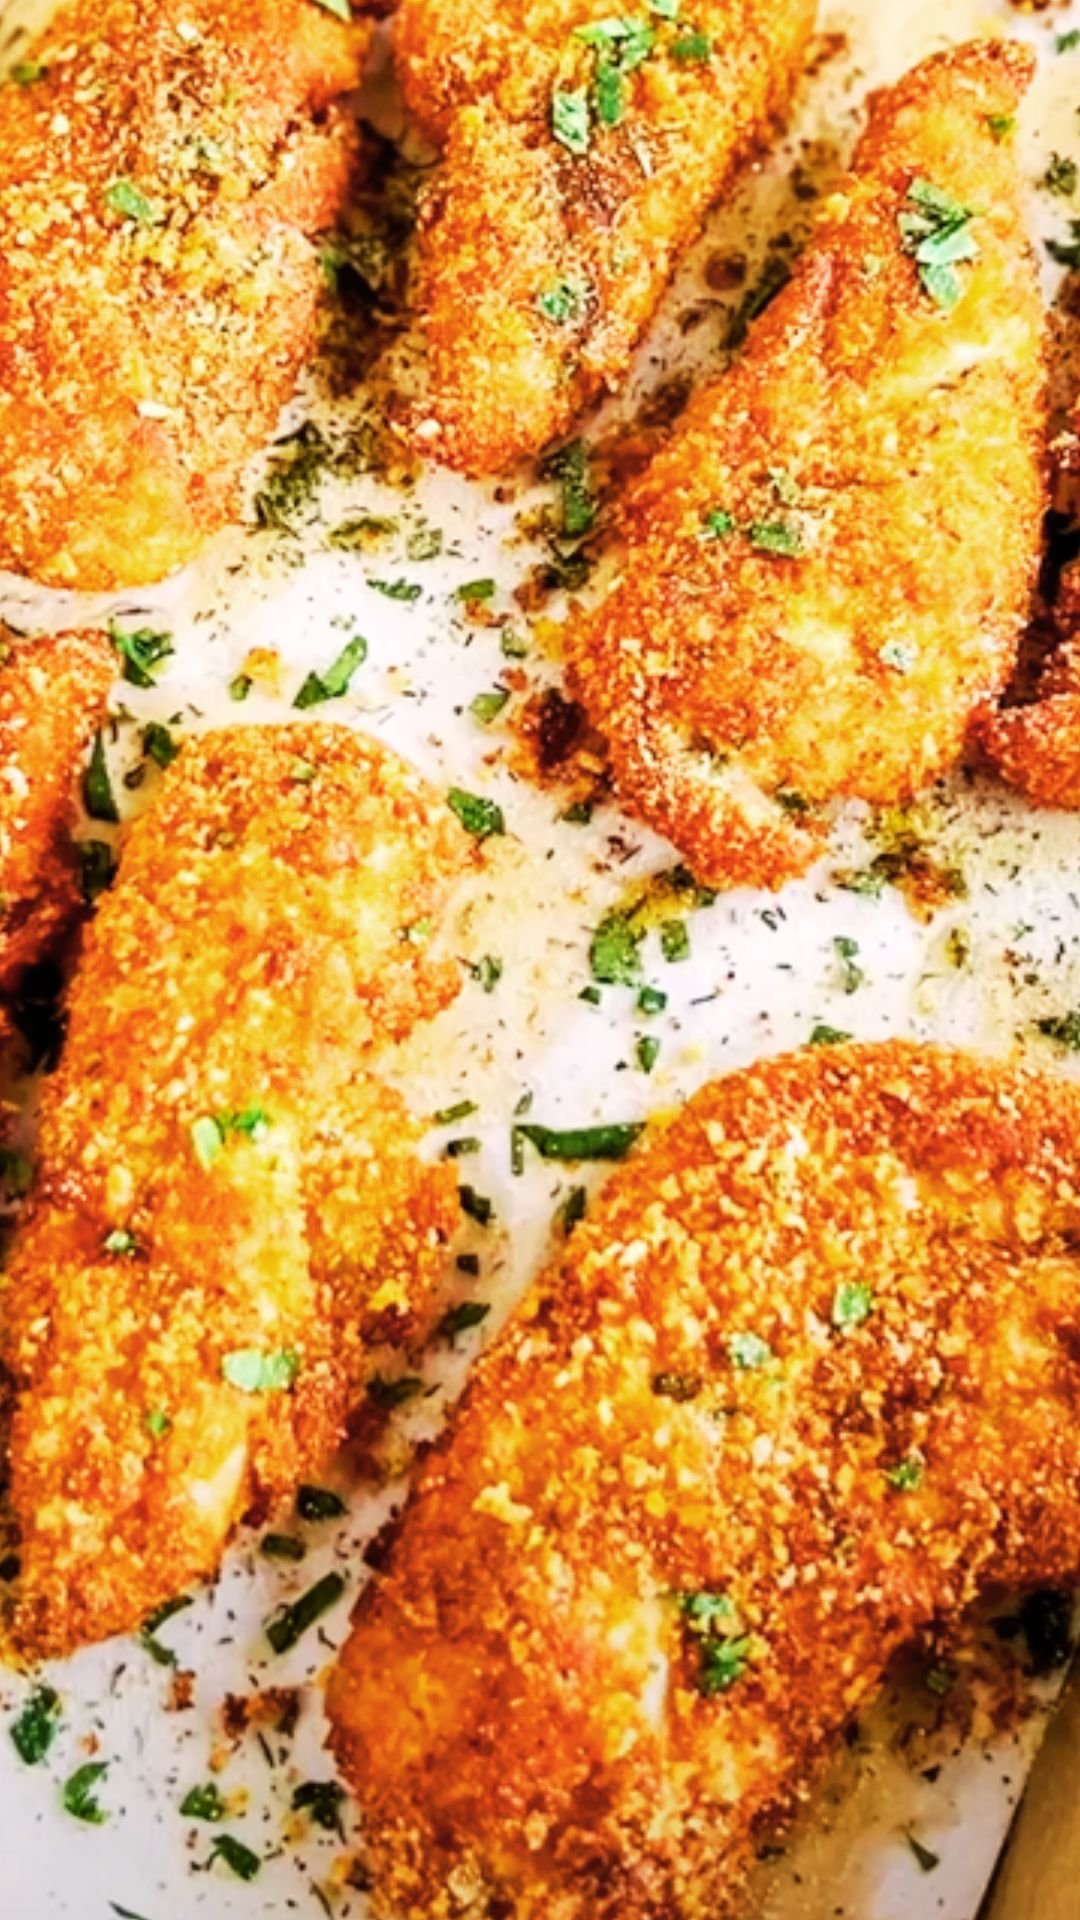
Preparation Phase: Remove chicken from the refrigerator 15-20 minutes before coating. Room temperature chicken coats more evenly and cooks more uniformly. Pat each piece completely dry with paper towels – excess moisture is the enemy of crispy coating.
The Shake Method: Place 2-3 pieces of chicken in a large zip-top bag with about 1/2 cup of coating mixture. Seal the bag and shake vigorously for 30-45 seconds. The bag method ensures even coating without the mess of traditional breading stations.
Press and Rest: After shaking, remove the chicken and gently press any loose coating onto the surface. Let the coated chicken rest on a wire rack for 10 minutes before baking. This resting period allows the coating to adhere better and results in less falloff during cooking.

Cooking Instructions and Temperature Guide
Proper cooking technique transforms your perfectly coated chicken into a crispy, juicy masterpiece. Here’s my proven method:
Oven Preparation: Preheat your oven to 400°F (200°C). Line a large baking sheet with parchment paper or lightly grease it. For extra crispiness, place a wire rack on the baking sheet and arrange chicken on the rack.
Cooking Times: Different cuts require different cooking times. Bone-in pieces need 35-45 minutes, while boneless cuts cook in 20-25 minutes. Always use a meat thermometer to ensure internal temperature reaches 165°F (74°C).
Flipping Strategy: I don’t flip the chicken during cooking. The coating stays more intact, and the bottom develops a lovely golden color from the heat of the pan.
Nutritional Comparison Table
| Nutrient | Homemade (per serving) | Store-bought (per serving) | Difference |
|---|---|---|---|
| Calories | 180 | 220 | -40 calories |
| Sodium | 380mg | 680mg | -300mg |
| Fat | 4g | 8g | -4g |
| Protein | 28g | 26g | +2g |
| Carbs | 12g | 16g | -4g |
| Sugar | 1g | 3g | -2g |
| Fiber | 1g | 0g | +1g |
| Preservatives | 0 | 7+ ingredients | Significantly less |
Seasoning Variations and Customizations
One of my favorite aspects of making homemade coating is the ability to customize flavors. Here are some variations I’ve developed over the years:
Italian Herb Blend: Add extra oregano, basil, and a teaspoon of dried rosemary. Include 2 tablespoons of grated Parmesan cheese for extra richness.
Spicy Cajun Style: Increase cayenne to 1 teaspoon, add 1 tablespoon of chili powder, and include 1/2 teaspoon each of cumin and smoked paprika.
Ranch Flavor: Mix in 1 packet of ranch dressing powder with the dry ingredients. Reduce salt accordingly since ranch powder contains sodium.
Herb-Crusted Version: Double the oregano and basil, add 1 teaspoon each of dried thyme and sage for a more herbaceous coating.
Storage and Shelf Life Guidelines
Proper storage ensures your homemade coating maintains its quality and flavor. I’ve learned these storage tips through experience:
Short-term Storage: Keep the coating mixture in an airtight container at room temperature for up to one month. Store in a cool, dry place away from direct sunlight.
Long-term Storage: For longer storage, keep the mixture in the refrigerator for up to three months or in the freezer for up to six months. Label containers with the date for easy tracking.
Freshness Indicators: Fresh coating should smell aromatic and look evenly colored. If the mixture develops an off smell or the spices lose their vibrant color, it’s time to make a fresh batch.
Troubleshooting Common Issues
Even experienced cooks encounter challenges when making homemade coatings. Here are solutions to the most common problems I’ve encountered:
Coating Falls Off: This usually happens when the chicken is too wet or the coating isn’t pressed firmly enough. Always pat chicken dry and let it rest after coating.
Uneven Browning: Ensure your oven temperature is accurate using an oven thermometer. Rotate the pan halfway through cooking if your oven has hot spots.
Soggy Bottom: Place chicken on a wire rack set over the baking sheet. This allows air circulation around the entire piece.
Too Salty/Bland: Always taste-test your coating mixture before using it on all your chicken. Adjust seasonings as needed.
Best Chicken Cuts for This Recipe
Not all chicken cuts work equally well with this coating method. Here’s my guide to choosing the right pieces:
Bone-in, Skin-on Pieces: These work beautifully because the skin helps hold the coating, and bone-in pieces stay juicier during the longer cooking time.
Boneless Thighs: My personal favorite – they cook quickly, stay moist, and have enough fat content to create a crispy exterior.
Chicken Breasts: Work well but require careful monitoring to prevent overcooking. Pound them to even thickness for uniform cooking.
Drumsticks: Perfect for this method. The irregular shape holds coating well, and they’re nearly impossible to overcook.
Side Dish Pairing Suggestions
A perfectly coated chicken deserves equally delicious accompaniments. These are my go-to side dishes that complement the flavors without competing:
Vegetable Sides: Roasted vegetables like carrots, broccoli, or Brussels sprouts work wonderfully. The slight char from roasting echoes the crispy coating texture.
Potato Dishes: Mashed potatoes provide a creamy contrast to the crispy coating. For something lighter, try roasted baby potatoes with herbs.
Salads: A fresh green salad with a light vinaigrette cuts through the richness of the coated chicken perfectly.
Rice and Grains: Simple rice pilaf or quinoa makes an excellent base that absorbs any flavorful drippings.
Make-Ahead Strategies
Busy weeknights call for smart preparation strategies. Here’s how I make this recipe work with hectic schedules:
Coating Prep: Make large batches of the coating mixture and store in portions. Having it ready eliminates the measuring step on busy nights.
Chicken Preparation: Coat chicken pieces in the morning and refrigerate until dinner time. The longer contact time actually improves flavor penetration.
Freezer Method: Coat chicken pieces and freeze them on a baking sheet. Once frozen, transfer to freezer bags. Cook directly from frozen, adding 10-15 minutes to cooking time.
Cost Comparison Analysis
Making your own coating mixture provides significant savings, especially for large families:
| Item | Homemade Cost | Store-bought Cost | Savings per Batch |
|---|---|---|---|
| Coating for 4 servings | $0.85 | $2.49 | $1.64 |
| Annual savings (weekly use) | $44.20 | $129.48 | $85.28 |
| Ingredient control | Complete | Limited | Invaluable |
| Customization options | Unlimited | None | Significant value |
Frequently Asked Questions
Q: Can I use this coating on other proteins besides chicken? I’ve successfully used this coating on pork chops, fish fillets, and even vegetables like cauliflower. Adjust cooking times accordingly – fish cooks much faster, while pork chops need similar timing to chicken.
Q: What’s the best way to ensure the coating stays crispy? The secret is removing excess moisture from the chicken before coating and avoiding overcrowding on the baking sheet. Give each piece space for proper air circulation.
Q: Can I make this coating gluten-free? Absolutely! Replace the all-purpose flour with your favorite gluten-free flour blend, and use gluten-free breadcrumbs. The results are just as delicious.
Q: How do I know when the chicken is fully cooked? Always use a meat thermometer. Chicken is safe to eat when it reaches an internal temperature of 165°F (74°C). Insert the thermometer into the thickest part of the meat, avoiding bone contact.
Q: Can I air fry chicken with this coating? Yes! Air frying works beautifully with this coating. Cook at 380°F (193°C) for 12-15 minutes for boneless pieces, flipping halfway through. Bone-in pieces need 18-22 minutes.
Q: Why does my coating sometimes taste bland? This usually happens when the seasoning settles in the container. Always stir or shake the coating mixture before using to redistribute the spices evenly.
Q: Can I double or triple this recipe? Definitely! This recipe scales up perfectly. Store extra coating in airtight containers, and you’ll have quick dinner solutions ready whenever you need them.
Q: What should I do if my coating mixture is too salty? Add more breadcrumbs and flour to dilute the salt content. Start with equal amounts of both and taste-test until you reach the desired flavor balance.
Q: How can I make the coating spicier without overpowering other flavors? Gradually increase the cayenne pepper, starting with an additional 1/4 teaspoon. You can also add a pinch of white pepper for heat without changing the color.
Q: Is there a way to make this coating stick better to skinless chicken? Try lightly brushing the chicken with olive oil or melted butter before coating. This creates a slightly tacky surface that helps the coating adhere better during cooking.
Creating this homemade Shake and Bake coating has become one of my most requested recipes from friends and family. There’s something deeply satisfying about knowing exactly what goes into your food while saving money and creating better flavors than anything you can buy in a store. The versatility of this recipe means you’ll never get bored – experiment with different spice combinations and discover your family’s perfect blend.
The best part about mastering this recipe is watching your family’s faces light up when they taste that perfect combination of crispy coating and juicy chicken. It’s become our go-to weeknight dinner solution, and I know it will become yours too. Keep that coating mixture on hand, and you’re always just 30 minutes away from a delicious, homemade meal that everyone will love.
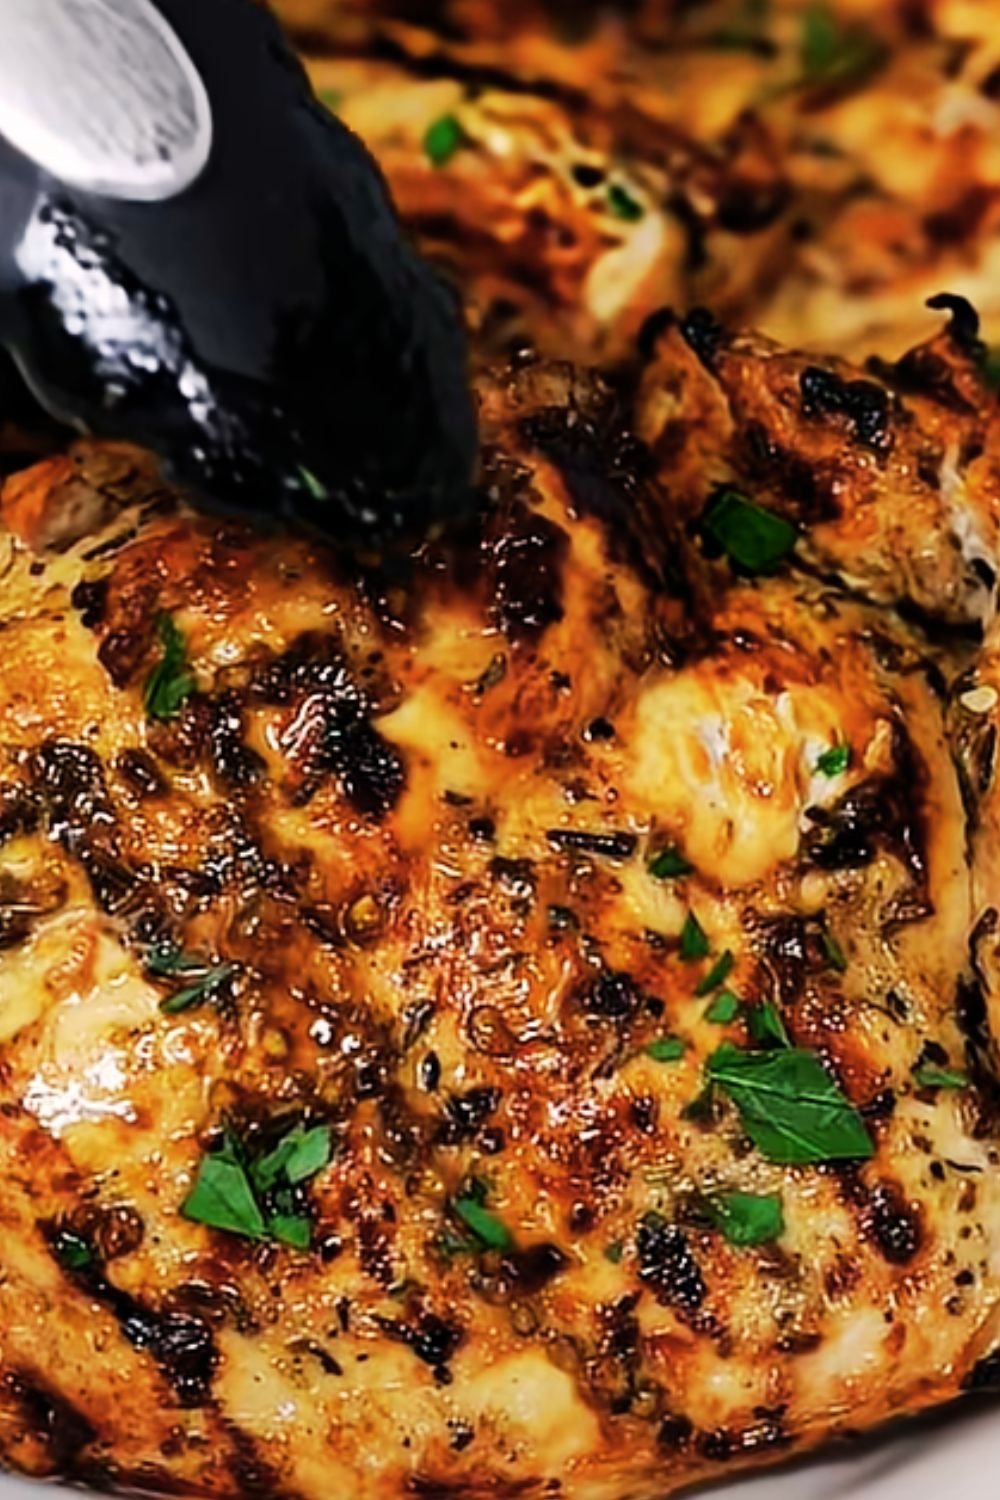
![One-Pan Creamy Parmesan Chicken & Rice [40 Minutes]](https://deliciouscookinghub.com/wp-content/uploads/2025/06/Black-Modern-Musik-Festival-Pinterest-Pin-1080-x-1920-2025-06-26T123008.184.jpg)