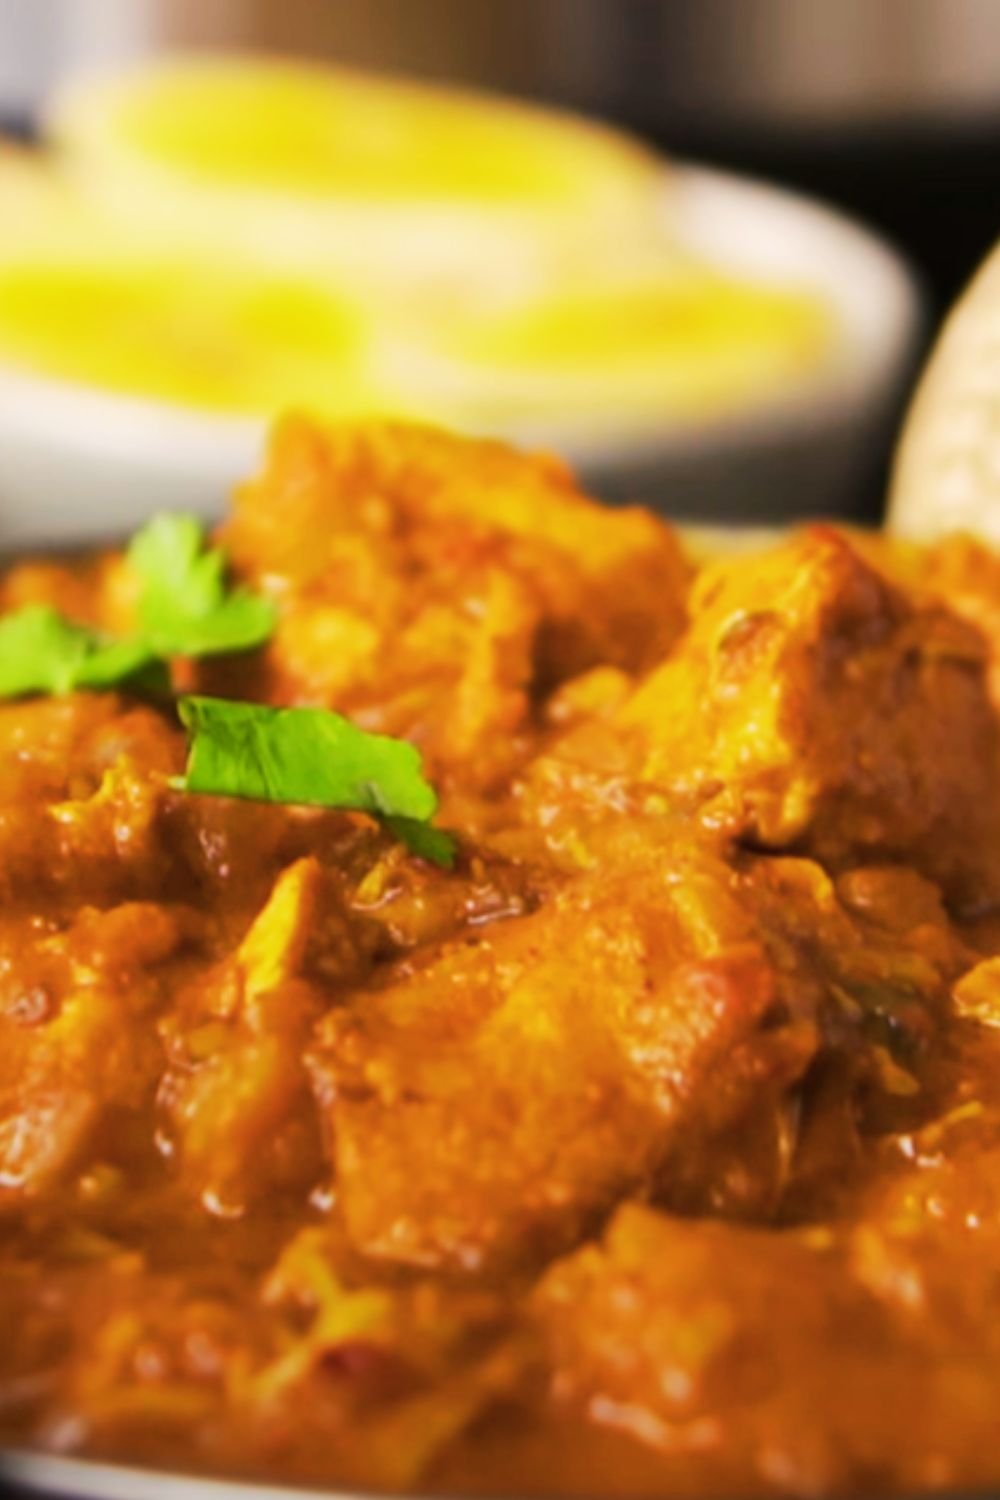
Nothing beats the aroma of a rich, creamy coconut chicken curry simmering away, filling my kitchen with those incredible spices that make my mouth water before I even take the first bite. I’ve been making this Easy Instant Pot Coconut Chicken Curry for years now, and it never fails to impress both my family and guests. What I love most about this recipe is how the Instant Pot transforms what used to be a time-consuming dish into something I can whip up on a busy weeknight.
When I first discovered this recipe, I was skeptical about whether the Instant Pot could deliver the same depth of flavor as traditional stovetop cooking. But after countless batches and tweaks, I can confidently say this version rivals any restaurant-quality curry I’ve ever tasted. The coconut milk creates an incredibly creamy base, while the blend of spices creates layers of flavor that develop beautifully under pressure.
Why This Recipe Works So Well
My journey with this curry began when I was trying to find ways to make weeknight dinners more exciting without spending hours in the kitchen. The Instant Pot became my secret weapon, and this coconut chicken curry quickly became one of my most requested recipes. The pressure cooking method does something magical – it infuses the chicken with all those wonderful spices while keeping the meat incredibly tender.
The key to this recipe’s success lies in the layering of flavors. I start by sautéing the aromatics directly in the Instant Pot, which builds a flavor foundation that you simply can’t achieve by throwing everything in at once. The coconut milk adds richness, while the spices create complexity that develops and intensifies during the pressure cooking process.
Essential Ingredients and Their Roles
Understanding each ingredient’s role has helped me perfect this recipe over time. Here’s what makes this curry so special:
Chicken Selection:
- Boneless, skinless chicken thighs work best
- Chicken breasts can be used but may become slightly drier
- Cut into 1-2 inch pieces for even cooking
Coconut Milk:
- Full-fat coconut milk provides the richest flavor
- Light coconut milk can be substituted but results in less creamy texture
- Canned coconut milk works better than carton versions
Spice Blend:
- Curry powder forms the base flavor profile
- Garam masala adds warmth and complexity
- Turmeric provides color and earthy notes
- Cumin and coriander add depth
Aromatics:
- Yellow onion creates sweetness when sautéed
- Fresh ginger adds warmth and slight heat
- Garlic provides pungent depth
- Fresh cilantro for brightness and freshness
Complete Ingredient List
| Ingredient | Amount | Notes |
|---|---|---|
| Chicken thighs, boneless | 2 lbs | Cut into 1-2 inch pieces |
| Full-fat coconut milk | 1 can (14 oz) | Reserve 2 tbsp for garnish |
| Yellow onion | 1 large | Diced |
| Fresh ginger | 2 inches | Minced |
| Garlic cloves | 4 large | Minced |
| Curry powder | 2 tbsp | High-quality blend preferred |
| Garam masala | 1 tsp | Adds warmth and complexity |
| Ground turmeric | 1 tsp | For color and earthy flavor |
| Ground cumin | 1 tsp | Adds depth |
| Paprika | 1 tsp | For mild heat and color |
| Tomato paste | 2 tbsp | Concentrates flavor |
| Diced tomatoes | 1 can (14.5 oz) | Adds acidity and texture |
| Chicken broth | 1/2 cup | Enhances chicken flavor |
| Salt | 1 tsp | Or to taste |
| Black pepper | 1/2 tsp | Freshly ground |
| Coconut oil | 2 tbsp | For sautéing |
| Fresh cilantro | 1/4 cup | Chopped for garnish |
| Basmati rice | For serving | Cooked separately |
Step-by-Step Cooking Instructions
Preparation Phase
Before I start cooking, I always prep all my ingredients. This curry comes together quickly once you begin, so having everything ready makes the process smooth and stress-free.
Prep Steps:
- Cut chicken into uniform 1-2 inch pieces
- Dice the onion into small, even pieces
- Mince the ginger and garlic (I often use a microplane grater)
- Measure out all spices into a small bowl
- Shake the coconut milk can well before opening
Cooking Process
Step 1: Sauté the Aromatics I start by setting my Instant Pot to sauté mode and heating the coconut oil. Once it’s shimmering, I add the diced onion and cook for about 3-4 minutes until it starts to soften and become translucent. The key here is not to rush – properly sautéed onions create the flavor foundation for the entire dish.
Next, I add the minced ginger and garlic, stirring constantly for about 30 seconds until fragrant. The aroma at this point is absolutely incredible and lets me know I’m on the right track.
Step 2: Toast the Spices This is where the magic happens. I add all the spices – curry powder, garam masala, turmeric, cumin, and paprika – to the pot and stir constantly for about 30 seconds. Toasting the spices like this releases their essential oils and deepens their flavors dramatically.
Step 3: Add Tomato Paste I stir in the tomato paste and cook for another minute. This helps concentrate the tomato flavor and removes any raw taste from the paste.
Step 4: Build the Sauce I pour in the diced tomatoes with their juice, scraping up any browned bits from the bottom of the pot. This step is crucial for preventing the “burn” notice later. Then I add the chicken broth and stir everything together.
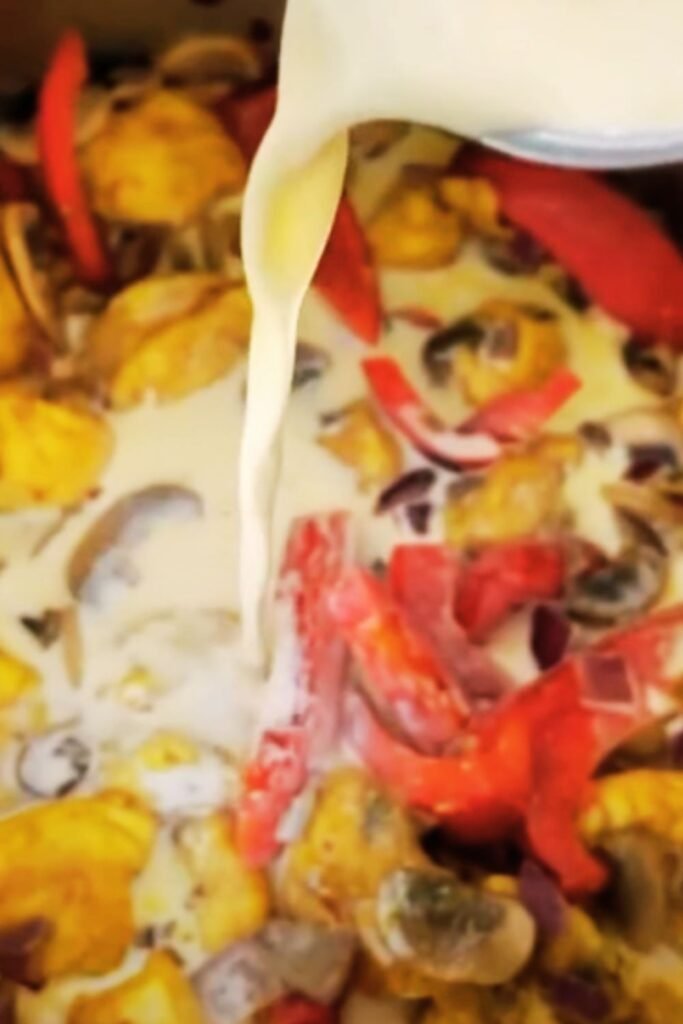
Step 5: Add Chicken and Coconut Milk I nestle the chicken pieces into the sauce, making sure they’re mostly submerged. Then I pour the coconut milk over everything, giving it a gentle stir to combine. I season with salt and pepper at this point.
Step 6: Pressure Cook I secure the lid, set the valve to sealing, and cook on high pressure for 8 minutes. This timing gives me perfectly tender chicken without overcooking.
Step 7: Natural Release After the cooking time is complete, I allow for a 10-minute natural pressure release before manually releasing any remaining pressure. This prevents the chicken from becoming tough.
Perfecting the Sauce Consistency
One thing I’ve learned over the years is that the sauce consistency can vary depending on the brand of coconut milk and tomatoes used. If my curry seems too thin after pressure cooking, I have a few tricks up my sleeve:
Thickening Methods:
- Sauté Mode Reduction: Turn the Instant Pot back to sauté mode and simmer uncovered for 5-10 minutes
- Tomato Paste Addition: Stir in an extra tablespoon of tomato paste
- Coconut Cream: Add 2-3 tablespoons of coconut cream for richness and thickness
If the curry seems too thick, I simply add a bit more chicken broth or coconut milk until I reach my desired consistency.
Serving Suggestions and Accompaniments
This coconut chicken curry is incredibly versatile when it comes to serving options. My go-to pairing is fluffy basmati rice, which soaks up the creamy sauce beautifully. However, I’ve served this curry with many different accompaniments over the years:
Rice Options:
- Basmati rice (my personal favorite)
- Jasmine rice for a slightly different aroma
- Brown rice for added nutrition
- Coconut rice for extra tropical flavor
Bread Accompaniments:
- Naan bread for authentic Indian dining
- Pita bread as a Mediterranean twist
- Crusty French bread for soaking up sauce
- Garlic breadsticks for added flavor
Vegetable Additions:
- Steamed broccoli for added nutrition
- Roasted cauliflower for texture contrast
- Sautéed bell peppers for crunch
- Baby spinach stirred in during the last few minutes
Nutritional Information and Health Benefits
| Nutrient | Per Serving (1/6 recipe) | % Daily Value |
|---|---|---|
| Calories | 385 | 19% |
| Protein | 34g | 68% |
| Total Fat | 22g | 28% |
| Saturated Fat | 16g | 80% |
| Carbohydrates | 12g | 4% |
| Fiber | 3g | 11% |
| Sugar | 8g | – |
| Sodium | 680mg | 30% |
| Potassium | 785mg | 17% |
| Vitamin C | 15mg | 17% |
| Iron | 3mg | 17% |
This curry provides excellent protein from the chicken and beneficial fats from the coconut milk. The spices offer antioxidants and anti-inflammatory properties, making this not just delicious but nutritious too.
Storage and Meal Prep Tips
One of the reasons I love this recipe so much is how well it stores and reheats. I often make a double batch and use it for meal prep throughout the week.
Refrigerator Storage:
- Store in airtight containers for up to 4 days
- The flavors actually improve after a day or two
- Reheat gently on the stovetop or in the microwave
Freezer Storage:
- Freeze in portion-sized containers for up to 3 months
- Thaw overnight in the refrigerator before reheating
- The texture remains excellent after freezing
Meal Prep Ideas:
- Portion with rice into meal prep containers
- Freeze in freezer bags for easy weeknight dinners
- Use as a base for curry bowls with different toppings
Troubleshooting Common Issues
Over the years, I’ve encountered and solved several common problems with this recipe:
Burn Notice Prevention:
- Always deglaze the pot thoroughly after sautéing
- Don’t skip the chicken broth – it provides necessary liquid
- Layer ingredients properly with liquids on bottom
Fixing Bland Flavor:
- Taste and adjust salt levels
- Add more curry powder or garam masala
- Squeeze in fresh lime juice for brightness
Texture Problems:
- Overcooked chicken: Reduce pressure cooking time to 6 minutes
- Thin sauce: Use sauté mode to reduce liquid
- Lumpy coconut milk: Whisk vigorously or blend briefly
Recipe Variations and Customizations
This base recipe is incredibly adaptable. Here are some of my favorite variations:
Protein Alternatives:
- Substitute chicken with firm tofu for vegetarian version
- Use lamb or beef for different flavor profiles
- Add shrimp during the last 2 minutes of pressure cooking
Vegetable Additions:
- Sweet potatoes add natural sweetness
- Bell peppers provide crunch and color
- Zucchini adds bulk without overpowering
- Peas stirred in at the end for pop of color
Spice Level Adjustments:
- Add cayenne pepper for extra heat
- Include fresh jalapeños for mild heat
- Use mild curry powder for sensitive palates
- Add Thai chilies for intense heat
Dietary Modifications:
- Dairy-free: Recipe is naturally dairy-free
- Keto-friendly: Serve over cauliflower rice
- Paleo: Omit rice and serve with vegetables
- Low-sodium: Reduce salt and use low-sodium broth
The Science Behind Pressure Cooking Curry
Understanding why pressure cooking works so well for this curry has helped me troubleshoot issues and make improvements over time. The high-pressure environment creates several beneficial effects:
Flavor Development:
- Higher temperatures intensify spice flavors
- Steam circulation distributes seasonings evenly
- Pressure forces flavors into the chicken fibers
Texture Benefits:
- Collagen in chicken thighs breaks down quickly
- Vegetables retain more nutrients
- Sauce components meld together perfectly
Time Efficiency:
- Reduces cooking time by 60-70%
- Eliminates need for long simmering
- Achieves tender results in minutes, not hours
Frequently Asked Questions
Q: Can I use chicken breast instead of thighs? A: Yes, but I recommend reducing the cooking time to 6 minutes and using a quick release to prevent overcooking. Chicken thighs remain more tender and flavorful due to their higher fat content.
Q: What if I don’t have garam masala? A: You can substitute with additional curry powder, or make your own blend using cinnamon, cardamom, cloves, and black pepper. The flavor will be slightly different but still delicious.
Q: Can I make this curry spicier? A: Absolutely! Add cayenne pepper, fresh jalapeños, or hot curry powder to taste. Start with small amounts and adjust according to your heat preference.
Q: How do I prevent the coconut milk from curdling? A: Use full-fat coconut milk and avoid rapid temperature changes. Don’t use the sauté function after adding coconut milk, and allow for natural pressure release to prevent sudden temperature drops.
Q: Can I double this recipe? A: Yes, but don’t exceed your Instant Pot’s maximum fill line. You may need to increase the cooking time by 1-2 minutes for larger batches.
Q: What’s the best way to reheat leftovers? A: Gently reheat on the stovetop over low heat, stirring occasionally. You can also microwave in 30-second intervals, stirring between each interval.
Q: Can I add vegetables to this curry? A: Definitely! Hardy vegetables like potatoes or carrots can be added at the beginning, while softer vegetables like bell peppers or zucchini should be added during the last few minutes of cooking.
Q: Is this recipe gluten-free? A: Yes, this curry is naturally gluten-free. Just make sure your curry powder and other spices don’t contain any gluten-containing additives.
Q: How long will this curry last in the refrigerator? A: Properly stored, this curry will last 4-5 days in the refrigerator. The flavors actually improve after a day or two, making it perfect for meal prep.
Q: Can I freeze this curry? A: Yes, this curry freezes beautifully for up to 3 months. Thaw overnight in the refrigerator and reheat gently on the stovetop.
This Easy Instant Pot Coconut Chicken Curry has become one of my most treasured recipes, and I hope it brings as much joy to your kitchen as it has to mine. The combination of convenience, flavor, and versatility makes it perfect for everything from busy weeknight dinners to special occasions. With its creamy coconut base, tender chicken, and aromatic spices, this curry delivers restaurant-quality results in a fraction of the time. Whether you’re new to Indian cuisine or a seasoned curry lover, this recipe is sure to become a regular in your meal rotation.