There’s something magical about biting into a warm, freshly baked ball of dough that oozes with melted cheese and bursts with garlicky flavor. I’ve been making these Garlic Cheese Bombs for years, and they never fail to disappear within minutes of coming out of the oven. These little pillows of heaven combine the comfort of soft bread with the indulgence of cheese and the aromatic punch of garlic butter – a combination that’s simply irresistible.
Whether you’re hosting a game day gathering, need a quick appetizer for unexpected guests, or simply craving a delicious snack, these Garlic Cheese Bombs are the answer. The best part? They’re incredibly easy to make with just a handful of ingredients and minimal prep time.
What Are Garlic Cheese Bombs?
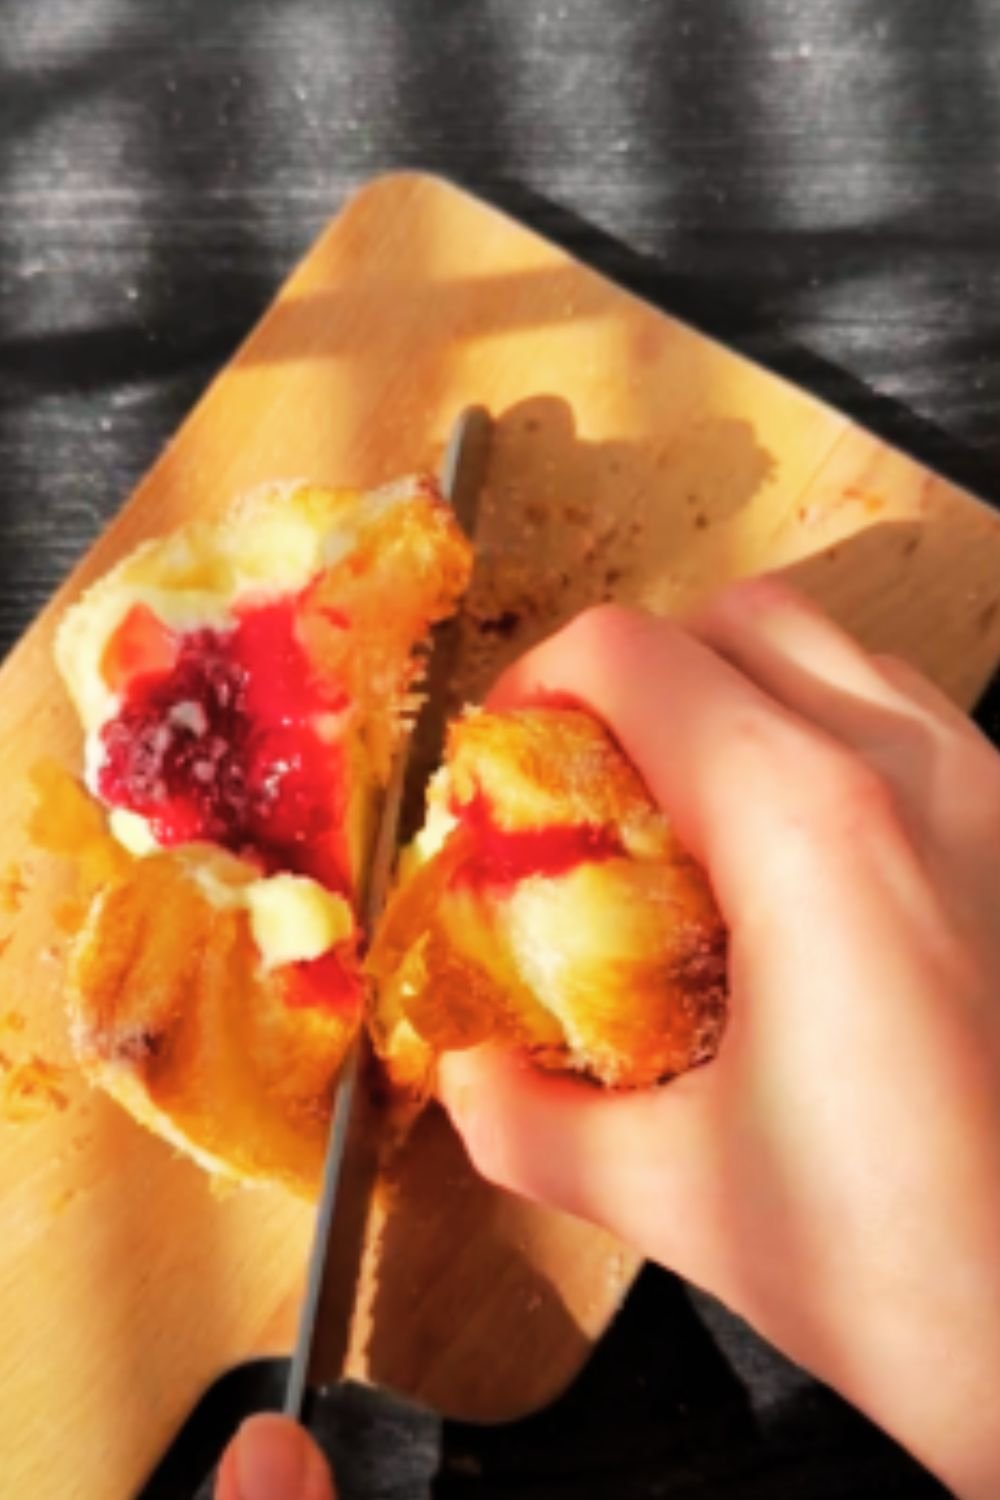
Garlic Cheese Bombs are bite-sized balls of dough stuffed with cheese, brushed with garlic butter, and baked until golden brown. They’re called “bombs” because of the explosion of flavor that happens when you bite into them – the gooey cheese center “bombs” out, creating a truly satisfying eating experience.
I first discovered these delightful morsels at a neighborhood potluck and immediately had to get the recipe. Since then, I’ve tweaked it to perfection, finding the ideal balance of garlic, butter, herbs, and cheese. My version uses refrigerated biscuit dough as a shortcut, making these an accessible treat even for novice bakers or busy weeknight cooking.
Why You’ll Love This Recipe
- Quick and easy: Ready in just 20 minutes with minimal preparation
- Budget-friendly: Uses simple, affordable ingredients
- Versatile: Perfect as an appetizer, side dish, or snack
- Crowd-pleaser: Adults and kids alike can’t resist them
- Customizable: Easy to adapt with different cheeses and seasonings
Ingredients You’ll Need

For the cheese bombs:
- 1 can (16.3 oz) refrigerated biscuit dough (8 biscuits)
- 8 cubes (1-inch each) of mozzarella cheese (about 4 oz total)
- 2 tablespoons grated Parmesan cheese
For the garlic butter:
- 4 tablespoons unsalted butter
- 3 cloves garlic, minced
- 1 tablespoon fresh parsley, finely chopped
- 1/2 teaspoon Italian seasoning
- 1/4 teaspoon salt (optional)
Equipment Needed
- Baking sheet
- Parchment paper or silicone baking mat
- Small microwave-safe bowl
- Pastry brush
- Knife and cutting board
Step-by-Step Instructions
Preparing the Cheese Bombs
- Preheat your oven to 375°F (190°C). Line a baking sheet with parchment paper or a silicone baking mat.
- Open the can of biscuit dough and separate the biscuits. If using the larger biscuits, cut each one in half to make 16 pieces.
- Flatten each piece of dough with your palm or fingers until it’s about 2.5 inches in diameter.
- Place a cube of mozzarella in the center of each flattened piece of dough.
- Carefully wrap the dough around the cheese, sealing the edges well to ensure the cheese doesn’t leak during baking. Roll between your palms to form a ball shape.
- Place the sealed dough balls on the prepared baking sheet, seam side down, about 2 inches apart.
Making the Garlic Butter
- In a small microwave-safe bowl, combine the butter, minced garlic, parsley, Italian seasoning, and salt (if using).
- Microwave for 30-45 seconds until the butter is completely melted.
- Stir well to ensure all ingredients are evenly distributed.
- Using a pastry brush, generously coat each dough ball with the garlic butter mixture.
- Sprinkle the Parmesan cheese evenly over the butter-coated dough balls.
Baking the Cheese Bombs
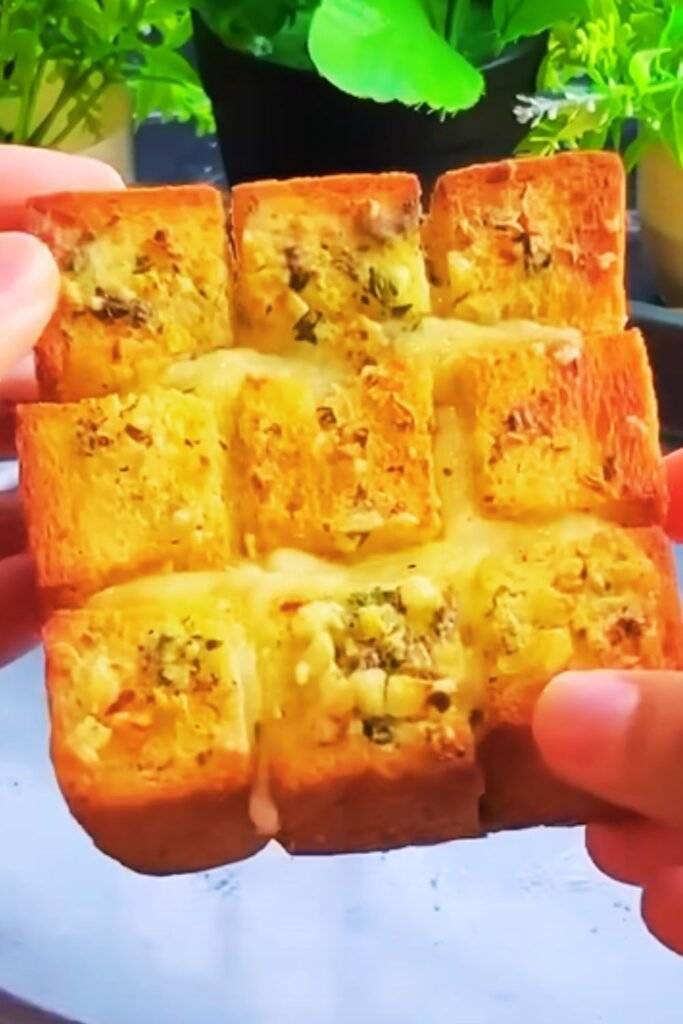
- Bake in the preheated oven for 12-15 minutes, or until the cheese bombs are golden brown.
- Allow to cool for 1-2 minutes before serving (the cheese inside will be extremely hot!).
- Serve warm for the best experience.

Pro Tips for Perfect Garlic Cheese Bombs
I’ve made these countless times, and through trial and error, I’ve discovered some tips that make a huge difference:
- Seal thoroughly: Make sure to seal the dough completely around the cheese to prevent leaking during baking.
- Don’t skimp on butter: The garlic butter is what gives these bombs their incredible flavor.
- Use block cheese: Pre-shredded cheese contains anti-caking agents that can affect the melting quality. Cutting cubes from a block of cheese works best.
- Watch carefully while baking: These can go from perfectly golden to overbrowned quickly, so keep an eye on them.
- Serve immediately: These are at their absolute best when fresh and warm from the oven.
Variations to Try
Different Cheese Options
- Cheddar: For a sharper flavor profile
- Pepper Jack: Adds a spicy kick
- Colby Jack: Mild and melts beautifully
- Mozzarella and pepperoni: For a pizza-inspired bomb
Flavored Butter Options
- Herb butter: Add rosemary, thyme, or basil
- Spicy butter: Mix in red pepper flakes or cayenne
- Ranch butter: Add dry ranch seasoning to the butter
- Honey butter: For a sweet and savory twist
Additional Mix-Ins
- Bacon bits: Mix into the butter or stuff inside with the cheese
- Sun-dried tomatoes: Chop finely and add to the filling
- Jalapeños: Minced and mixed with the cheese for heat lovers
- Spinach: Finely chopped and mixed with the cheese for a veggie boost
Make-Ahead and Storage Information
Make-Ahead Options
These Garlic Cheese Bombs are best enjoyed fresh, but you can prep components ahead of time:
- Prepare the garlic butter mixture up to 3 days in advance. Store in an airtight container in the refrigerator. Microwave briefly to melt before using.
- Assemble the cheese bombs (without the butter) up to 4 hours ahead and keep refrigerated. Brush with garlic butter just before baking.
Storage and Reheating
- Refrigerate leftovers in an airtight container for up to 2 days.
- Reheat in the oven at 350°F for 5-7 minutes until warmed through.
- Microwave option: Heat for 15-20 seconds, though this may make the outer dough a bit soggy.
Freezing Instructions
- Flash-freeze unbaked cheese bombs on a baking sheet for 1-2 hours.
- Transfer to a freezer bag or container and freeze for up to 1 month.
- Bake from frozen by adding 3-5 minutes to the baking time.
Nutritional Information
The following table provides approximate nutritional values for one Garlic Cheese Bomb (based on a recipe yielding 16 bombs):
| Nutrient | Amount per Serving |
|---|---|
| Calories | 120 |
| Total Fat | 7g |
| Saturated Fat | 3.5g |
| Cholesterol | 15mg |
| Sodium | 280mg |
| Total Carbohydrates | 11g |
| Dietary Fiber | 0g |
| Sugars | 2g |
| Protein | 3g |
Serving Suggestions
These versatile little treats pair well with many dishes and dipping sauces:
Dipping Sauces
- Marinara sauce: The classic pairing
- Ranch dressing: Adds a tangy complement
- Pesto: For an herby twist
- Buffalo sauce: For heat lovers
Complete the Meal
- Serve alongside pasta dishes like spaghetti or lasagna
- Pair with a hearty soup like tomato or minestrone
- Include in a game day spread with wings and veggie platters
- Add to a salad for a filling lunch
Why This Recipe Works
I’ve perfected this recipe through countless batches, and there’s a science behind why these cheese bombs turn out so well:
- The refrigerated biscuit dough has just the right amount of leavening agents to create a fluffy exterior while still being sturdy enough to hold the cheese.
- Sealing the cheese inside the dough creates a steam pocket during baking that helps cook the dough from the inside while keeping the cheese molten.
- The garlic butter coating not only adds flavor but also helps create that beautiful golden-brown crust.
- Baking at 375°F is the perfect temperature to ensure the outside gets crispy and golden while allowing enough time for the inside to cook thoroughly.
Common Mistakes to Avoid
- Not sealing the dough properly: This leads to cheese leakage during baking.
- Using too much cheese: While it’s tempting to stuff them full, too much cheese can burst through the dough.
- Skipping the parchment paper: Any cheese that does leak will stick to the pan without it.
- Not allowing them to cool slightly: Biting into them immediately can result in burning your mouth on the molten cheese.
- Overcrowding the baking sheet: Leave space between each bomb for even baking.
Frequently Asked Questions
Q: Can I make these with homemade dough instead of refrigerated biscuits?
A: Absolutely! You can use homemade pizza dough or bread dough. Just make sure to divide it into equal portions that are large enough to wrap around your cheese cubes.
Q: My cheese keeps leaking out during baking. What am I doing wrong?
A: Make sure you’re sealing the dough completely around the cheese. Also, try using cubed cheese rather than shredded, as it tends to stay contained better.
Q: Can I make these in an air fryer?
A: Yes! Cook them at 350°F for about 6-8 minutes, checking frequently to prevent burning.
Q: Are there any dairy-free alternatives for this recipe?
A: You can use dairy-free cheese alternatives that melt well, and substitute the butter with olive oil or a plant-based butter.
Q: How do I know when they’re done baking?
A: The cheese bombs should be golden brown on the outside. If you’re unsure, you can carefully remove one and check that the dough is fully cooked on the inside.
Q: Can I add meat to these?
A: Definitely! Small pieces of cooked bacon, ham, or pepperoni work great. Just make sure they’re small enough to fit inside with the cheese.
Q: My garlic burns in the oven. How can I prevent this?
A: Mix the garlic into melted butter rather than sprinkling it on top. The butter helps protect the garlic from direct heat and prevents burning.
Q: Can I use crescent roll dough instead of biscuit dough?
A: Yes, crescent roll dough works well too. Just be aware that it’s a bit thinner than biscuit dough, so you may need to use a bit more to properly seal around the cheese.
Perfect Occasions for Garlic Cheese Bombs
These versatile treats are perfect for so many occasions:
- Game day gatherings: Easy to grab while watching the big game
- Holiday appetizers: Festive and crowd-pleasing
- Movie nights: A fun finger food while enjoying films
- Potlucks and parties: Easy to transport and always a hit
- After-school snacks: Kids absolutely love them
- Dinner sides: Pair perfectly with soups and salads
- Casual entertaining: Impressive without being fussy
The Story Behind This Recipe
I first discovered a version of these cheese bombs at a neighborhood potluck years ago. My neighbor Sophia brought them, and they were the first dish to disappear. When I asked for the recipe, I was shocked at how simple they were to make.
Over the years, I’ve experimented with different cheeses, herbs, and seasonings until arriving at this perfect combination. My family now requests these for every gathering, and I’ve passed the recipe along to countless friends who have all made it part of their regular rotation.
What I love most about this recipe is how it transforms simple ingredients into something that feels special. It’s become my go-to recipe when I need something quick but want to make an impression.
Final Thoughts
There’s something undeniably satisfying about these Garlic Cheese Bombs. Perhaps it’s the contrast between the crisp, buttery exterior and the gooey, molten center. Or maybe it’s just that perfect combination of garlic, butter, and cheese that speaks to our deepest comfort food cravings.
Whatever the reason, I guarantee these little morsels of joy will become a staple in your recipe collection, just as they have in mine. They’re proof that sometimes the simplest recipes are the most delicious. So heat up that oven, grab your ingredients, and get ready to experience a true flavor explosion!