There’s something undeniably magical about the combination of fresh, juicy strawberries and rich, silky chocolate. I’ve been making chocolate covered strawberries for years, and I’m excited to share my tips and tricks for creating these elegant treats right in your own kitchen. Whether you’re planning a romantic evening, preparing for a special celebration, or simply craving something sweet, these chocolate dipped strawberries are guaranteed to impress.
Why You’ll Love This Recipe
I still remember the first time I made chocolate covered strawberries. It was for a Valentine’s Day surprise, and despite my novice cooking skills, they turned out wonderfully. That’s the beauty of this recipe—it’s incredibly forgiving yet looks absolutely professional when done right.
Here’s why this particular recipe stands out:
- Perfect Balance: The contrasting textures of crisp chocolate shell and juicy strawberry create an irresistible bite
- Versatile Decorations: From simple elegance to elaborate designs, you can customize these to suit any occasion
- Make-Ahead Friendly: Prepare these up to 24 hours before your event for stress-free entertaining
- Budget-Friendly Luxury: Fraction of the cost of store-bought varieties with superior freshness
- No Special Equipment: Just a few basic kitchen tools are all you need
Ingredients You’ll Need
The beauty of chocolate covered strawberries lies in their simplicity. However, using quality ingredients makes a tremendous difference in the final result.
For Basic Chocolate Covered Strawberries:
- 1 pound (about 20-25) fresh strawberries with stems intact
- 8 ounces high-quality chocolate (semisweet, dark, milk, or white)
- 1 tablespoon coconut oil or shortening (optional, for smoother coating)
For Decorating (Optional):
- 4 ounces contrasting chocolate for drizzling
- Assorted toppings: chopped nuts, sprinkles, shredded coconut, crushed cookies
- Edible gold or silver dust for special occasions
Equipment List:
- Double boiler or microwave-safe bowl
- Parchment paper or silicone baking mat
- Baking sheet
- Paper towels
- Small skewers or toothpicks (optional)
- Small plastic bags for drizzling (optional)
Selecting the Perfect Ingredients
Choosing Strawberries
I’ve learned through many batches that the strawberry selection process is crucial to the final outcome. Here’s what I look for:
- Firmness: Choose strawberries that are firm, not soft or mushy
- Size Consistency: Similar-sized berries will look more professional and cook evenly
- Ripeness: Bright red berries with no white shoulders near the stem
- Stems: Intact green stems make for easier dipping and a prettier presentation
- Dryness: Moisture is the enemy of chocolate, so dry berries are essential
Chocolate Selection Guide
The chocolate you choose will dramatically impact the flavor and quality of your finished strawberries. I’ve experimented with countless varieties over the years, and here’s my breakdown:
| Type of Chocolate | Flavor Profile | Best Uses | Melting Notes |
|---|---|---|---|
| Semisweet (60-70%) | Balanced sweetness with robust chocolate flavor | All-purpose, crowd-pleaser | Melts smoothly with minimal risk of seizing |
| Dark (70-85%) | Intense, less sweet, more complex | For chocolate connoisseurs | May require more careful melting; add a bit more oil |
| Milk Chocolate | Creamy, sweet, mild | Kid-friendly; pairs well with nuts | Melts at lower temperature; watch carefully |
| White Chocolate | Sweet, vanilla-forward, buttery | Elegant appearance; takes food coloring well | Most temperamental; melt at lowest heat possible |
| Chocolate Melting Wafers | Variable sweetness, designed for dipping | Easiest option for beginners | Most foolproof option with built-in stabilizers |
I personally prefer using a high-quality dark chocolate around 70% cacao. The slight bitterness creates a beautiful contrast with the sweet strawberries. However, for children or those with milder taste preferences, a good quality milk chocolate works wonderfully.
Step-by-Step Instructions
Preparing the Strawberries
The secret to perfect chocolate covered strawberries starts before you even touch the chocolate:
- Wash carefully: Rinse strawberries under cool water, never soaking them
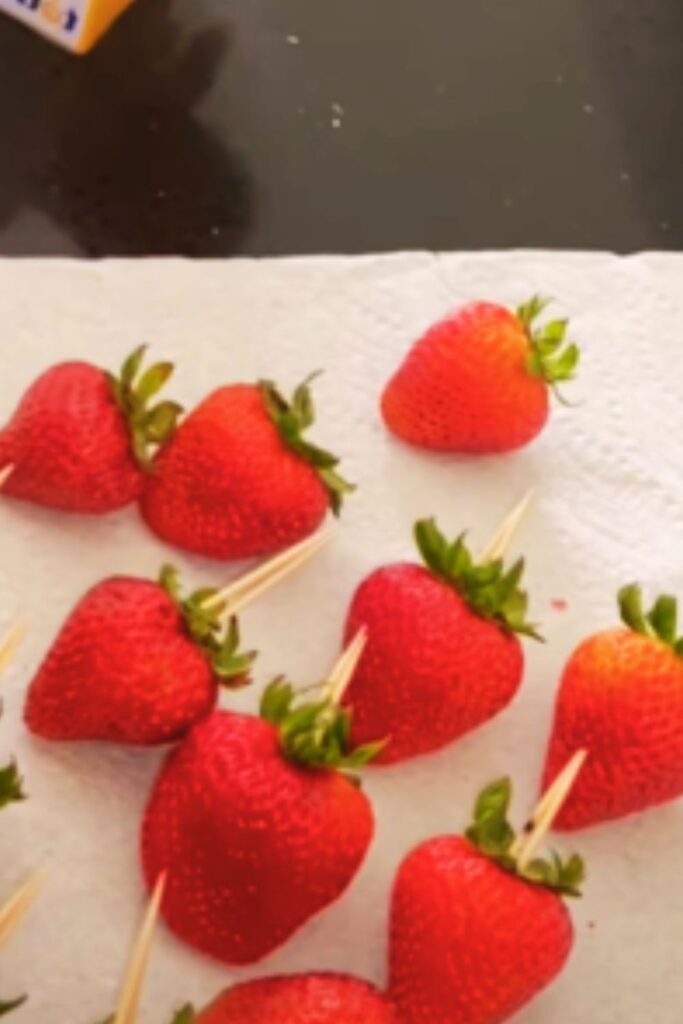
- Dry thoroughly: Place strawberries on paper towels and pat gently; let air dry for at least 1 hour
- Room temperature: Allow strawberries to come to room temperature completely
- Prepare workspace: Line a baking sheet with parchment paper or a silicone mat
- Inspection: Remove any strawberries with bruises or soft spots
Melting the Chocolate
There are two methods I use for melting chocolate, depending on my mood and equipment availability:
Double Boiler Method (My Preferred Technique):
- Fill a saucepan with 1-2 inches of water
- Place a heat-proof bowl on top, ensuring it doesn’t touch the water
- Heat water to a simmer (not boiling)
- Add chocolate and coconut oil to the bowl
- Stir constantly until 90% melted
- Remove from heat and continue stirring until completely smooth
Microwave Method (Quick Alternative):
- Place chocolate and coconut oil in a microwave-safe bowl
- Heat in 30-second intervals at 50% power
- Stir thoroughly between each interval
- Stop when chocolate is almost completely melted
- Stir until remaining pieces melt and mixture is smooth
The Dipping Process
Now for the fun part! Here’s my foolproof dipping technique:
- Hold strawberry by the stem or insert a toothpick in the top
- Dip at a slight angle, rotating to coat sides
- Lift and let excess chocolate drip back into bowl
- Twist berry slightly as you lift to prevent a chocolate “foot” from forming
- Place on prepared baking sheet
- Repeat with remaining berries, working quickly while chocolate remains smooth
Decoration Ideas

This is where you can really let your creativity shine! Here are some of my favorite decorating techniques:
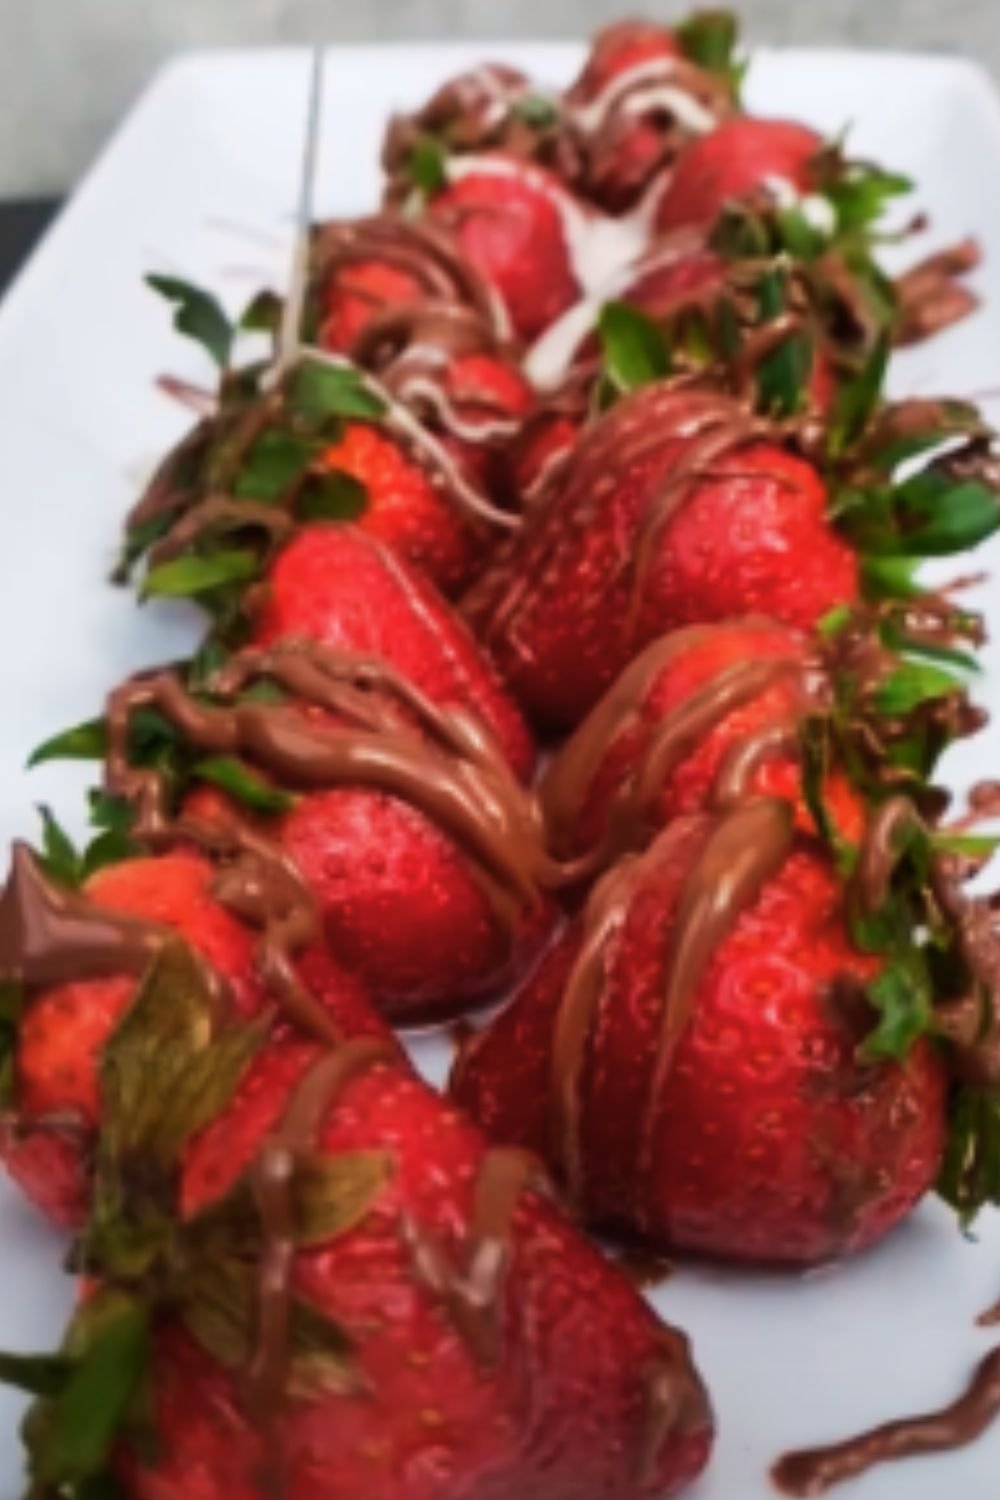
- Classic Drizzle: Melt contrasting chocolate and drizzle in thin lines using a fork or piping bag
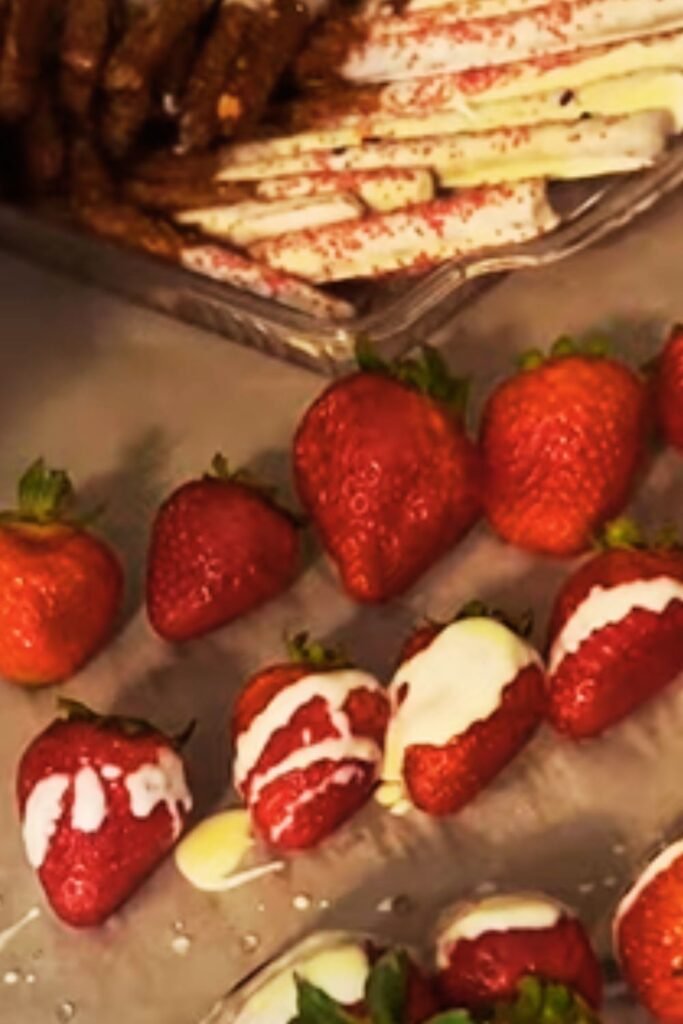
- Tuxedo Style: Dip in white chocolate first, let set, then dip sides in dark chocolate at an angle
- Dipped and Rolled: After dipping, immediately roll in chopped nuts, coconut, or sprinkles
- Double-Dipped: After first layer sets, dip just the tip in another chocolate variety
- Marbled Effect: Swirl white and dark chocolate together before dipping
- Painted Designs: Use a small food-safe paintbrush to add details with melted chocolate
Setting and Storage Tips
The final steps are crucial for that perfect snap when you bite into your chocolate covered strawberries:
Setting Options:
- Room Temperature: Place in a cool, dry area for 15-30 minutes
- Refrigerator: 5-10 minutes for quicker setting (but may cause condensation)
- Avoid Freezer: This creates too much moisture when thawing
Storage Guidelines:
| Storage Method | Maximum Time | Special Considerations |
|---|---|---|
| Room Temperature | 2-3 hours | Best texture and flavor; ideal for immediate serving |
| Refrigerator | Up to 24 hours | Store in single layer; bring to room temp before serving |
| Airtight Container | Up to 36 hours | Use paper towels between layers to absorb moisture |
| Freezer | Not recommended | Ruins texture and causes excessive moisture |
For the absolute best experience, I make these strawberries the same day I plan to serve them, ideally just a few hours beforehand.
Troubleshooting Common Issues
Even with the simplest recipes, challenges can arise. Here are solutions to problems I’ve encountered over the years:
My Chocolate Won’t Melt Smoothly
- Possible Cause: Water contamination or overheating
- Solution: Start fresh with completely dry equipment; use lower heat
Chocolate Too Thick for Dipping
- Possible Cause: Chocolate cooled too much or incorrect type
- Solution: Add 1/2 teaspoon coconut oil or shortening and reheat gently
Chocolate Seizing (Becoming Grainy)
- Possible Cause: Water contamination or overheating
- Solution: For mild seizing, add more oil; for severe cases, start over
Chocolate Doesn’t Harden
- Possible Cause: Added too much oil or used chocolate chips with stabilizers
- Solution: Refrigerate to help setting; next time use proper couverture chocolate
“Feet” Forming at Base of Strawberry
- Possible Cause: Excess chocolate pooling
- Solution: Tap and twist berry more after dipping; scrape bottom against bowl edge
Serving Suggestions
Chocolate covered strawberries are stunning on their own, but here are some ways I love to present them:
- Elegant Dessert Platter: Arrange on a white platter with fresh mint leaves
- Dessert Charcuterie: Combine with cheese, fruit, and honey for a sophisticated spread
- Gift Presentation: Place in pretty paper cups inside a gift box tied with ribbon
- Romantic Setting: Serve alongside whipped cream for dipping the ends
- Celebration Centerpiece: Create a “bouquet” by arranging on skewers in a vase
- Dessert Accompaniment: Use as garnish for cakes, mousse, or ice cream
Dietary Adaptations
One thing I appreciate about this recipe is how easily it adapts to various dietary needs:
- Vegan: Use dairy-free chocolate and check for bone char-free sugar
- Gluten-Free: Naturally gluten-free; just verify chocolate ingredients
- Keto-Friendly: Use 85%+ dark chocolate with no added sugar
- Allergy-Friendly: Select allergen-free chocolate brands like Enjoy Life
- Lower Sugar: Choose darker chocolate percentages for less sweetness
Nutrition Information
While exact values vary based on strawberry size and chocolate type, here’s an approximate nutritional breakdown per standard chocolate covered strawberry:
| Nutrition Facts | Per Strawberry (approx.) |
|---|---|
| Calories | 70-90 calories |
| Total Fat | 4-5g |
| Saturated Fat | 2-3g |
| Carbohydrates | 8-10g |
| Fiber | 1-2g |
| Sugar | 6-8g |
| Protein | 1g |
Variations to Try
Once you’ve mastered the basic recipe, I encourage you to experiment with these creative variations:
Flavor Infusions
- Add 1/4 teaspoon peppermint extract to dark chocolate
- Mix 1/2 teaspoon orange zest into milk chocolate
- Blend 1/4 teaspoon espresso powder into semisweet chocolate
Alternative Fruits
- Mandarin orange segments (patted very dry)
- Banana chunks (frozen for 30 minutes before dipping)
- Fresh pineapple cubes (very well dried)
- Dried apricots or crystallized ginger
Special Occasion Ideas
- Valentine’s Day: Red, pink and white drizzle patterns
- Christmas: Green and red sprinkles on white chocolate
- Birthday: Colorful sprinkles and edible glitter
- Wedding: Elegant white chocolate with pearl dust
History and Fun Facts
I’ve always been fascinated by the origins of beloved desserts. Here are some interesting tidbits about chocolate covered strawberries:
- They were invented relatively recently, in the 1960s by Lorraine Lorusso at Stop N Shop in Chicago
- February 13th is National Chocolate Covered Strawberry Day
- The world’s largest chocolate strawberry weighed over 4,000 pounds
- In Japan, chocolate covered strawberries are a popular luxury gift for Valentine’s Day
- The perfect ratio of chocolate to strawberry by weight is approximately 30% chocolate to 70% fruit
Frequently Asked Questions
Q: Why did my chocolate develop white streaks after cooling?
This is called “bloom” and happens when chocolate isn’t properly tempered. While it’s safe to eat and doesn’t affect taste much, you can prevent it by adding a bit of coconut oil to your chocolate when melting and storing properly.
Q: Can I use chocolate chips instead of baking chocolate?
Yes, but with caution. Chocolate chips contain stabilizers to help them keep their shape when baking, which can make melting trickier. Add a bit more coconut oil if using chips, and melt very gently.
Q: How can I make these for a large event?
I recommend working in batches of no more than 2 pounds of strawberries at a time. Prepare your workspace with multiple lined baking sheets, and enlist helpers for washing and drying berries. The actual dipping can be done the day before the event.
Q: My strawberries are leaking juice after being dipped. What went wrong?
This typically happens when strawberries weren’t dried thoroughly enough or were refrigerated after dipping and then brought to room temperature, causing condensation. Always ensure berries are completely dry before dipping, and serve them at consistent temperature.
Q: Can I use frozen strawberries?
I don’t recommend it. Frozen strawberries release too much moisture when thawed, which prevents the chocolate from adhering properly and causes the dreaded “weeping” effect.
Q: How do I know if my chocolate is the right temperature for dipping?
Properly melted chocolate for dipping should be smooth and glossy, with a consistency similar to pancake batter. It should easily coat the back of a spoon but run off in an even stream, not in globs.
Final Tips For Success
After years of making these treats, here are my most valuable lessons:
- Patient Preparation: Taking time to properly dry strawberries is non-negotiable
- Quality Matters: Use the best chocolate and freshest berries you can afford
- Temperature Control: Keep everything at consistent temperatures during the process
- Work Quickly: Have everything prepared before melting chocolate
- Mindful Storage: Avoid temperature fluctuations once berries are dipped
- Creative Confidence: Don’t be afraid to experiment with decorations
- Enjoyment: Remember that slight imperfections add homemade charm
I hope this guide helps you create perfect chocolate covered strawberries for your next special occasion. With a little practice, you’ll be making professional-quality treats that will have everyone asking for your secret technique!