Have you ever found yourself torn between wanting a rich, fudgy brownie and a creamy, smooth cheesecake? I certainly have! That’s why I’m absolutely thrilled to share my favorite dessert fusion with you today: the Brownie Bottom Cheesecake. This spectacular creation combines two beloved classics into one show-stopping dessert that will have everyone begging for your recipe.
When I first discovered this combination, it was like experiencing dessert nirvana. The contrast between the dense, chocolatey brownie base and the silky, tangy cheesecake layer creates a perfect harmony of flavors and textures that simply can’t be beat. Whether you’re planning a dinner party, looking for a special occasion dessert, or simply want to treat yourself to something extraordinary, this Brownie Bottom Cheesecake is guaranteed to impress.
In this article, I’ll walk you through my tried-and-true recipe, share some expert tips for achieving the perfect texture, suggest variations to customize it to your taste, and answer the most common questions about this delectable dessert. Let’s dive into this wonderful world of brownie-cheesecake bliss!
A Match Made in Dessert Heaven
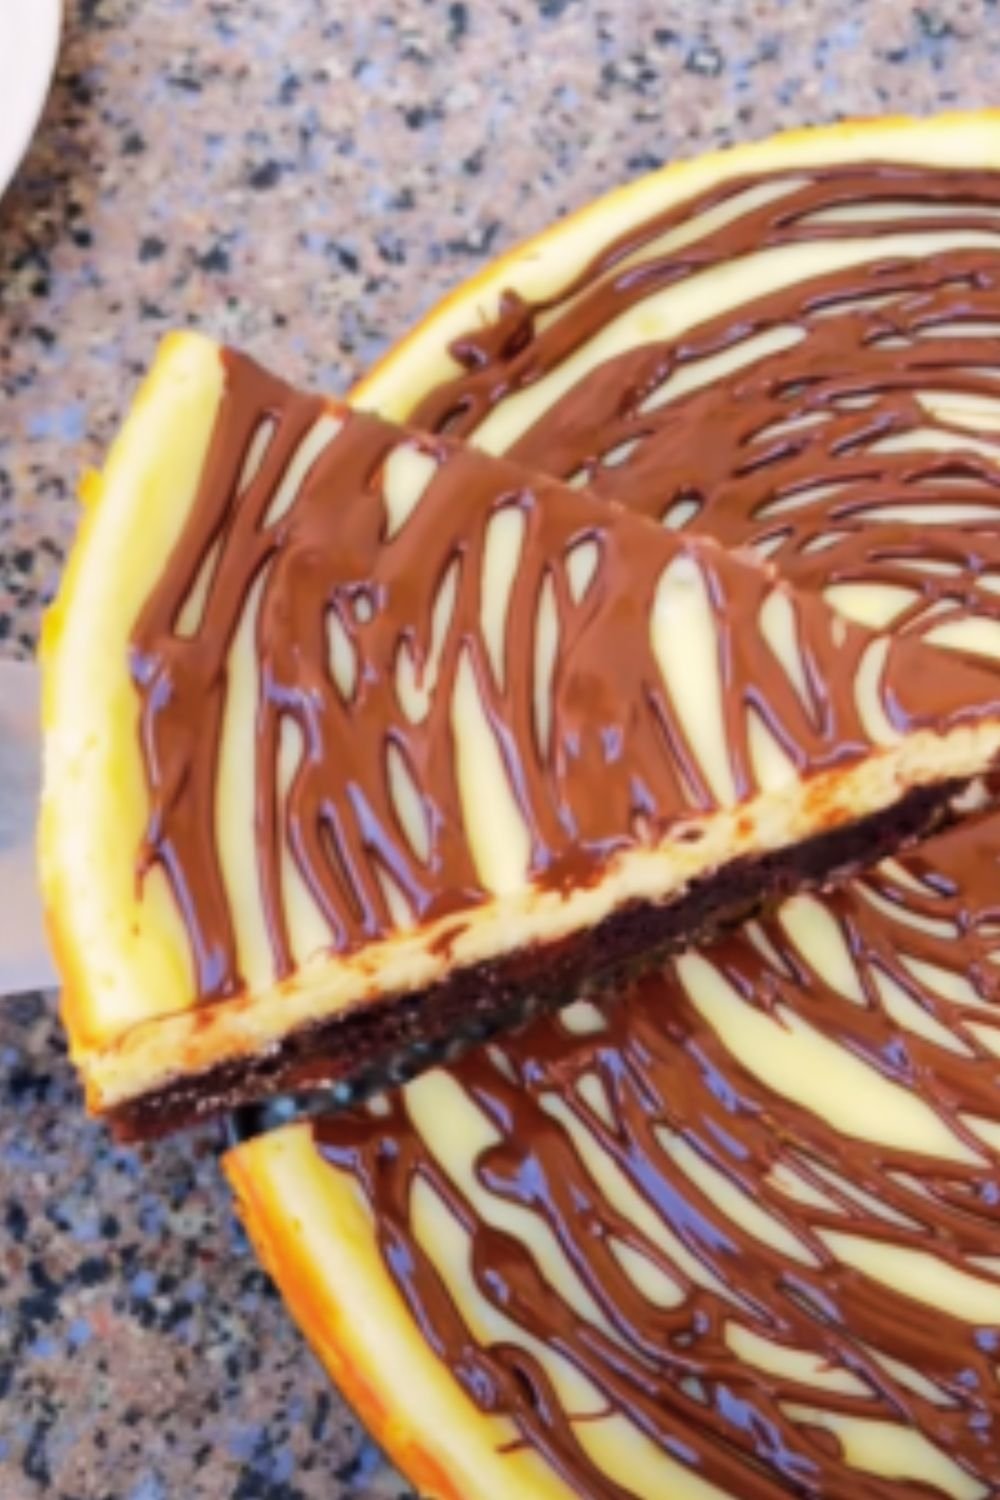
The brilliance of this dessert lies in its contrasting layers. The foundation is a fudgy, not-too-sweet brownie that provides a sturdy base for the star of the show—a velvety smooth vanilla cheesecake. The result is a slice of pure joy that satisfies multiple cravings in one go.
What makes this particular recipe stand out is the balance I’ve achieved between the two elements. The brownie layer isn’t just an afterthought; it’s substantial enough to provide that rich chocolate flavor we all crave, while the cheesecake portion is perfectly proportioned to create harmony rather than competition between the layers.
Ingredients You’ll Need
For the Brownie Layer:
- ½ cup (115g) unsalted butter
- 4 oz (115g) high-quality semisweet chocolate
- 1 cup (200g) granulated sugar
- 2 large eggs, at room temperature
- 1 teaspoon pure vanilla extract
- ¾ cup (95g) all-purpose flour
- ¼ cup (30g) unsweetened cocoa powder
- ½ teaspoon salt
- ½ cup (85g) chocolate chips (optional, for extra richness)
For the Cheesecake Layer:
- 24 oz (680g) cream cheese, softened to room temperature
- ¾ cup (150g) granulated sugar
- 3 large eggs, at room temperature
- 1 tablespoon pure vanilla extract
- ¼ cup (60ml) heavy cream
- 2 tablespoons all-purpose flour
For the Optional Chocolate Ganache Topping:
- 4 oz (115g) semisweet chocolate
- ½ cup (120ml) heavy cream
- 1 tablespoon unsalted butter
Equipment Needed
Before you begin, make sure you have these essential tools on hand:
- 9-inch springform pan
- Parchment paper
- Mixing bowls (various sizes)
- Electric mixer (stand or handheld)
- Rubber spatula
- Measuring cups and spoons
- Double boiler or microwave-safe bowl for melting chocolate
- Aluminum foil (for water bath method)
- Large roasting pan (if using water bath method)
Detailed Instructions
Preparing Your Pan and Oven
- Preheat your oven to 350°F (175°C).
- Grease a 9-inch springform pan and line the bottom with parchment paper.
- Wrap the outside of the pan with two layers of heavy-duty aluminum foil, ensuring it comes up the sides. This prevents water from seeping in during the water bath baking (which helps prevent cracks in your cheesecake).
Making the Brownie Base
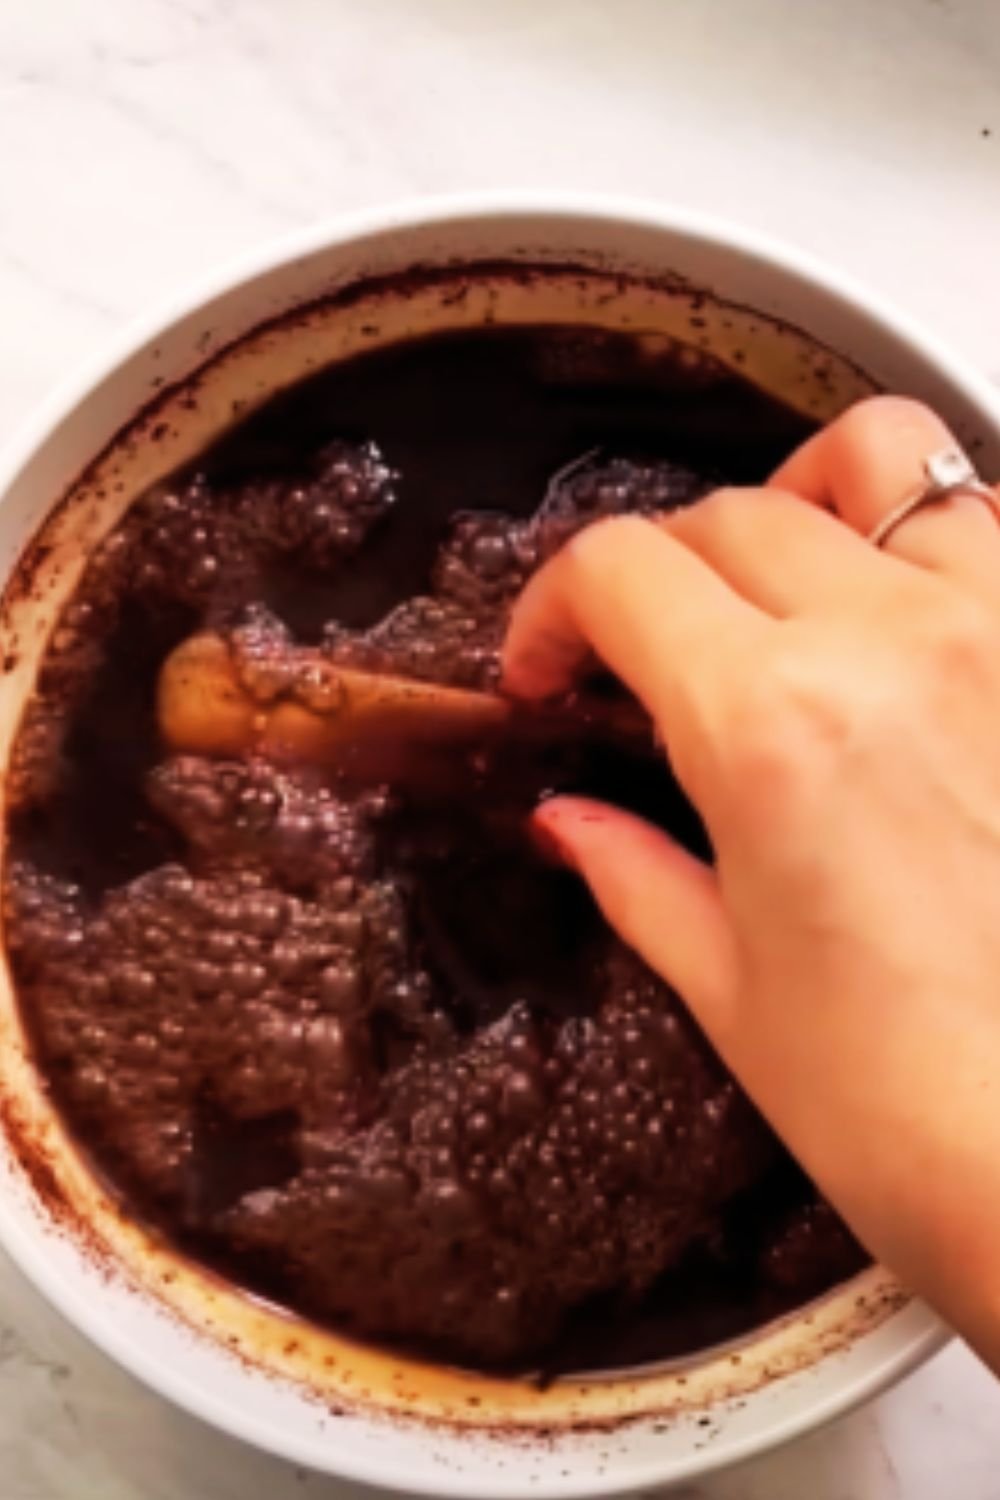
- In a double boiler or microwave-safe bowl, melt the butter and chocolate together, stirring occasionally until smooth and fully combined.
- Remove from heat and let cool slightly, about 5 minutes.
- Whisk in the sugar until well incorporated.
- Add eggs one at a time, whisking well after each addition.
- Stir in the vanilla extract.
- In a separate bowl, whisk together flour, cocoa powder, and salt.
- Gradually fold the dry ingredients into the chocolate mixture until just combined. Don’t overmix!
- If using, fold in the chocolate chips.
- Pour the brownie batter into your prepared springform pan, spreading it evenly.
- Bake for 20-25 minutes until the brownie is just set but still slightly fudgy in the center. A toothpick inserted should come out with a few moist crumbs.
- Remove from oven and allow to cool for 10 minutes while you prepare the cheesecake layer. Leave the oven on.
Creating the Perfect Cheesecake Layer
- In a large bowl, beat the softened cream cheese with an electric mixer on medium speed until completely smooth and free of lumps, about 4-5 minutes. Don’t rush this step—it’s crucial for a silky-smooth cheesecake!
- Gradually add the sugar and continue beating until light and fluffy, about 2 minutes.
- Add eggs one at a time, beating on low speed after each addition just until blended. Overbeating can incorporate too much air, leading to cracks.
- Stir in the vanilla extract and heavy cream.
- Sprinkle the flour over the mixture and gently fold until incorporated.
- Pour the cheesecake batter over the cooled brownie layer.
Baking the Cheesecake
- Place your foil-wrapped springform pan in a large roasting pan.
- Pour hot water into the roasting pan until it reaches about halfway up the sides of the springform pan.
- Carefully transfer to the oven and bake for 50-60 minutes, or until the edges are set but the center still has a slight jiggle.
- Turn off the oven, crack the door open, and let the cheesecake cool in the oven for 1 hour. This gradual cooling helps prevent cracks.
- Remove from the oven, run a knife around the edges of the pan, and let cool completely at room temperature.
- Refrigerate for at least 4 hours, preferably overnight, to allow the cheesecake to set properly.
Optional Chocolate Ganache Topping
- Place chocolate in a heatproof bowl.
- Heat heavy cream in a small saucepan until it just begins to simmer.
- Pour the hot cream over the chocolate and let stand for 2-3 minutes.
- Stir until smooth, then add butter and stir until glossy.
- Let cool slightly until the ganache thickens but is still pourable.
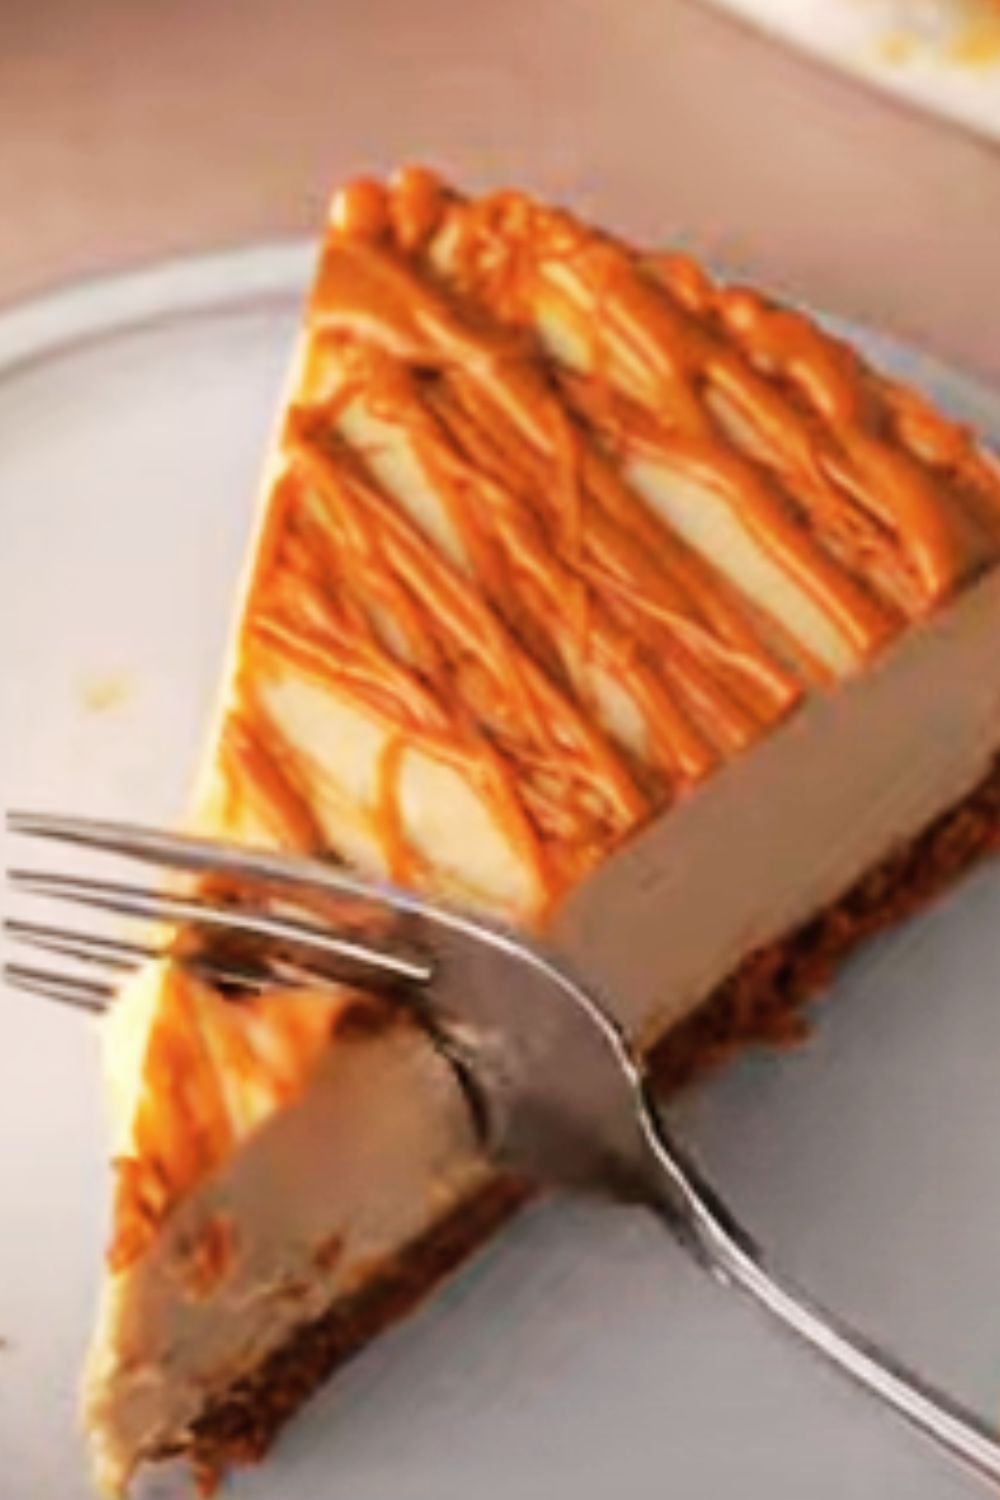
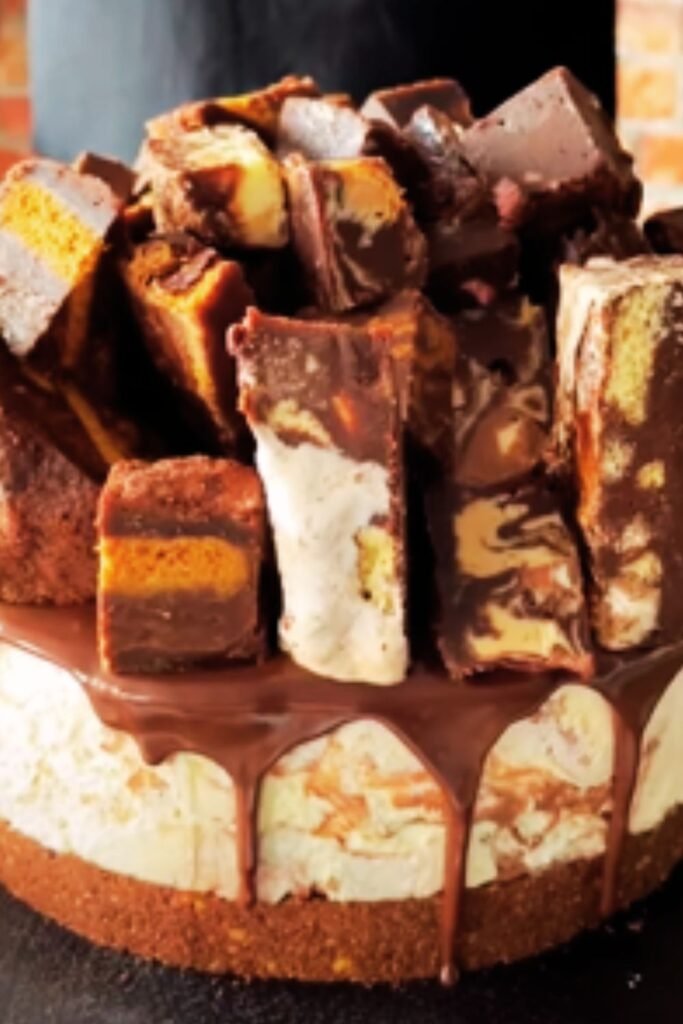
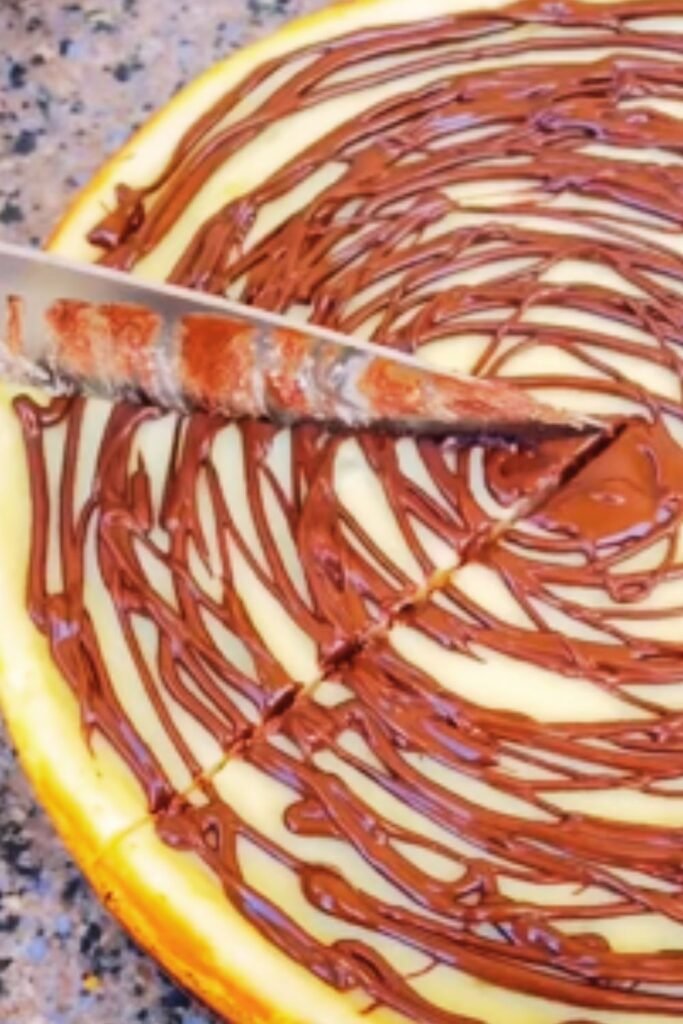
- Pour over the chilled cheesecake, spreading it to the edges with a spatula.
- Return to the refrigerator for at least 30 minutes to set the ganache.
Troubleshooting Guide: Common Issues and Solutions
| Problem | Possible Cause | Solution |
|---|---|---|
| Cracked cheesecake | Overmixing or rapid temperature changes | Use a water bath, beat minimally after adding eggs, and cool gradually |
| Soggy brownie layer | Underbaking the brownie base | Ensure brownie is just set before adding cheesecake layer |
| Cheesecake not setting | Not enough chilling time or incorrect baking | Refrigerate for at least 8 hours, preferably overnight |
| Lumpy cheesecake texture | Cream cheese not at room temperature | Allow cream cheese to fully soften before beating |
| Water leaking into pan | Improper foil wrapping | Use extra-wide heavy-duty foil and double-wrap |
| Dense, heavy texture | Overmixing the batter | Mix just until ingredients are combined |
| Browning on top | Oven temperature too high | Lower oven temperature, use water bath, consider tenting with foil |
| Difficulty slicing cleanly | Knife not clean between cuts | Wipe blade clean with hot water between each slice |
Expert Tips for Brownie Bottom Cheesecake Success
After making this dessert countless times, I’ve collected several tips that will help ensure your Brownie Bottom Cheesecake turns out perfectly every time:
- Room temperature ingredients are non-negotiable: Cold cream cheese leads to lumps that won’t smooth out during baking.
- Don’t rush the cooling process: The gradual temperature change is crucial for preventing cracks.
- The water bath is worth it: While it adds an extra step, it creates a humid environment that helps your cheesecake bake evenly.
- Be patient with chilling: A properly chilled cheesecake (at least 8 hours) slices beautifully and has the perfect texture.
- Use a sharp, hot knife for slicing: Run your knife under hot water and wipe it clean between each cut for professional-looking slices.
- Invest in quality chocolate: The chocolate flavor is prominent in this dessert, so using high-quality chocolate makes a noticeable difference.
- Don’t overbake: The cheesecake should still have a slight jiggle in the center when you turn off the oven.
Making Ahead and Storage Information
One of the many beauties of this dessert is how well it keeps and can be prepared in advance:
- Make ahead: This cheesecake can be made up to 3 days ahead of serving. In fact, I find it tastes even better on day 2 or 3 as the flavors have time to meld.
- Refrigeration: Store covered in the refrigerator for up to 5 days.
- Freezing: This dessert freezes beautifully! Wrap individual slices or the whole cake (without ganache) tightly in plastic wrap and then aluminum foil. Freeze for up to 2 months. Thaw overnight in the refrigerator before serving. Add ganache after thawing if desired.
Variations to Try
While the classic version is divine, here are some creative variations to try:
Flavor Variations:
- Mint Chocolate: Add 1/2 teaspoon mint extract to the cheesecake batter and sprinkle chopped Andes mints on top.
- Mocha Brownie Base: Add 1 tablespoon espresso powder to the brownie batter for a coffee kick.
- Peanut Butter Swirl: Warm 1/2 cup peanut butter until pourable and swirl into the cheesecake batter before baking.
- Orange Chocolate: Add 1 tablespoon orange zest to the cheesecake layer for a refreshing twist.
- Raspberry Swirl: Swirl 1/4 cup strained raspberry preserves into the cheesecake batter.
Topping Ideas:
- Fresh berries and whipped cream
- Caramel sauce drizzle
- Crushed Oreos or other cookies
- Toasted nuts (pecans or walnuts work beautifully)
- White chocolate shavings
- Chocolate curls
Serving Suggestions
I find that Brownie Bottom Cheesecake is perfect on its own, but here are some lovely accompaniments:
- A dollop of lightly sweetened whipped cream
- Fresh berries (strawberries, raspberries, or blackberries work wonderfully)
- A dusting of cocoa powder or powdered sugar
- Hot fudge sauce (served on the side for drizzling)
- A scoop of vanilla ice cream for an extra-indulgent treat
- Fresh mint leaves as a garnish
- Coffee or espresso to balance the sweetness
For special occasions, I like to create a dessert bar with the cheesecake as the centerpiece, surrounded by various toppings that guests can choose themselves.
Nutritional Information
While this is definitely a special occasion treat, it’s helpful to know what you’re indulging in:
| Nutrient | Amount per Serving (1/12 of cake) |
|---|---|
| Calories | 485 |
| Total Fat | 32g |
| Saturated Fat | 19g |
| Cholesterol | 155mg |
| Sodium | 280mg |
| Total Carbohydrates | 44g |
| Dietary Fiber | 2g |
| Sugars | 35g |
| Protein | 8g |
Perfect Occasions for Serving
This show-stopping dessert is ideal for:
- Birthdays and anniversaries
- Holiday gatherings
- Dinner parties
- Potlucks (you’ll definitely be the favorite guest!)
- Weekend family treats
- Valentine’s Day
- As a thoughtful homemade gift
Frequently Asked Questions
Q: Can I make this without a springform pan? A: While a springform pan is ideal, you can use a deep pie dish or cake pan lined with parchment paper with enough overhang to lift the cake out after cooling. However, it won’t be as easy to remove and slice.
Q: Do I really need to use a water bath? A: The water bath helps the cheesecake bake evenly and prevents cracks. You can skip it, but your results may not be as perfect. If you do skip it, bake at a lower temperature (325°F) and be especially careful with the cooling process.
Q: Can I use low-fat cream cheese? A: I don’t recommend it. Full-fat cream cheese provides the proper texture and mouthfeel. Low-fat versions contain more moisture and stabilizers that can affect the final result.
Q: My cheesecake cracked! What happened? A: Cracks usually form due to dramatic temperature changes or overmixing. Next time, ensure your ingredients are at room temperature, don’t overmix (especially after adding eggs), use a water bath, and cool gradually. Remember that a cracked cheesecake still tastes delicious and can be hidden under ganache or other toppings!
Q: Can I make mini versions in a muffin tin? A: Absolutely! Line a muffin tin with paper liners, press a tablespoon of brownie batter into each cup, bake for about 10 minutes, then top with cheesecake batter and bake for another 15-20 minutes. Reduce the temperature to 325°F for the minis.
Q: How do I know when my cheesecake is done? A: The edges should be set, but the center should still have a slight jiggle when gently shaken. It will continue to set as it cools.
Q: Can I make this gluten-free? A: Yes! Substitute the flour with a 1:1 gluten-free flour blend in both the brownie and cheesecake layers.

Why This Recipe Works
Through countless test batches and adjustments, I’ve perfected this recipe to ensure:
- The brownie layer remains fudgy rather than drying out during the extended baking time.
- The cheesecake layer achieves that perfect creamy consistency without becoming grainy or curdled.
- The flavors complement rather than compete with each other.
- The textures create a delightful contrast that makes each bite exciting.
The key is in the precise ratios of ingredients, the careful baking method, and the patience required for proper cooling and chilling.
Final Thoughts
Creating a Brownie Bottom Cheesecake is more than just combining two desserts—it’s about crafting an experience. The moment your guests (or just you!) take that first bite, with the contrasting textures and harmonizing flavors, is truly magical.
I encourage you to try this recipe for your next special occasion, or perhaps just because you deserve a magnificent treat. While it requires some time and attention to detail, the process is straightforward, and the results are absolutely worth the effort.
Remember that baking is both a science and an art. Don’t be discouraged if your first attempt isn’t perfect—each time you make this, you’ll learn something new and improve your technique. The journey is part of the joy of creating something so delicious.
So preheat that oven, gather your ingredients, and prepare to create a dessert that will become a requested favorite for years to come. Happy baking!