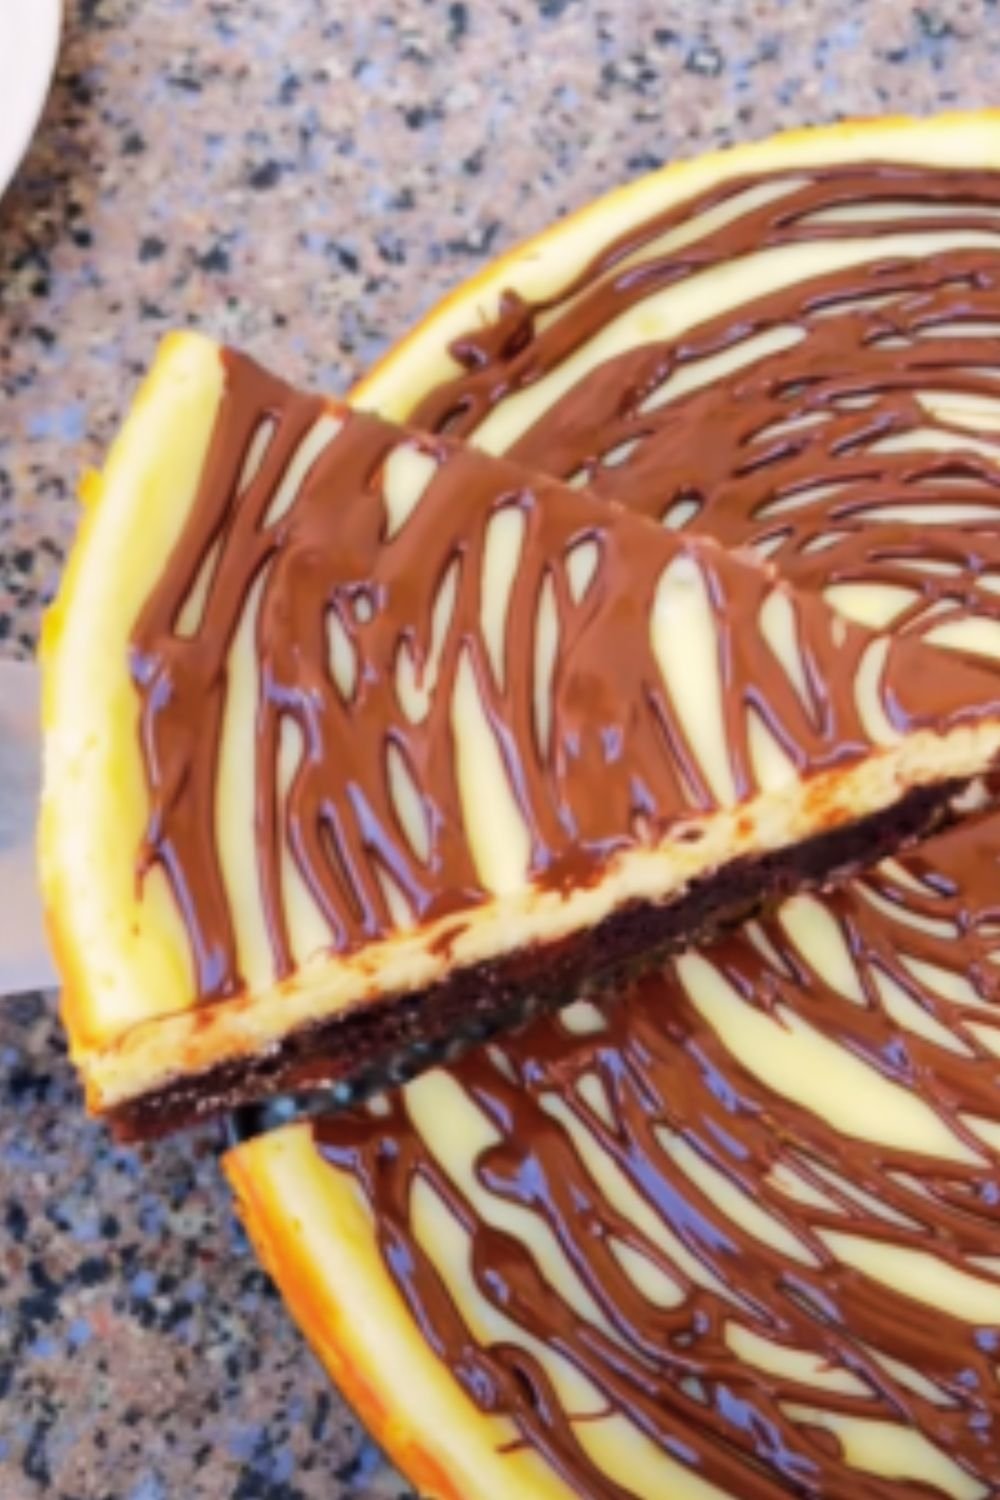
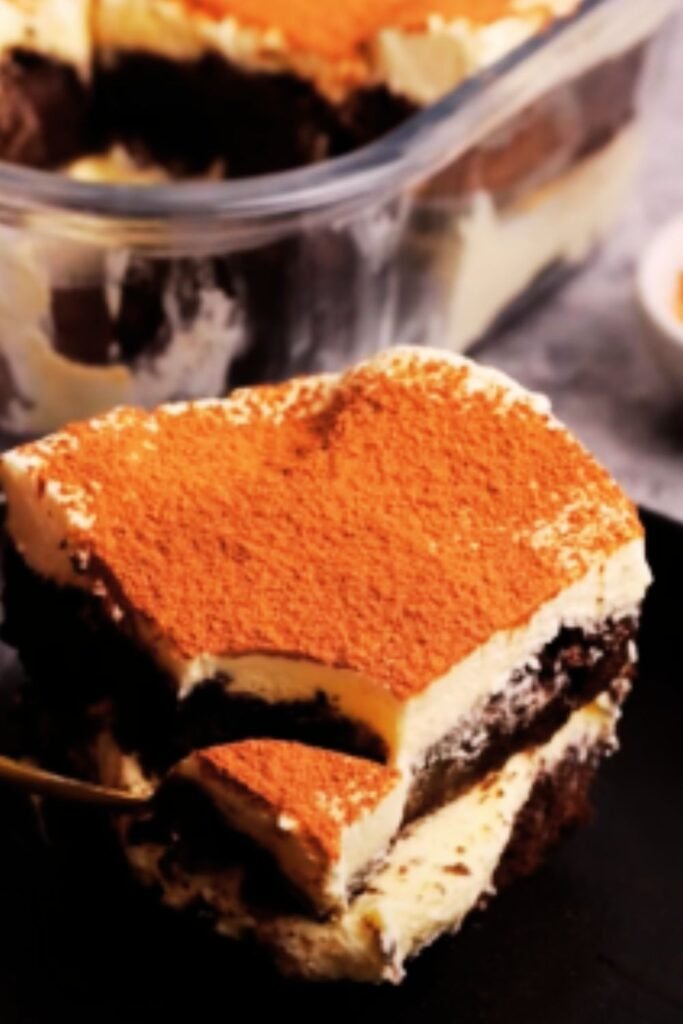
There’s something magical about traditional tiramisu that captures the essence of Italian dessert perfection—layers of coffee-soaked ladyfingers, creamy mascarpone, and a dusting of cocoa. But what happens when you add an extra dimension of chocolate to this classic? Pure bliss. Today, I’m sharing my favorite chocolate tiramisu recipe that has been perfected through years of testing (and tasting!).
The History Behind This Chocolatey Twist
While traditional tiramisu has been delighting palates since the 1960s in the Veneto region of Italy, the chocolate variation is a more modern adaptation that’s quickly becoming a favorite worldwide. As someone who’s experimented with countless tiramisu recipes over the years, I’ve found that the addition of chocolate creates a richer, more indulgent experience that still honors the original’s delicate balance of flavors.
The word “tiramisu” translates to “pick me up” in Italian, referring to the energizing effects of its coffee and sugar content. With the addition of chocolate, this dessert becomes even more uplifting—both to make and to enjoy!
Why You’ll Love This Recipe
Before diving into the process, let me share why this chocolate tiramisu stands out:
- It’s a showstopper dessert that looks professional with minimal effort
- The make-ahead factor means less stress when entertaining
- The no-bake preparation keeps your kitchen cool during warm weather
- The chocolate-coffee combination creates flavor complexity that’s irresistible
- It’s customizable to suit different dietary needs and preferences
Ingredients: Quality Matters
For a dessert with so few ingredients, quality makes all the difference. Here’s what you’ll need:
| Ingredient | Quantity | Notes |
|---|---|---|
| Mascarpone cheese | 16 oz (450g) | Room temperature for easier mixing |
| Heavy cream | 1 cup (240ml) | Cold, with at least 35% fat content |
| Egg yolks | 6 large | Fresh, pasteurized recommended |
| Granulated sugar | 3/4 cup (150g) | Divided for egg yolks and cream |
| Vanilla extract | 2 teaspoons | Pure, not imitation |
| Ladyfinger cookies | 24-30 pieces | Crisp, not soft variety |
| Strong espresso or coffee | 1 1/2 cups (360ml) | Cooled to room temperature |
| Dark chocolate | 8 oz (225g) | 70% cocoa, plus extra for garnish |
| Cocoa powder | 3 tablespoons | Unsweetened, Dutch-processed |
| Coffee liqueur (optional) | 1/4 cup (60ml) | Kahlúa or similar |
| Salt | 1/4 teaspoon | Fine sea salt enhances chocolate flavor |
Equipment You’ll Need
Having the right tools makes assembly smooth and efficient:
- 9×13 inch baking dish (glass works beautifully for seeing the layers)
- Stand mixer or hand mixer
- Mixing bowls (various sizes)
- Whisk
- Rubber spatula
- Measuring cups and spoons
- Double boiler or microwave-safe bowl for melting chocolate
- Sifter for cocoa powder
- Serving spoon or cake server
The Perfect Chocolate Tiramisu: Step by Step
Preparation Phase
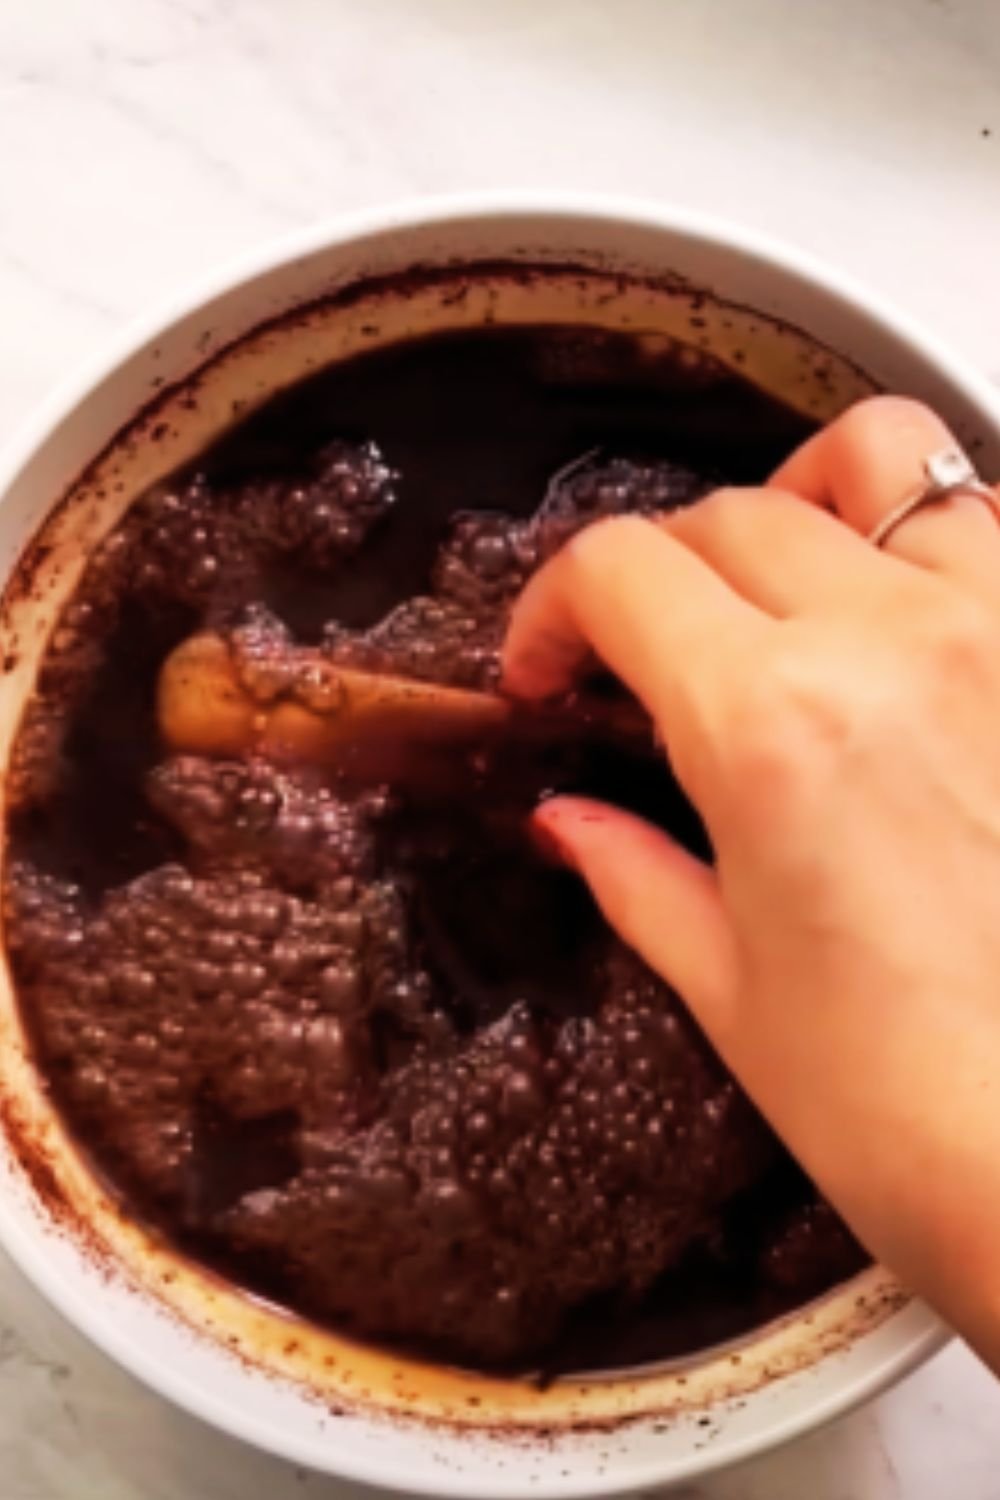
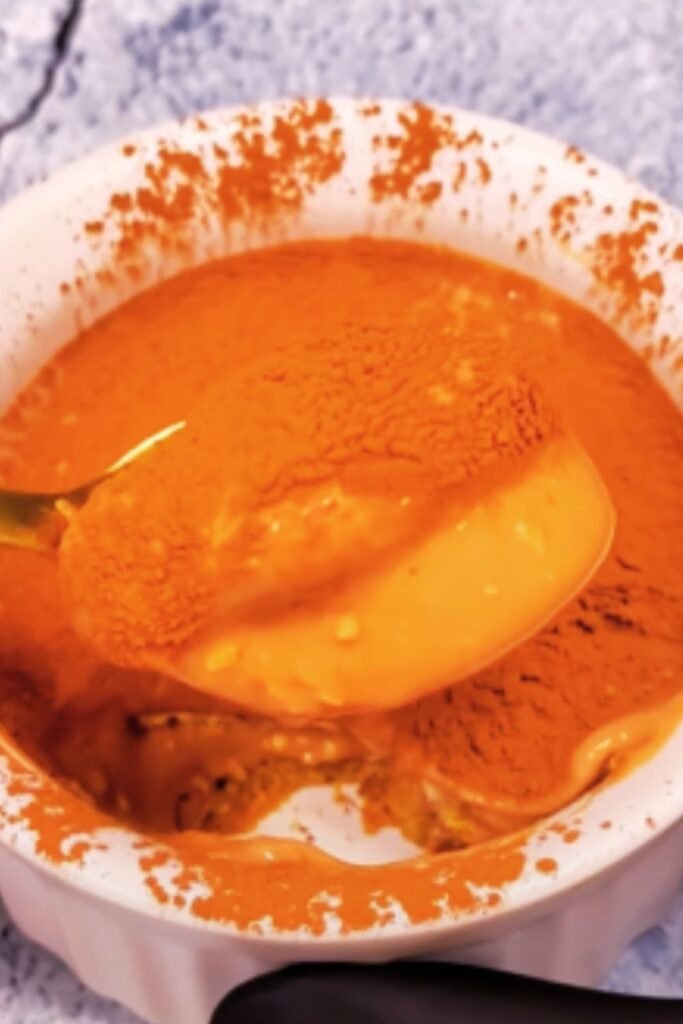
- Melting Chocolate: Begin by melting 6 oz of the dark chocolate using a double boiler or microwave in 30-second intervals, stirring after each interval. Once smooth, set aside to cool slightly.
- Coffee Mixture: Brew your espresso or strong coffee and allow it to cool completely. Once cooled, mix with coffee liqueur (if using) in a shallow dish and set aside.
- Egg Yolk Mixture: In a heat-proof bowl, whisk together the egg yolks and 1/2 cup of sugar. Place over a pot of simmering water (ensuring the bowl doesn’t touch the water) and whisk continuously until the mixture reaches 160°F (71°C) or until it thickens and turns pale yellow. This pasteurization step ensures food safety. Remove from heat and continue whisking until cooled to room temperature.
Creating the Chocolate Mascarpone Cream
- Incorporate Chocolate: Gently fold the cooled melted chocolate into the egg yolk mixture until fully incorporated.
- Add Mascarpone: Add the room temperature mascarpone cheese to the chocolate-egg mixture, folding gently until smooth. Be careful not to overmix as this can cause the mascarpone to become grainy.
- Whip Cream: In a separate bowl, whip the cold heavy cream with the remaining 1/4 cup sugar, vanilla extract, and salt until stiff peaks form.
- Final Mixture: Carefully fold the whipped cream into the chocolate-mascarpone mixture in three additions, maintaining as much air as possible for a light, mousse-like texture.
Assembly Process
- First Layer: Quickly dip each ladyfinger into the coffee mixture (about 1 second per side—too long and they’ll become soggy). Arrange them in a single layer in your baking dish, breaking some if necessary to fit.
- First Cream Layer: Spread half of the chocolate mascarpone cream evenly over the ladyfingers.
- Chocolate Enhancement: Finely chop or grate 1 oz of dark chocolate and sprinkle evenly over the cream layer.
- Second Cookie Layer: Create another layer of coffee-dipped ladyfingers, arranging them perpendicular to the first layer for structural integrity.
- Final Cream Layer: Spread the remaining chocolate mascarpone cream on top, creating decorative swirls with your spatula.
- Finishing Touch: Dust the top generously with cocoa powder using a fine mesh sieve. I like to create an abstract pattern by placing a paper doily on top before dusting, then carefully removing it to reveal a beautiful design.
- Chocolate Garnish: Finish with chocolate curls made by dragging a vegetable peeler along the remaining 1 oz of slightly warmed dark chocolate.
The Critical Resting Period
Here’s where patience becomes your secret ingredient. Cover the tiramisu with plastic wrap (not touching the surface) and refrigerate for a minimum of 6 hours, but preferably overnight. This resting period allows the flavors to meld and the texture to set perfectly.
Serving Suggestions
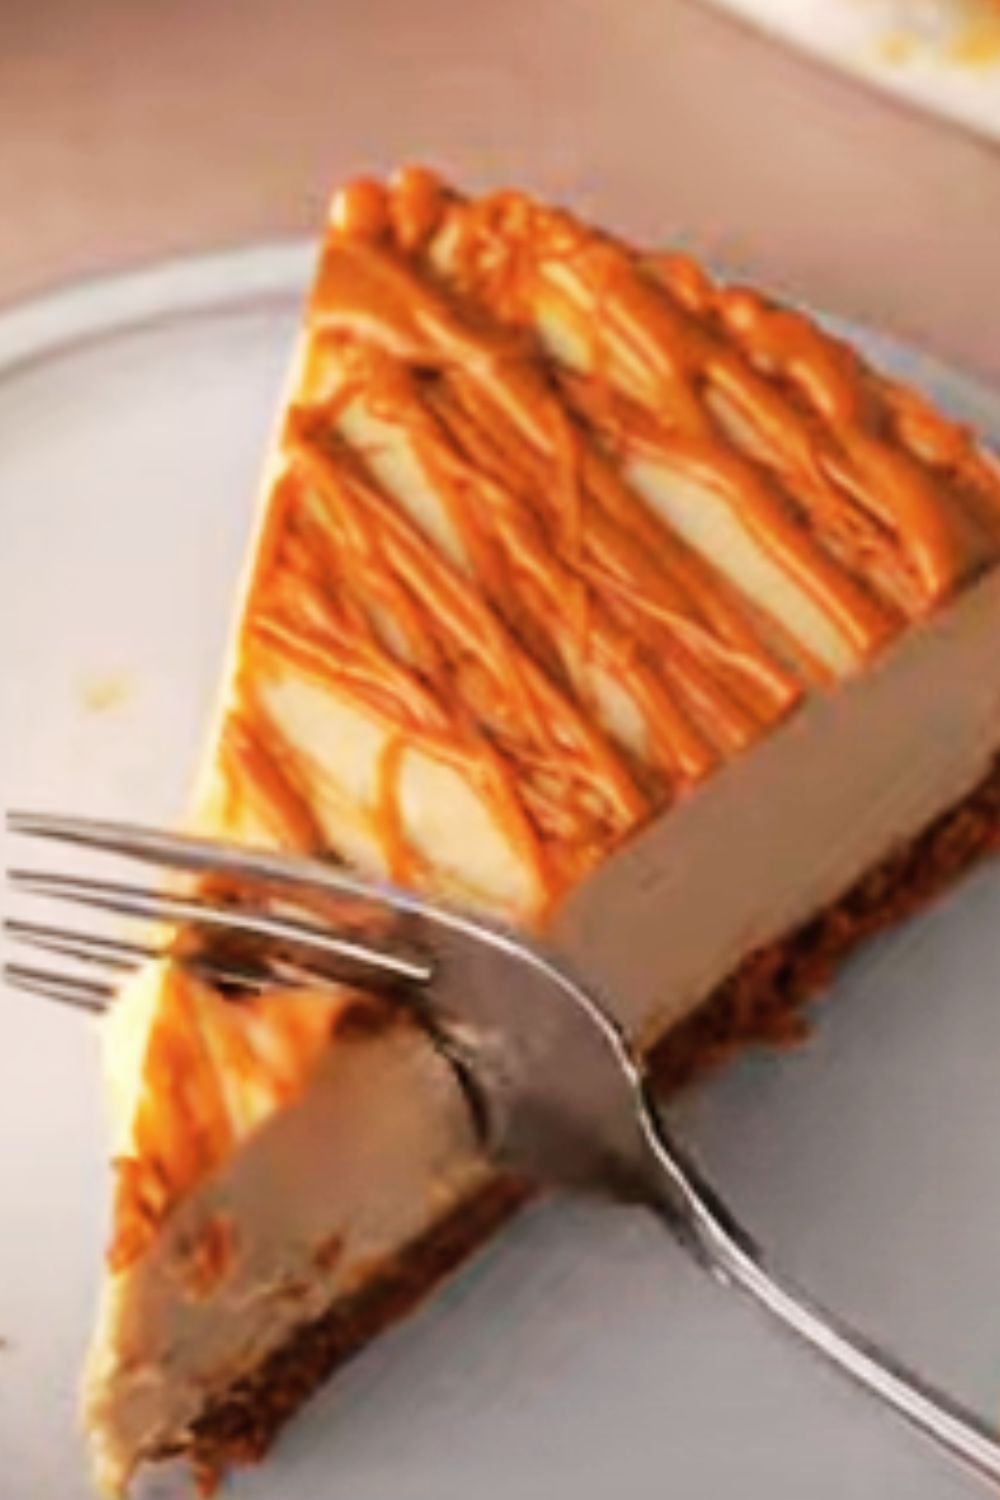
After the waiting period (the hardest part!), your chocolate tiramisu is ready to shine. Here are some serving ideas:
- Cut into squares using a sharp knife dipped in hot water and wiped clean between cuts
- Serve on chilled plates with a fresh dusting of cocoa powder
- Pair with a shot of espresso for an authentic Italian experience
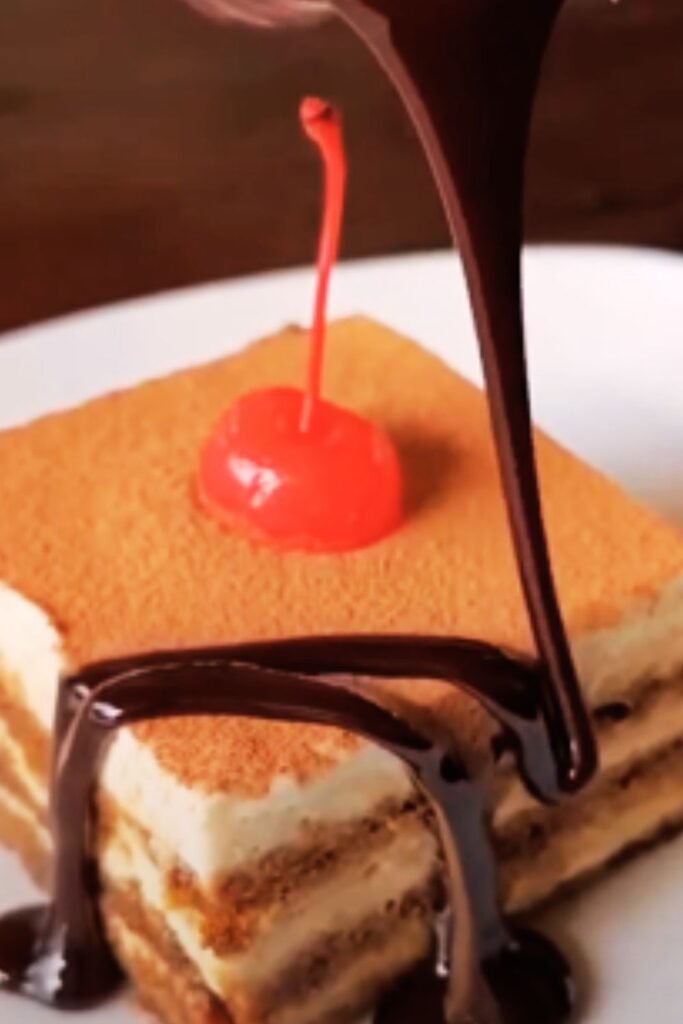
- Add fresh berries on the side for a colorful, tart contrast
- Garnish with mint leaves for a pop of color and freshness
- For special occasions, serve with a small scoop of coffee or chocolate gelato
Variations to Try
One of the reasons I love this recipe is its versatility. Here are some exciting variations I’ve experimented with:
Dietary Adaptations
- Gluten-Free: Use gluten-free ladyfingers or sponge cake
- Alcohol-Free: Skip the coffee liqueur and add 1 teaspoon of vanilla extract to the coffee mixture
- Lower Fat: Use light mascarpone and reduced-fat whipping cream (though the texture will be slightly different)
Flavor Twists
- Orange-Chocolate: Add orange zest to the mascarpone mixture and a splash of orange liqueur to the coffee
- Hazelnut Heaven: Mix 2 tablespoons of hazelnut spread into the mascarpone mixture and sprinkle chopped hazelnuts between layers
- Mint Chocolate: Add 1/4 teaspoon of mint extract to the mascarpone mixture and garnish with chocolate mint leaves
- Spiced Chocolate: Add a pinch of cinnamon and cayenne to the cocoa powder for dusting
Troubleshooting Common Issues
Even experienced bakers encounter challenges. Here are solutions to common chocolate tiramisu problems:
| Problem | Possible Cause | Solution |
|---|---|---|
| Runny filling | Mascarpone overbeaten or too warm | Ensure cheese is just at room temperature, fold gently |
| Soggy ladyfingers | Cookies dipped too long | Quick 1-second dip per side, let excess coffee drip off |
| Grainy texture | Sugar not dissolved or mixture curdled | Ensure sugar completely dissolves in egg yolks, don’t overmix |
| Bitter taste | Coffee too strong or chocolate too dark | Balance with a bit more sugar or use less strong coffee |
| Deflated cream | Overmixing final folding | Fold gently to maintain air bubbles |
| Doesn’t set properly | Not chilled long enough | Minimum 6 hours, preferably overnight refrigeration |
Storage and Make-Ahead Tips
One of tiramisu’s greatest attributes is how well it keeps and even improves with time:
- Refrigerator: Covered tightly, chocolate tiramisu will keep for up to 4 days, with optimal flavor on days 2-3
- Freezer: Yes, you can freeze tiramisu! Wrap individual portions tightly in plastic wrap, then foil. Thaw overnight in the refrigerator for best results
- Make-Ahead: Prepare up to 2 days before a special event, giving the flavors plenty of time to develop
- Transport: Keep chilled with ice packs if traveling with your dessert
Nutrition Information
For those watching their intake, here’s an approximate breakdown per serving (assumes 12 servings from the recipe):
| Nutrient | Amount per Serving |
|---|---|
| Calories | 425 |
| Total Fat | 32g |
| Saturated Fat | 19g |
| Cholesterol | 195mg |
| Sodium | 150mg |
| Total Carbohydrates | 27g |
| Dietary Fiber | 2g |
| Sugars | 18g |
| Protein | 7g |
Frequently Asked Questions
Can I make tiramisu without raw eggs? Yes! The recipe includes a pasteurization method by heating the egg yolks with sugar over a double boiler. Alternatively, you can use pasteurized egg products or omit eggs entirely with a simplified mascarpone-cream only version.
How far in advance can I make chocolate tiramisu? For optimal flavor and texture, prepare 1-2 days before serving. The tiramisu will keep well in the refrigerator for up to 4 days total.
Can I use milk chocolate instead of dark chocolate? Absolutely! The tiramisu will be sweeter with milk chocolate. Reduce the added sugar by about 2 tablespoons to compensate.
My mascarpone mixture curdled. Can I fix it? If the mixture curdles, try gently warming it over a double boiler while whisking constantly, then cooling before continuing. Prevention is best: ensure all ingredients are at the proper temperature before mixing.
What can I substitute for mascarpone cheese? In a pinch, blend 8 oz cream cheese with 1/4 cup heavy cream and 2 tablespoons butter until smooth. The flavor will differ slightly but still delicious.
How do I know when my tiramisu is ready to serve? The dessert should be firmly set with no liquid pooling when tilted. The ladyfingers should be soft but not dissolving, and the top should spring back slightly when gently pressed.
Why This Recipe Works: The Science Behind Perfect Tiramisu
I’ve always been fascinated by the science behind successful desserts. Here’s why this chocolate tiramisu works so beautifully:
- The fat content in mascarpone and heavy cream creates a stable emulsion that holds its shape
- The acidity in coffee helps cut through the richness of the cream and chocolate
- Cocoa solids in dark chocolate provide structure as well as flavor
- The egg yolks act as an emulsifier, binding the water and fat molecules
- The resting period allows moisture migration through the layers, softening the ladyfingers to the perfect consistency
Final Thoughts
Chocolate tiramisu represents the perfect marriage of tradition and innovation. While purists might argue for the classic recipe, I’ve found that the addition of chocolate creates a dessert that honors its roots while offering a new dimension of flavor.
What I love most about sharing this recipe is seeing how others make it their own. Whether you follow it exactly or add your personal touch, the process of creating chocolate tiramisu is as rewarding as enjoying the final product. There’s something about the methodical layering and the anticipation during the chilling time that makes the experience special.
So gather your ingredients, set aside some time for assembly, and prepare to create a dessert that will have everyone asking for seconds—and your recipe. Remember, the most important ingredient is patience, both in the careful preparation and the waiting period before serving. Your reward will be a chocolate tiramisu that’s truly unforgettable.
Q&A Section
How important is the quality of chocolate used in this recipe? The quality of chocolate dramatically impacts the final flavor. Since chocolate is a starring ingredient, I recommend using the best quality you can afford, preferably with 70% cocoa content for depth without excessive bitterness.
Can I make a smaller portion of this recipe? Yes! Simply halve all ingredients and use an 8×8 inch pan. The preparation method remains the same, though you may need slightly fewer ladyfingers depending on their size.
Is there a way to make this recipe less sweet? Absolutely. Reduce the sugar by up to one-third and use darker chocolate (80-85% cocoa). Also, make your coffee stronger and skip any added sugar in the coffee mixture.
How do I achieve those perfect chocolate curls for garnish? Slightly warm a chocolate bar (not melting, just taking the chill off), then use a vegetable peeler along the flat side, applying gentle pressure. For larger curls, use a wider chocolate bar and warm it slightly more.
What’s the difference between Dutch-processed and natural cocoa powder for dusting? Dutch-processed cocoa has been alkalized to reduce acidity, giving it a smoother, less bitter taste and darker color, making it ideal for dusting tiramisu. Natural cocoa will work but may taste slightly more acidic.