Introduction
There’s something truly magical about biting into a perfectly crispy bread roll only to discover a gooey, cheesy filling inside. I’ve been making these cheesy bread rolls for years, and they never fail to impress my family and guests alike. Whether you’re planning a casual get-together, looking for a satisfying snack, or want to prepare something special for your kids’ lunchbox, these vegetarian stuffed bread rolls are your answer.
What makes these rolls so special is the contrast between the crispy golden exterior and the melty, flavorful filling. I’ve experimented with dozens of variations over the years, but this recipe has stood the test of time as my absolute favorite version. Today, I’m excited to share my tried-and-tested recipe that combines the goodness of potatoes, cheese, and a blend of aromatic spices, all wrapped in a bread blanket and fried to perfection.
The beauty of these rolls lies in their versatility – you can enjoy them as a tea-time snack, serve them as an appetizer at parties, or even pack them for picnics. They’re substantial enough to keep hunger at bay for hours, yet irresistibly delicious that you’ll find yourself reaching for “just one more.”
Let’s dive into making these delectable treats that are bound to become a staple in your recipe collection!
Ingredients
For the Outer Covering:
- 10-12 slices of white bread (preferably a day old)
- 3-4 tablespoons of all-purpose flour
- 6-7 tablespoons of water
- Oil for deep frying
For the Potato Cheese Filling:
- 4 medium-sized potatoes, boiled and mashed
- 1 cup grated cheese (I prefer a mix of cheddar and mozzarella)
- 1 medium onion, finely chopped
- 2 green chilies, finely chopped
- 1 tablespoon ginger, grated
- 3-4 garlic cloves, minced
- 1/2 cup fresh coriander leaves, chopped
- 1 teaspoon cumin seeds
- 1/2 teaspoon turmeric powder
- 1 teaspoon red chili powder (adjust according to taste)
- 1 teaspoon garam masala
- 1 teaspoon dried mango powder (amchur) – optional
- 1/2 teaspoon chaat masala – optional
- Salt to taste
- 2 tablespoons oil for sautéing

Equipment Needed
| Equipment | Purpose |
|---|---|
| Large mixing bowl | For preparing the potato mixture |
| Small bowl | For making the flour paste |
| Spatula | For mixing ingredients |
| Potato masher | For mashing potatoes |
| Rolling pin | To flatten bread slices if needed |
| Sharp knife | To trim bread crusts |
| Medium-sized pan | For sautéing the filling |
| Deep frying pan | For frying the bread rolls |
| Slotted spoon | For removing fried rolls from oil |
| Paper towels | For draining excess oil |
| Measuring spoons | For accurate measurements |
| Grater | For grating cheese and ginger |
Preparation Time
| Task | Time Required |
|---|---|
| Preparation | 30 minutes |
| Cooking | 20 minutes |
| Total Time | 50 minutes |
| Servings | 10-12 bread rolls |
| Calories | Approximately 220 per roll |
Detailed Step-by-Step Instructions
Preparing the Potato Cheese Filling:
- Boil and mash the potatoes: Begin by thoroughly washing 4 medium-sized potatoes. Place them in a pressure cooker with enough water to cover them. Pressure cook for about 3-4 whistles or until they’re soft enough to be easily pierced with a fork. Once done, let them cool, peel the skin, and mash them in a large bowl until smooth.
- Prepare the tempering: Heat 2 tablespoons of oil in a pan over medium heat. Add cumin seeds and let them crackle for a few seconds.
- Sauté the aromatics: Add the finely chopped onions and sauté until they turn translucent. Then add the grated ginger, minced garlic, and chopped green chilies. Continue to sauté for another 1-2 minutes until fragrant.
- Add spices: Lower the heat and add turmeric powder, red chili powder, garam masala, dried mango powder (if using), and salt to taste. Mix well and cook for about 30 seconds to toast the spices.
- Combine with mashed potatoes: Add the prepared tempering to the mashed potatoes. Mix well to ensure the spices are evenly distributed throughout the potato mixture.
- Add cheese and herbs: Once the potato mixture has cooled slightly, add the grated cheese and chopped coriander leaves. Mix gently but thoroughly. The warmth from the potatoes will slightly melt the cheese, creating a wonderful texture.
- Final touch: Sprinkle chaat masala (if using) and give the mixture one final mix. Set aside to cool completely.

Preparing the Bread Rolls:
- Prepare the bread slices: Take each bread slice and trim off the crusts using a sharp knife. You can save these crusts to make breadcrumbs for later use.
- Make the flour paste: In a small bowl, mix 3-4 tablespoons of all-purpose flour with 6-7 tablespoons of water to create a smooth paste without any lumps. This will act as the glue to seal our bread rolls.
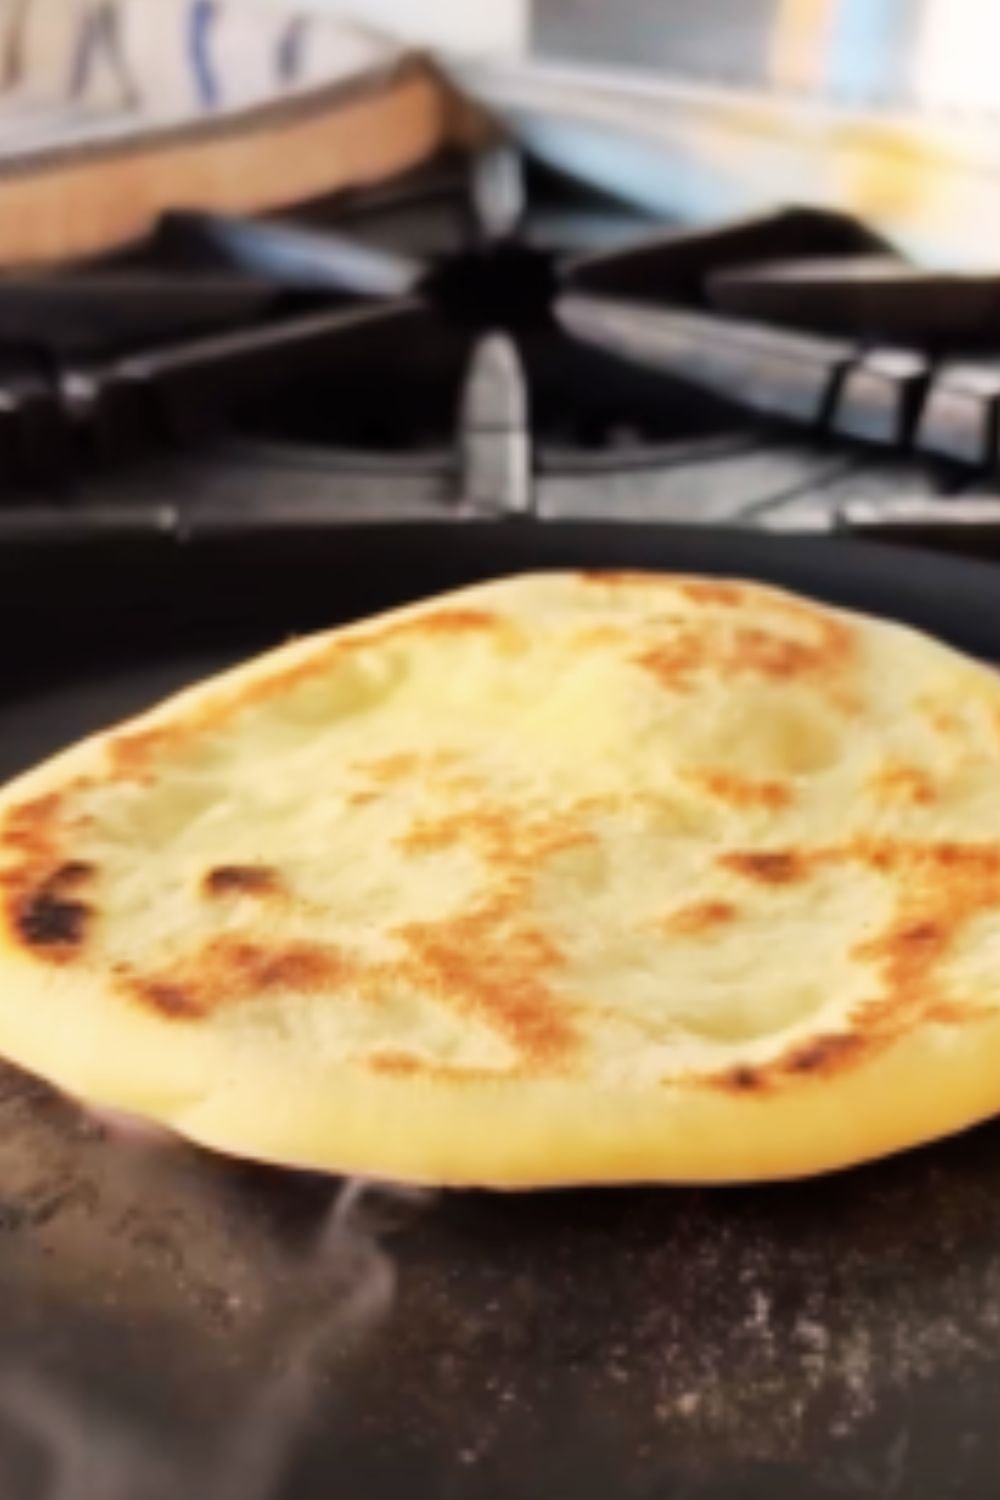
- Flatten the bread: Using a rolling pin, gently roll each bread slice to flatten it slightly. This makes it easier to fold and ensures even cooking.
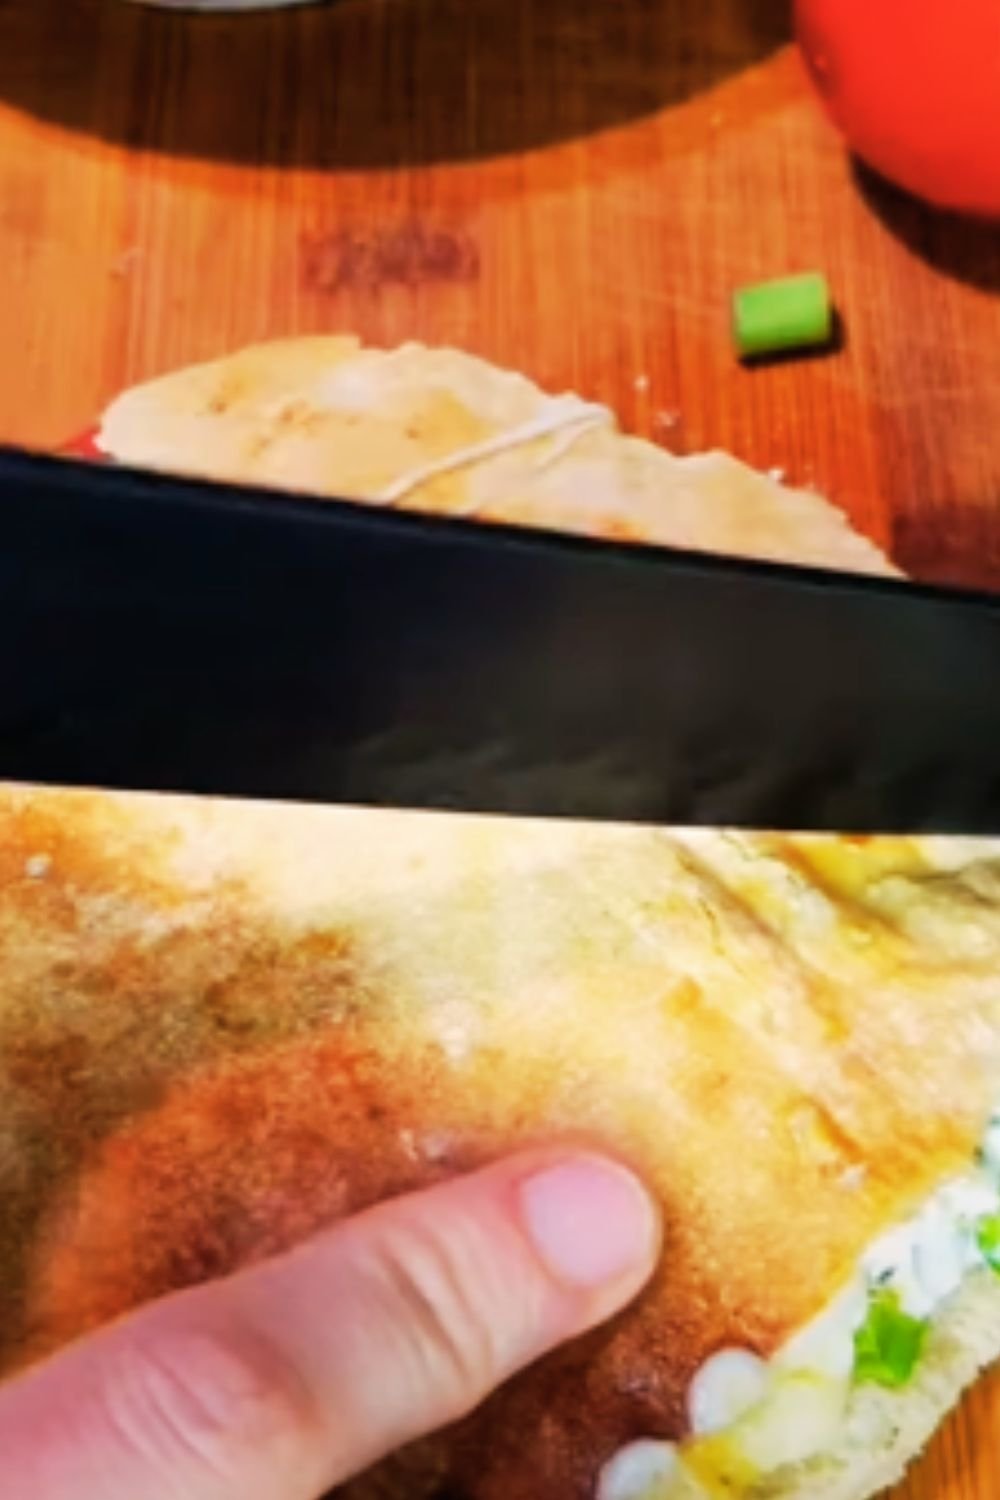
- Add the filling: Place about 1.5 tablespoons of the potato-cheese filling in the center of each flattened bread slice. Be careful not to overfill, as this might cause the rolls to burst while frying.
- Shape the rolls: Lift the edges of the bread slice and fold them over the filling, creating a neat rectangular or cylindrical roll. Press the edges firmly to seal.
- Seal with flour paste: Apply the flour paste along the edges and any other openings to ensure the rolls are properly sealed. This prevents the filling from leaking out during frying.
- Rest before frying: Allow the prepared rolls to rest for about 5 minutes. This helps the flour paste to set, ensuring a better seal.
Frying the Bread Rolls:
- Heat the oil: In a deep frying pan, heat enough oil for deep frying over medium heat. To check if the oil is ready, drop a small piece of bread into it. If it sizzles and rises to the surface, the oil is at the right temperature.
- Fry the rolls: Gently slide 2-3 bread rolls into the hot oil, depending on the size of your pan. Don’t overcrowd the pan as this will lower the oil temperature.
- Ensure even browning: Fry the rolls, turning them occasionally, until they achieve a beautiful golden-brown color on all sides. This usually takes about 3-4 minutes per batch.
- Drain excess oil: Using a slotted spoon, remove the fried bread rolls and place them on paper towels to drain excess oil.
- Continue with remaining rolls: Repeat the frying process with the remaining bread rolls.
- Serve hot: These cheesy bread rolls taste best when served hot and crispy!
Nutrition Information
| Nutrient | Amount per Roll |
|---|---|
| Calories | 220 kcal |
| Carbohydrates | 28g |
| Protein | 6g |
| Fat | 10g |
| Saturated Fat | 3.5g |
| Cholesterol | 15mg |
| Sodium | 320mg |
| Potassium | 250mg |
| Fiber | 2g |
| Sugar | 2g |
| Calcium | 80mg |
| Iron | 1.5mg |
Note: Nutritional values are approximate and may vary based on specific ingredients used.
Variations and Substitutions
I love experimenting with this recipe to create new flavor combinations. Here are some of my favorite variations:
Filling Variations:
- Corn and Cheese: Add 1/2 cup of boiled sweet corn kernels to the filling for added sweetness and texture.
- Paneer Stuffing: Replace half the potato with crumbled paneer (Indian cottage cheese) for a protein boost.
- Mexican Style: Add 1/2 teaspoon of taco seasoning, some diced bell peppers, and use Monterey Jack cheese for a Mexican twist.
- Italian Inspired: Mix in some dried Italian herbs, sun-dried tomatoes, and use mozzarella as the primary cheese.
- Spinach and Feta: Add 1/4 cup of blanched and chopped spinach with crumbled feta cheese for a Mediterranean flavor.
Coating Variations:
- Breadcrumb Coating: After sealing the rolls with flour paste, roll them in breadcrumbs for an extra crispy exterior.
- Semolina Coating: Use fine semolina (sooji) instead of breadcrumbs for a different texture.
- Herb Coating: Mix dried herbs like oregano or thyme with breadcrumbs for an aromatic coating.
Cooking Method Alternatives:
- Air Fryer Method: Brush the rolls with oil and air fry at 180°C (350°F) for about 10-12 minutes, turning halfway.
- Oven-Baked Version: Place the rolls on a baking sheet, brush with oil, and bake at 200°C (400°F) for 15-20 minutes until golden and crispy.
- Shallow Frying: If you prefer using less oil, shallow fry the rolls in about 1/2 inch of oil, turning to ensure even browning.
Serving Suggestions
These cheesy bread rolls are incredibly versatile when it comes to serving. Here are some of my favorite ways to enjoy them:
- Serve hot with green mint chutney and tangy tamarind chutney for a traditional Indian street food experience.
- Pair with tomato ketchup or a spicy sriracha mayo for a fusion twist.
- Serve alongside a fresh green salad for a balanced meal.
- Include them in a brunch spread with other finger foods like sandwiches and fruit platters.
- Pack them in lunchboxes (they stay good for several hours).
- Serve with a warm bowl of tomato soup for a comforting winter meal.
- Create a chaat-style serving by crushing a roll and topping it with yogurt, chutneys, and sev.
- For parties, cut them in half diagonally and serve with colorful dipping sauces.
- Enjoy with a hot cup of masala chai for the perfect evening snack.
- Serve as an appetizer before a main Indian meal like biryani or butter chicken.
Storage and Reheating Instructions
While these cheesy bread rolls taste best when served fresh and hot, sometimes you might want to prepare them in advance or store leftovers. Here’s how:
Storage:
- Room Temperature: These rolls can be kept at room temperature for up to 4-5 hours after cooking.
- Refrigeration: Store in an airtight container in the refrigerator for up to 2 days.
- Freezing Uncooked Rolls: You can prepare the rolls up to the shaping step and freeze them. Place them on a tray with some space between each roll until frozen solid, then transfer to a freezer bag. They can be stored for up to 1 month.
- Freezing Cooked Rolls: Fully cooled fried rolls can be frozen in an airtight container with parchment paper between layers. They will keep well for up to 3 weeks.
Reheating:
- Oven Method: Preheat your oven to 180°C (350°F). Place the refrigerated or frozen (thawed) rolls on a baking sheet and heat for 7-10 minutes until crispy and warm throughout.
- Air Fryer: Reheat in an air fryer at 160°C (320°F) for 3-4 minutes.
- Stovetop: Heat a pan over medium heat. Add the rolls and toast them, turning occasionally, until heated through and crispy again.
- Microwave + Toaster Oven Combo: For the quickest results, microwave the rolls for 20-30 seconds to heat the filling, then transfer to a toaster oven for 2-3 minutes to crisp up the exterior.
Note: Directly reheating in a microwave alone will make the rolls soggy and is not recommended.
Tips for Perfect Cheesy Bread Rolls
After years of making these delicious treats, I’ve gathered some essential tips that make all the difference:
- Use day-old bread: Slightly stale bread works better than fresh bread as it’s firmer and easier to handle.
- Don’t skip resting the filled rolls: The brief resting period before frying allows the flour paste to set, ensuring a good seal.
- Temperature matters: Make sure the oil is at the right temperature (around 350°F or 175°C). Too hot, and the rolls will brown too quickly without cooking through; too cool, and they’ll absorb excess oil.
- Consistent filling: Ensure the filling is evenly distributed in each roll for consistent cooking.
- Proper sealing: Take extra care to seal the edges properly to prevent the filling from leaking during frying.
- Cheese selection: Use cheese that melts well but isn’t too runny. A combination of mozzarella for stretchiness and cheddar for flavor works perfectly.
- Cool the filling: Always let the potato mixture cool before adding cheese and shaping the rolls.
- Drain well: Place fried rolls on paper towels immediately after frying to absorb excess oil.
- Batch frying: Don’t overcrowd the frying pan. Fry in batches to maintain oil temperature and ensure even cooking.
- Watch your spice levels: Adjust the green chilies and red chili powder according to your heat preference.
- Oil temperature recovery: Allow the oil to come back to temperature between batches for consistent results.
- Gluten-free option: If making a gluten-free version, be extra careful when handling the bread as it tends to be more fragile.
Common Mistakes to Avoid
Even experienced cooks can sometimes run into issues when making bread rolls. Here are some common pitfalls and how to avoid them:
- Overfilling the rolls: This can cause them to burst during frying. Stick to the recommended amount of filling.
- Under-mashing the potatoes: Lumpy potatoes can create air pockets and cause the rolls to open up. Ensure your potatoes are smoothly mashed.
- Wet filling: If your filling is too moist, it can make the bread soggy. Make sure to cook off any excess moisture from the onions and chilies.
- Improper sealing: Hastily sealed edges can open up during frying. Take your time to properly seal with the flour paste.
- Oil not hot enough: This results in soggy, oil-soaked rolls. Always check the oil temperature before adding the rolls.
- Oil too hot: This will burn the outside while leaving the inside cold. Maintain medium heat throughout.
- Not draining properly: Skipping the draining step on paper towels will result in greasy rolls.
- Using very fresh bread: Very fresh bread can be too soft and may tear easily. Slightly stale bread works better.
- Uneven bread thickness: If some parts of the bread are thinner than others, they’ll cook at different rates.
- Skipping the resting period: Not allowing the sealed rolls to rest before frying can lead to openings during cooking.
Health and Dietary Considerations
While these cheesy bread rolls are undeniably delicious, I understand that many of us have dietary restrictions or health considerations. Here’s how you can adapt this recipe:
Lower-Calorie Version:
- Use whole wheat bread instead of white bread
- Opt for low-fat cheese
- Air-fry or bake instead of deep-frying
- Reduce the amount of cheese and increase vegetable content
Gluten-Free Option:
- Use gluten-free bread slices
- Ensure your spices and other ingredients are certified gluten-free
Vegan Adaptation:
- Replace regular cheese with vegan cheese alternatives
- Use plant-based milk to make the flour paste if needed
Lower Sodium:
- Reduce salt in the filling
- Use low-sodium cheese
- Add more herbs and spices for flavor without extra salt
Healthier Additions:
- Add finely chopped or grated vegetables like carrots, bell peppers, or zucchini to the filling
- Include some boiled and mashed peas for added protein and fiber
- Add flaxseeds or chia seeds to the coating for omega-3 fatty acids
Remember, moderation is key with these indulgent treats. They’re perfect for occasional enjoyment as part of a balanced diet.
Q&A Section
Q: Can I prepare these bread rolls in advance for a party? A: Absolutely! You can prepare the filling and shape the rolls up to 24 hours in advance. Keep them covered in the refrigerator, and fry them just before serving. Alternatively, you can fully prepare and fry them, then reheat in an oven at 180°C (350°F) for 7-10 minutes before serving.
Q: My rolls are bursting open during frying. What am I doing wrong? A: This usually happens when the rolls aren’t sealed properly or they’re overfilled. Make sure to use enough flour paste along the edges and don’t overstuff the bread. Also, ensure you’re maintaining the right oil temperature – if it’s too hot, it can cause the rolls to burst.
Q: Can I freeze these cheesy bread rolls? A: Yes! You can freeze them either before or after frying. For uncooked rolls, freeze them on a tray first, then transfer to a freezer bag. For cooked rolls, cool completely, then freeze in an airtight container. When ready to eat, thaw and reheat accordingly.
Q: What can I use instead of white bread? A: Whole wheat bread, multigrain bread, or even gluten-free bread can work well. Just be aware that some alternatives might be more fragile to work with, so handle with care.
Q: Is there a way to make these less spicy for children? A: Definitely! Simply reduce or omit the green chilies and red chili powder. You can also add a bit more cheese to make them more appealing to kids.
Q: My bread is tearing when I try to roll it. Any tips? A: Very fresh bread can be too soft and tear easily. Try using day-old bread, or if you only have fresh bread, leave the slices out for about 30 minutes to firm up slightly. Alternatively, you can gently flatten the bread with a rolling pin before filling.
Q: Can I bake these instead of frying for a healthier version? A: Yes! Brush them with a little oil and bake at 200°C (400°F) for about 15-20 minutes, turning halfway, until golden brown and crispy. They won’t be exactly the same as fried ones but still delicious.
Q: What types of cheese work best in this recipe? A: I recommend a mix of cheddar for flavor and mozzarella for that stretchy, gooey texture. However, you can experiment with other melting cheeses like Monterey Jack, Gouda, or even processed cheese slices.
Q: How can I tell when the oil is at the right temperature for frying? A: The easiest way is to drop a small piece of bread into the oil. If it sizzles and rises to the surface immediately but doesn’t burn quickly, the oil is ready. Ideally, the temperature should be around 350°F (175°C).
Q: My filling is too wet. How can I fix it? A: If your filling is too wet, you can add a tablespoon or two of breadcrumbs to absorb the excess moisture. Alternatively, you can return the mixture to the pan and cook it for a few minutes to evaporate some of the moisture.
Conclusion
There’s something incredibly satisfying about creating these cheesy bread rolls from scratch – watching simple ingredients transform into golden, crispy bundles of joy that bring smiles to everyone’s faces. I hope this detailed recipe helps you create perfect bread rolls that become a favorite in your household too.
Whether you’re making these for a special occasion, weekend brunch, or just to satisfy a craving, these versatile snacks are bound to impress. The crispy exterior giving way to that spiced potato and gooey cheese center is an experience that’s hard to beat!
Remember that cooking is as much about the journey as it is about the destination. Don’t be afraid to experiment with different fillings, spices, or cooking methods to make this recipe truly your own. And if your first batch isn’t perfect, that’s completely okay – each time you make these rolls, you’ll get better at mastering the technique.
I’d love to hear how your cheesy bread rolls turn out! Feel free to share your experiences, modifications, or questions. Happy cooking, and enjoy every delicious bite of your homemade cheesy bread rolls!