There’s something magical about the aroma of cinnamon and sourdough filling your kitchen, creating an atmosphere that feels like a warm embrace. I’ve been perfecting this no-knead sourdough cinnamon raisin swirl bread recipe for years, and I can confidently say it’s become my go-to comfort bread that never fails to impress. The beauty of this recipe lies in its simplicity – no intensive kneading required, yet it delivers that perfect tender crumb with beautiful swirls of cinnamon sugar throughout.
What makes this bread truly special is the combination of tangy sourdough flavor with sweet cinnamon and plump raisins. The long, slow fermentation process not only develops incredible flavor but also makes the bread more digestible and nutritious. I’ve found that using a loaf pan gives you those perfect sandwich slices while maintaining the rustic charm of artisanal bread.
Understanding Key Terms
Sourdough Starter : A live culture of flour and water containing wild yeast and beneficial bacteria that naturally ferments and rises bread dough
Bulk Fermentation : The first rise of bread dough where gluten develops and flavors mature through fermentation
Autolyse : A technique where flour and water are mixed and allowed to rest, enabling gluten development without kneading
Hydration Level : The ratio of water to flour in bread dough, typically expressed as a percentage
Lamination : A folding technique that incorporates fillings while strengthening gluten structure
Essential Ingredients and Their Roles
The success of this bread depends on understanding each ingredient’s purpose. I’ve learned through countless baking sessions that quality ingredients make a remarkable difference in the final product.
Flour Selection
I prefer using a combination of bread flour and all-purpose flour for this recipe. The bread flour provides structure and chew, while all-purpose flour contributes to a tender crumb. Organic flours tend to ferment more predictably, but any high-quality flour will work beautifully.
Sourdough Starter Considerations
Your starter should be active and at peak activity – typically 4-8 hours after feeding, depending on your starter’s maturity and room temperature. I always perform the float test: a spoonful of active starter should float in water. This ensures your bread will have proper rise and that characteristic tangy flavor.
Cinnamon and Spice Quality
The cinnamon you choose dramatically impacts flavor. I recommend Ceylon cinnamon for its sweet, delicate flavor, though Cassia cinnamon works well for those who prefer a more intense, spicy note. Fresh spices always yield better results than those sitting in your pantry for years.
Detailed Recipe and Method
Main Dough Ingredients
| Ingredient | Weight (grams) | Volume | Baker’s Percentage |
|---|---|---|---|
| Bread Flour | 350g | ~2¾ cups | 70% |
| All-Purpose Flour | 150g | ~1¼ cups | 30% |
| Water (room temperature) | 375g | 1⅝ cups | 75% |
| Active Sourdough Starter | 100g | ½ cup | 20% |
| Salt | 10g | 2 teaspoons | 2% |
| Sugar | 25g | 2 tablespoons | 5% |
Cinnamon Swirl Filling
| Ingredient | Amount | Purpose |
|---|---|---|
| Brown Sugar | ⅓ cup packed | Sweetness and moisture |
| Ground Cinnamon | 2 tablespoons | Primary flavor |
| Melted Butter | 2 tablespoons | Binding and richness |
| Vanilla Extract | 1 teaspoon | Flavor enhancement |
| Raisins | ¾ cup | Texture and sweetness |
| Chopped Walnuts (optional) | ½ cup | Additional texture |
Step-by-Step Method
Initial Mix (Day 1 – Evening)
I start by combining the flours and water in a large mixing bowl, stirring until no dry flour remains. This creates the autolyse, which I let rest for 30-60 minutes. This step is crucial for gluten development without any kneading.
After the autolyse period, I add the active starter, salt, and sugar. Using wet hands, I mix everything until well combined. The dough will be quite sticky – this is normal and desired for a high-hydration bread.
Bulk Fermentation Process
The bulk fermentation takes place over 4-6 hours at room temperature (68-72°F). During this time, I perform a series of stretch and folds every 30 minutes for the first 2 hours:
- Wet your hands to prevent sticking
- Grab one side of the dough and stretch upward
- Fold over to the opposite side
- Rotate the bowl 90 degrees and repeat
- Complete 4 folds total, then cover and rest
Preparing the Filling
While the dough develops, I prepare the cinnamon swirl filling by mixing brown sugar, cinnamon, melted butter, and vanilla until it forms a paste. I soak the raisins in warm water for 10 minutes to plump them, then drain thoroughly.
Shaping and Final Assembly
After bulk fermentation, I turn the dough onto a lightly floured surface. Using gentle stretching motions, I shape it into a rectangle approximately 12×16 inches. The dough should be manageable but still somewhat sticky.
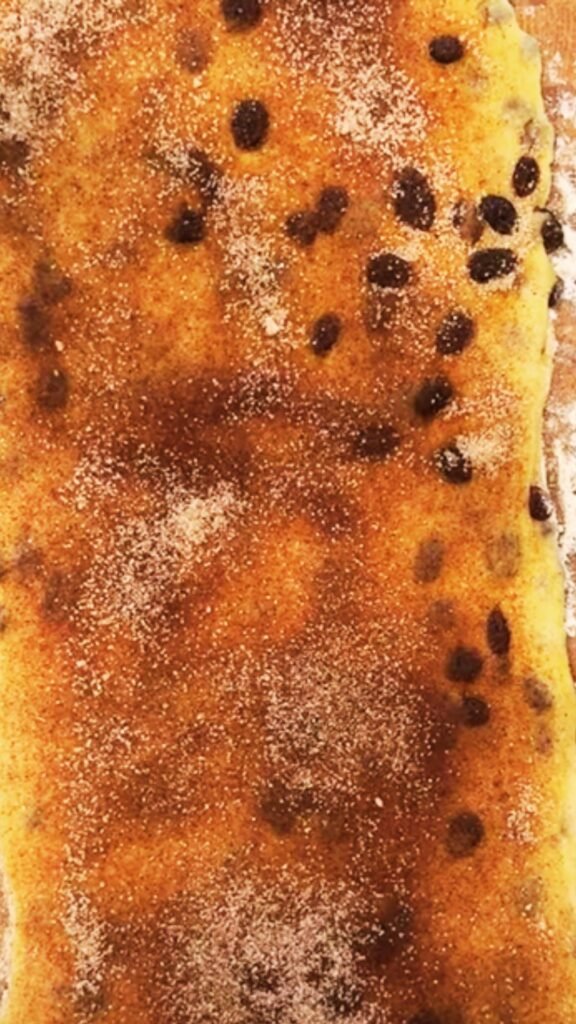
I spread the cinnamon mixture evenly across the surface, leaving a 1-inch border. Then I sprinkle the drained raisins and optional walnuts over the filling. Starting from the short end, I roll the dough tightly, pinching the seam to seal.
Final Proofing
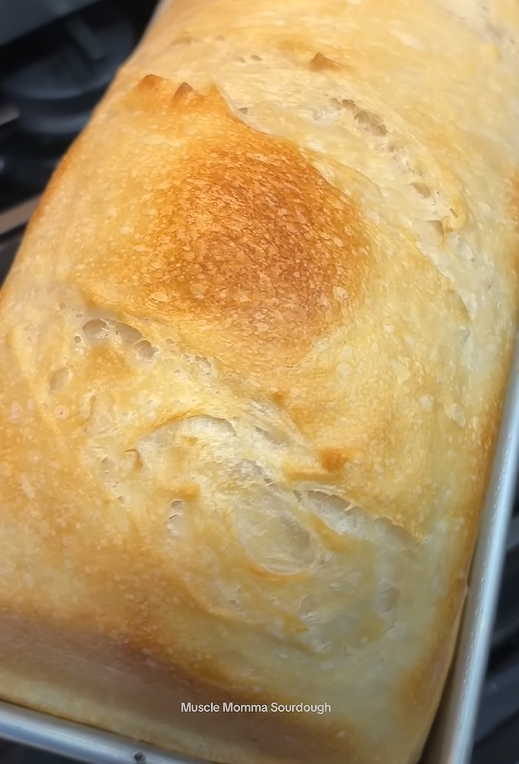
I place the shaped loaf seam-side down in a greased 9×5-inch loaf pan. The dough should fill about 2/3 of the pan. I cover it with a damp towel and let it proof for 2-4 hours at room temperature, or overnight in the refrigerator for enhanced flavor development.
The bread is ready to bake when it’s doubled in size and springs back slowly when gently poked with a floured finger.
Baking Techniques and Tips
Oven Preparation
I preheat my oven to 375°F (190°C) at least 30 minutes before baking. I place a small oven-safe dish of water on the bottom rack to create steam, which helps develop a beautiful crust.
Scoring and Baking
Using a sharp knife or lame, I make a shallow lengthwise score down the center of the loaf. This allows for controlled expansion during baking and creates an attractive appearance.
The bread bakes for 45-55 minutes, until the internal temperature reaches 205-210°F (96-99°C). The crust should be golden brown and sound hollow when tapped.
Troubleshooting Common Issues
Dense or Heavy Bread
Cause: Usually indicates inactive starter or insufficient fermentation time Solution: Ensure your starter passes the float test and allow longer bulk fermentation
Filling Leaking Out
Cause: Over-hydrated filling or inadequate sealing Solution: Use less liquid in filling and ensure proper seam sealing
Uneven Swirl Pattern
Cause: Inconsistent rolling or filling distribution Solution: Maintain even pressure while rolling and distribute filling uniformly
Gummy Interior
Cause: Underbaked bread or cutting too soon after baking Solution: Check internal temperature and cool completely before slicing
Storage and Serving Suggestions
This bread stays fresh for 3-4 days when stored in an airtight container at room temperature. For longer storage, I slice the cooled bread and freeze individual portions for up to 3 months.
Serving Ideas
The versatility of this bread makes it perfect for various occasions:
- Breakfast: Toasted with butter and a drizzle of honey
- French Toast: Thick slices make incredible French toast
- Afternoon Snack: Plain slices with cream cheese
- Dessert: Warmed slightly with vanilla ice cream
Nutritional Information
| Nutrient | Per Slice (1/12 of loaf) | Daily Value % |
|---|---|---|
| Calories | 185 | 9% |
| Carbohydrates | 38g | 13% |
| Protein | 5g | 10% |
| Fat | 2g | 3% |
| Fiber | 2g | 8% |
| Sugar | 8g | – |
| Sodium | 195mg | 8% |
Variations and Adaptations
Whole Wheat Version Replace up to 30% of the flour with whole wheat flour for added nutrition and nuttiness. Increase hydration by 10-15g to compensate for the wheat’s absorption.
Cranberry Orange Swirl Substitute dried cranberries for raisins and add orange zest to the filling for a festive variation.
Chocolate Chip Addition Mini chocolate chips can replace or complement the raisins for a more indulgent version.
Sugar-Free Alternative Use sugar substitutes like erythritol or stevia in both the dough and filling, adjusting quantities according to sweetness preference.
The Science Behind Long Fermentation
The extended fermentation process does more than develop flavor. The beneficial bacteria and wild yeast in sourdough starter break down proteins and starches, making nutrients more bioavailable and easier to digest. This process also creates beneficial compounds and reduces the glycemic impact compared to conventional yeasted breads.
The slow fermentation allows enzymes to work gradually, developing complex flavors that simply cannot be achieved with commercial yeast and shorter rise times. This is why sourdough bread often has that distinctive tang and more complex flavor profile.
Advanced Techniques for Better Results
Temperature Control I’ve found that maintaining consistent temperatures throughout the process yields the most predictable results. In cooler weather, I place the dough near (not on) a heating source. In summer, I might use the refrigerator to slow fermentation.
Hydration Adjustments Different flours absorb water differently. Start with the recipe as written, but don’t hesitate to add small amounts of water or flour to achieve the right consistency. The dough should be soft and slightly sticky but manageable.
Timing Flexibility One of sourdough’s greatest advantages is its flexibility. If life interrupts your baking schedule, refrigerate the dough at any stage to slow fermentation. Just remember to bring it back to room temperature before proceeding.
Questions and Answers
Q. Can I make this bread without a sourdough starter? While the recipe is specifically designed for sourdough starter, you can substitute with 1 teaspoon of instant yeast and reduce the fermentation time to 2-3 hours total. However, you’ll lose the characteristic sourdough flavor and digestibility benefits.
Q. Why is my dough so sticky and hard to handle? High-hydration doughs are naturally sticky. This is normal and contributes to the bread’s tender crumb. Use wet hands when handling, and resist the urge to add too much flour, which will make the bread dense.
Q. Can I prepare the dough in advance? Absolutely! The dough can be refrigerated for up to 3 days during bulk fermentation or after shaping. Cold fermentation actually improves flavor development. Just allow extra time for the final proof if starting from cold.
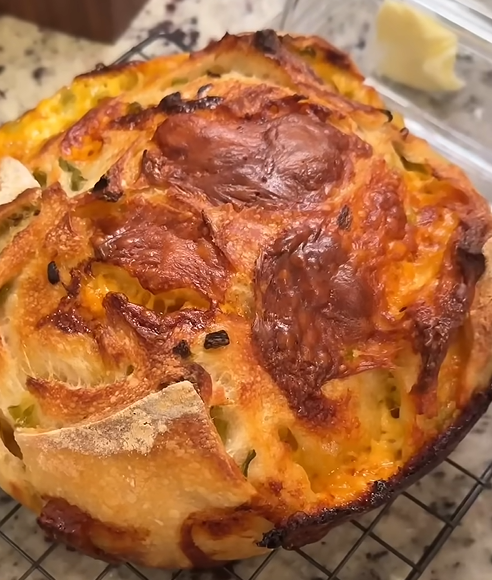
Q. What if I don’t have a loaf pan? You can shape this into a free-form loaf and bake it on a parchment-lined baking sheet. The shape will be more rustic, but the flavor remains the same. Reduce baking time by 5-10 minutes.
Q. How do I know when my sourdough starter is ready to use? An active starter should double in size within 4-8 hours after feeding, have a pleasant yeasty aroma, and pass the float test. If it’s sluggish, feed it daily for several days to increase activity.
Q. Can I add other dried fruits besides raisins? Certainly! Dried cranberries, chopped dates, dried cherries, or even dried apple pieces work beautifully. Just maintain the same total volume for consistent results.
Q. Why does my bread collapse after baking? This usually indicates over-proofing or insufficient gluten development. Ensure you’re performing adequate stretch and folds during bulk fermentation and watch for proper proofing signs rather than relying solely on time.
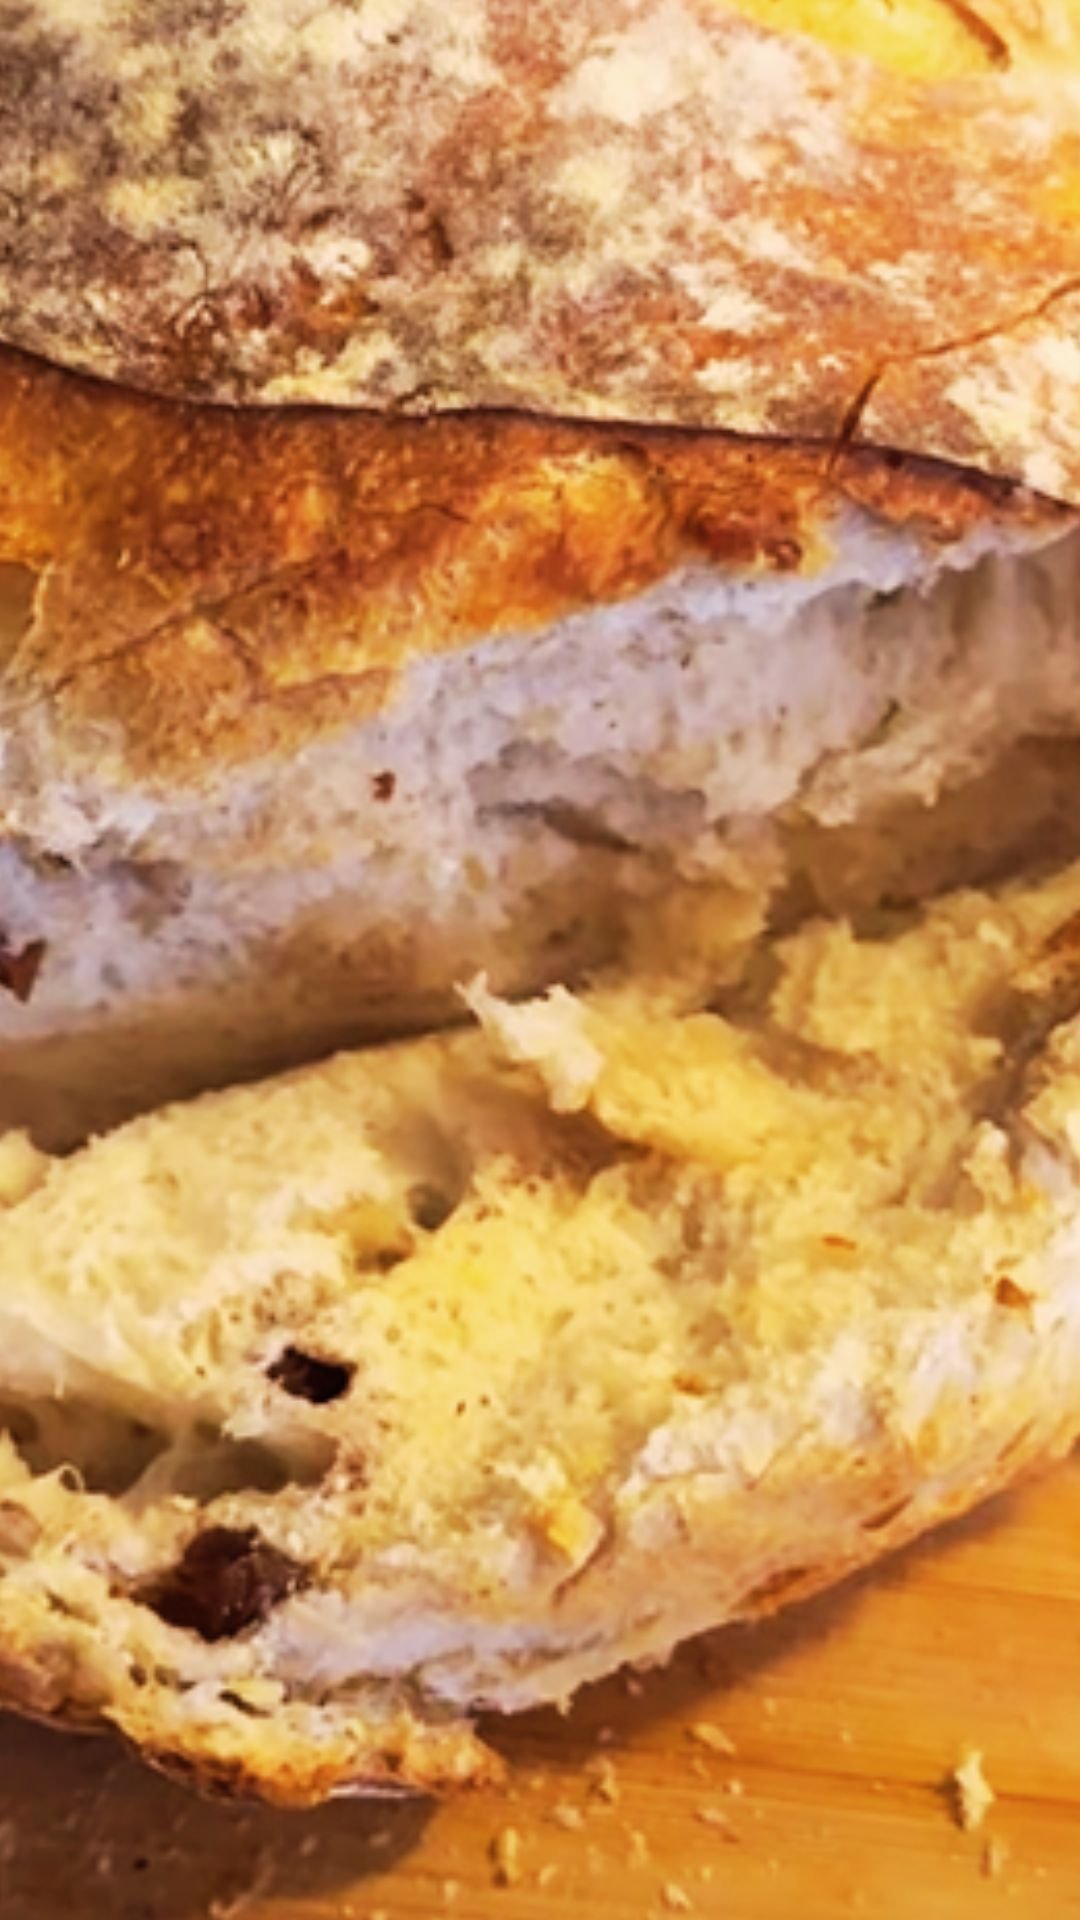
Q. Is it normal for the filling to create gaps in the bread? Small gaps around the swirl are normal and actually desirable – they show proper lamination of the filling. Large gaps might indicate the filling was too wet or the roll wasn’t tight enough.
Q. Can I double this recipe? Yes, this recipe doubles easily. You can either make two loaves or use the extra dough for rolls. Just ensure your mixing bowl is large enough for the increased dough volume during fermentation.
Q. What’s the best way to refresh day-old bread? Lightly mist the crust with water and warm in a 350°F oven for 5-10 minutes. For individual slices, toasting brings back the texture beautifully while intensifying the cinnamon flavors.
This no-knead sourdough cinnamon raisin swirl bread represents everything I love about artisanal baking – complex flavors, beautiful appearance, and that satisfying feeling of creating something truly special with your own hands. The technique is forgiving enough for beginners yet sophisticated enough to keep experienced bakers engaged. Each loaf tells its own story through the unique swirl patterns and golden crust, making every slice a small celebration of the art and science of bread baking.