When it comes to iconic baked goods, few treats capture my heart quite like the classic Louise Cake. This beautiful creation, with its buttery shortbread base, tangy raspberry jam middle, and coconutty meringue topping, has been gracing tea tables across New Zealand for generations. Today, I’m excited to share not just the traditional recipe but also some delightful modern variations I’ve perfected over years of baking.
A Sweet Slice of History
The Louise Cake isn’t just any dessert—it’s a piece of culinary history. Dating back to the Victorian era, this elegant treat was supposedly named after Princess Louise, daughter of Queen Victoria. While its exact origins remain somewhat mysterious, what’s certain is that European settlers brought early versions of this recipe to New Zealand, where it became a beloved staple at afternoon teas and community gatherings.
In my childhood, Louise Cake was a fixture at every family celebration. My grandmother would carefully prepare it the day before special occasions, and I remember the anticipation of waiting for that first heavenly bite. The contrasting textures—crisp base, sticky jam, and fluffy topping—created a symphony of flavors that has stood the test of time.
What makes this treat so special isn’t just its taste but its staying power. While many vintage recipes have faded into obscurity, the Louise Cake has endured, evolving slightly with each generation while maintaining its essential character. In my kitchen, I’ve put my own spin on this classic, but never so much that it loses its nostalgic charm.
Understanding the Three Perfect Layers
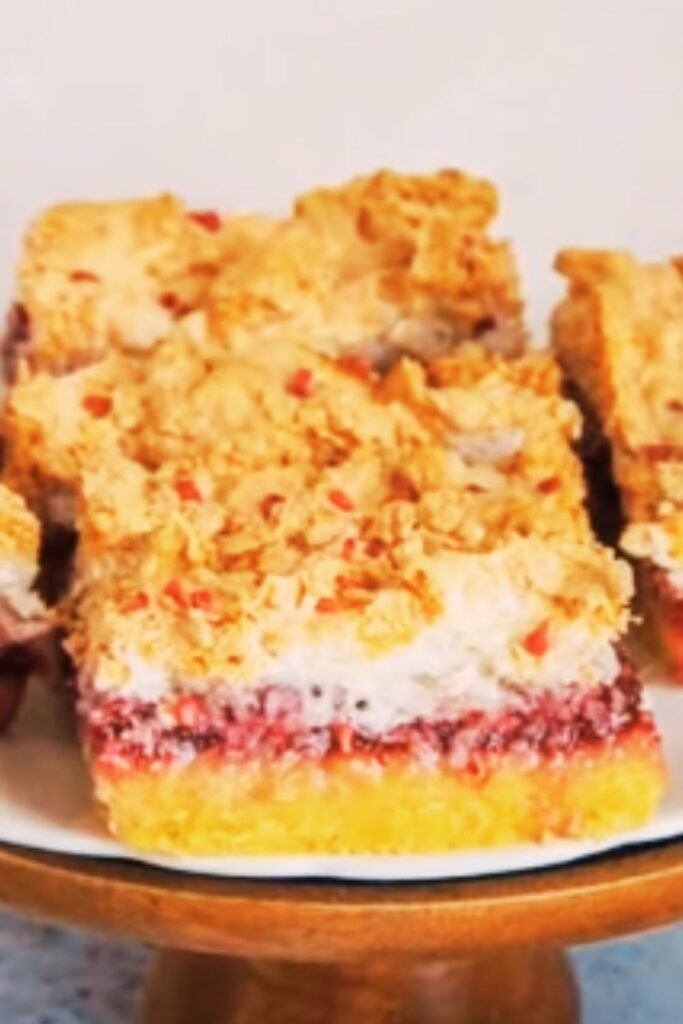
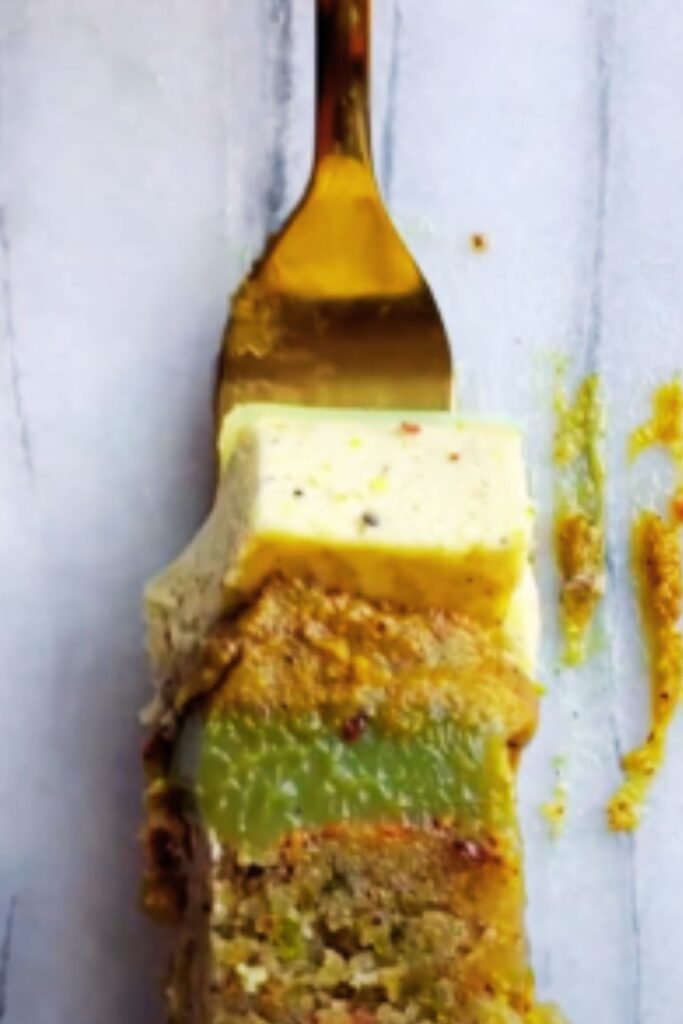
The magic of a Louise Cake lies in its distinctive three-layer structure. Each component plays a vital role in creating that perfect balance of textures and flavors:
Base Layer : A buttery shortbread-style base that provides structure and a rich, crumbly foundation. The perfect base should be firm enough to hold the other layers but tender enough to yield to a fork.
Middle Layer : Traditionally raspberry jam, this provides the tangy sweetness that cuts through the richness of the base and the sweetness of the topping. The jam layer should be generous but not so thick that it makes the cake difficult to eat.
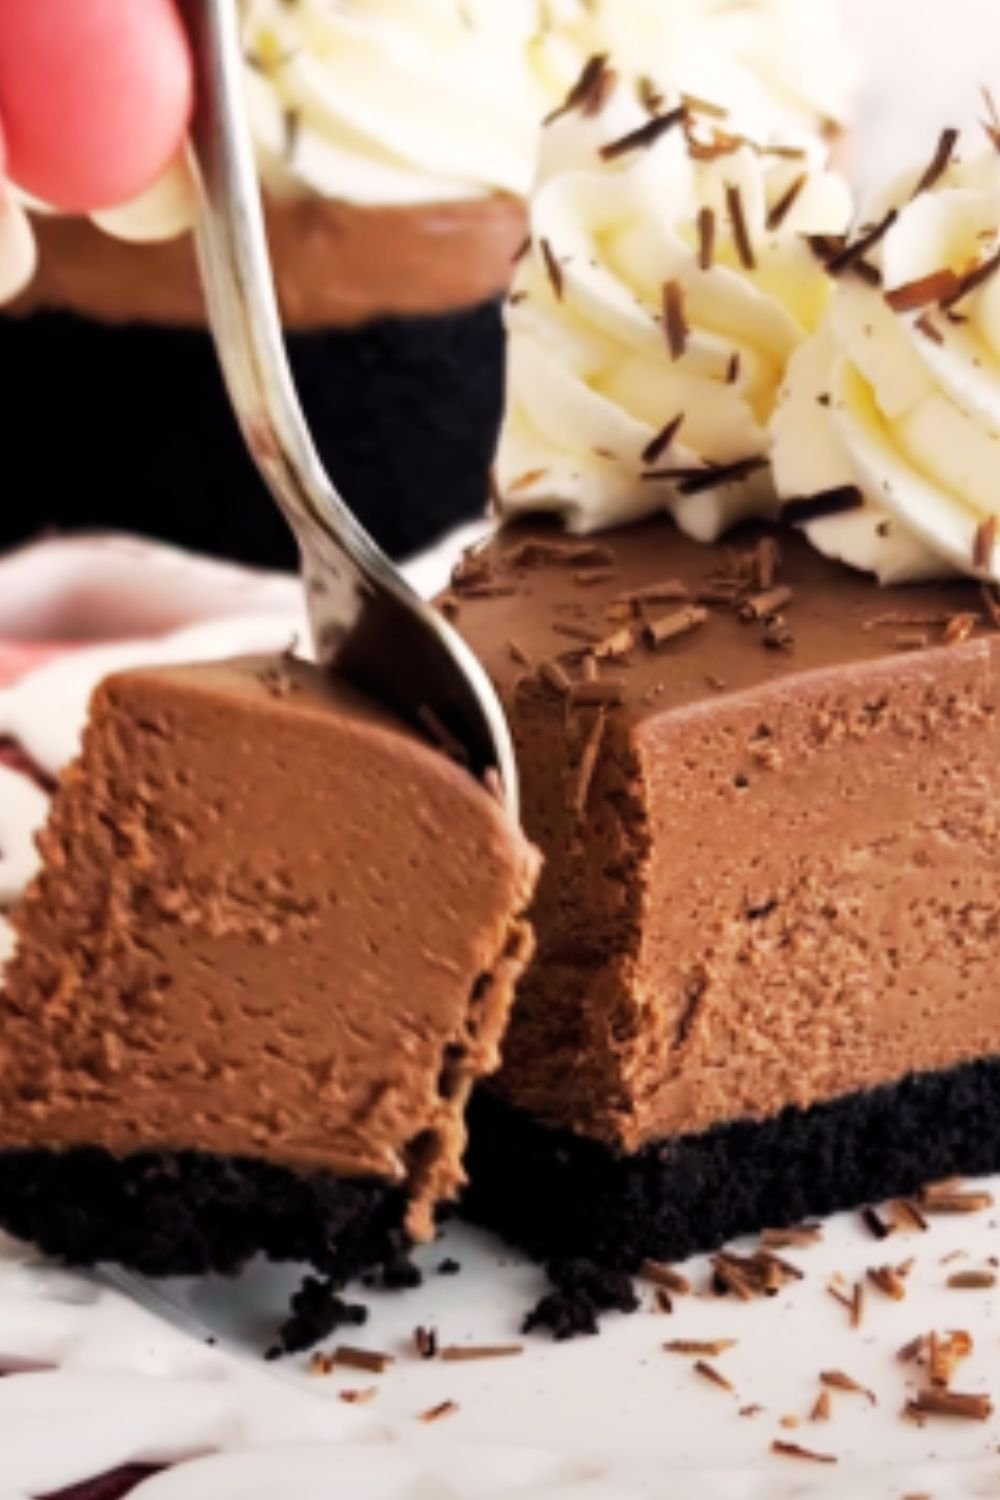
Topping Layer : A coconut meringue that turns golden and slightly crisp on the outside while remaining tender within. This crowning glory should have just the right amount of chew from the coconut.
Getting these three layers in perfect harmony is what separates a good Louise Cake from a truly exceptional one. I’ve spent years refining my technique, and I’m thrilled to share what I’ve learned with you.
Essential Ingredients for Authentic Louise Cake
The beauty of Louise Cake lies partly in its simplicity. You don’t need exotic ingredients—just quality basics that come together to create something extraordinary:
| Ingredient | Traditional Amount | Function | Quality Tips |
|---|---|---|---|
| Butter | 225g | Creates tenderness in the base | Use high-fat, European-style butter for best results |
| Caster Sugar | 100g for base, 150g for meringue | Sweetens and helps with structure | Berry sugar or superfine sugar gives best texture |
| Eggs | 4 (1 whole egg + yolk for base, 3 whites for meringue) | Binding and structure | Room temperature eggs give better volume |
| All-purpose Flour | 350g | Forms the structure of the base | Unbleached flour adds a subtle flavor |
| Baking Powder | 1 teaspoon | Provides gentle rise to base | Aluminum-free prevents metallic taste |
| Vanilla Extract | 1 teaspoon | Enhances flavor | Use real extract, not essence |
| Raspberry Jam | 3/4 cup | Creates the middle layer | Look for jam with visible seeds and chunks |
| Desiccated Coconut | 3/4 cup | Gives texture to meringue | Unsweetened provides better control of sweetness |
| Lemon | 1 small | Adds brightness to meringue | Organic unwaxed lemons have best flavor |
| Salt | 1/4 teaspoon | Enhances flavors | Sea salt or kosher salt preferred |
The quality of these ingredients makes all the difference. I’ve found that splurging on good butter and real vanilla extract elevates this simple cake to something truly special. The jam, too, is worth seeking out—look for one with a good balance of sweetness and acidity, preferably with visible fruit pieces for that homemade quality.
Step-by-Step Recipe: The Traditional Method
Let me walk you through my foolproof method for creating the perfect Louise Cake:
Preparing the Kitchen
Before diving in, I always ensure my kitchen is properly set up:
- Preheat the oven to 160°C (320°F) fan-forced or 180°C (350°F) conventional
- Line a 23cm square baking tin with parchment paper, leaving overhangs for easy removal
- Have all ingredients at room temperature
- Separate eggs while cold (easier), then allow to come to room temperature
For the Shortbread Base
- In a large mixing bowl, cream together 225g butter and 100g caster sugar until pale and fluffy (about 3-4 minutes with an electric mixer).
- Add 1 whole egg and 1 egg yolk (save the whites for the meringue), along with 1 teaspoon vanilla extract. Beat until well combined.
- In a separate bowl, whisk together 350g flour, 1 teaspoon baking powder, and a pinch of salt.
- Gradually add the dry ingredients to the butter mixture, mixing on low speed until just combined. The mixture should resemble soft cookie dough.
- Press the dough evenly into the prepared tin, creating a smooth surface with the back of a spoon.
- Bake for 15-18 minutes until just set but not browned. The base should be slightly soft as it will continue to bake later.
The Jam Layer
While the base is still warm (but not hot), spread 3/4 cup of raspberry jam evenly across the surface. I find using a palette knife warmed in hot water makes this task much easier. The warmth of the base will help the jam spread more easily.
For the Coconut Meringue Topping
- In a clean, dry bowl, whip 3 egg whites until soft peaks form.
- Gradually add 150g caster sugar, a tablespoon at a time, continuing to beat until stiff, glossy peaks form.
- Gently fold in 3/4 cup desiccated coconut and the finely grated zest of one lemon using a metal spoon.
- Carefully spoon the meringue mixture over the jam layer, creating decorative peaks and swirls.
- Sprinkle with an additional tablespoon of coconut, if desired.
Final Baking
Return the cake to the oven and bake for an additional 25-30 minutes until the meringue is golden brown and crisp on the outside. Allow to cool completely in the tin before removing and cutting into squares.
Common Pitfalls and How to Avoid Them
In my years of baking Louise Cake, I’ve encountered (and solved!) many common problems:
Soggy Base : Ensure the base is properly baked before adding the jam. If necessary, blind bake for a few extra minutes.
Weeping Meringue : Make sure your bowl and beaters are completely grease-free, and add the sugar gradually. Avoid making the meringue on particularly humid days.
Jam Bleeding Into Meringue : Allow the jam layer to set slightly before adding the meringue. Spreading the jam while the base is still warm helps it set faster.
Crumbly Base That Falls Apart : Don’t overwork the dough, and make sure your butter is at room temperature, not melted.
Burnt Topping But Undercooked Base : Position your rack in the middle of the oven, and consider lowering the temperature slightly and baking longer.
Modern Variations I’ve Perfected
While I adore the traditional recipe, I’ve enjoyed experimenting with these contemporary twists:
Citrus Louise Cake
Replace the raspberry jam with lemon curd and add lemon zest to both the base and meringue. The tangy citrus cuts through the sweetness beautifully. For an extra special touch, I sometimes add a tablespoon of poppy seeds to the base.
Berry Explosion Louise Cake
Use a mixture of berry jams—raspberry, blackberry, and blueberry—for a more complex flavor profile. Add freeze-dried berries crushed into the meringue for color and an intense berry flavor.
Tropical Louise Cake
Substitute half the coconut in the meringue with finely chopped dried mango or pineapple, and use passion fruit curd instead of raspberry jam. This variation transports me to warmer climates with every bite!
Dark Chocolate Louise Cake
Add 2 tablespoons of cocoa powder to the base and replace the jam with chocolate ganache. Top with coconut meringue as usual for a decadent chocolate lover’s version.
Gluten-Free Louise Cake
Replace the all-purpose flour with a high-quality gluten-free blend (I recommend one with xanthan gum included). Add 1/4 teaspoon of xanthan gum if your blend doesn’t include it. The texture is slightly different but equally delicious.
Serving Suggestions and Presentation
A slice of Louise Cake is wonderful on its own, but here are some of my favorite ways to serve it:
- With a dollop of whipped cream on the side, perhaps infused with a little vanilla or orange blossom water
- Alongside fresh berries for a gorgeous color contrast
- With a scoop of vanilla ice cream for a more substantial dessert
- Accompanied by a cup of Earl Grey tea or a freshly brewed coffee
- As part of an afternoon tea spread with finger sandwiches and scones
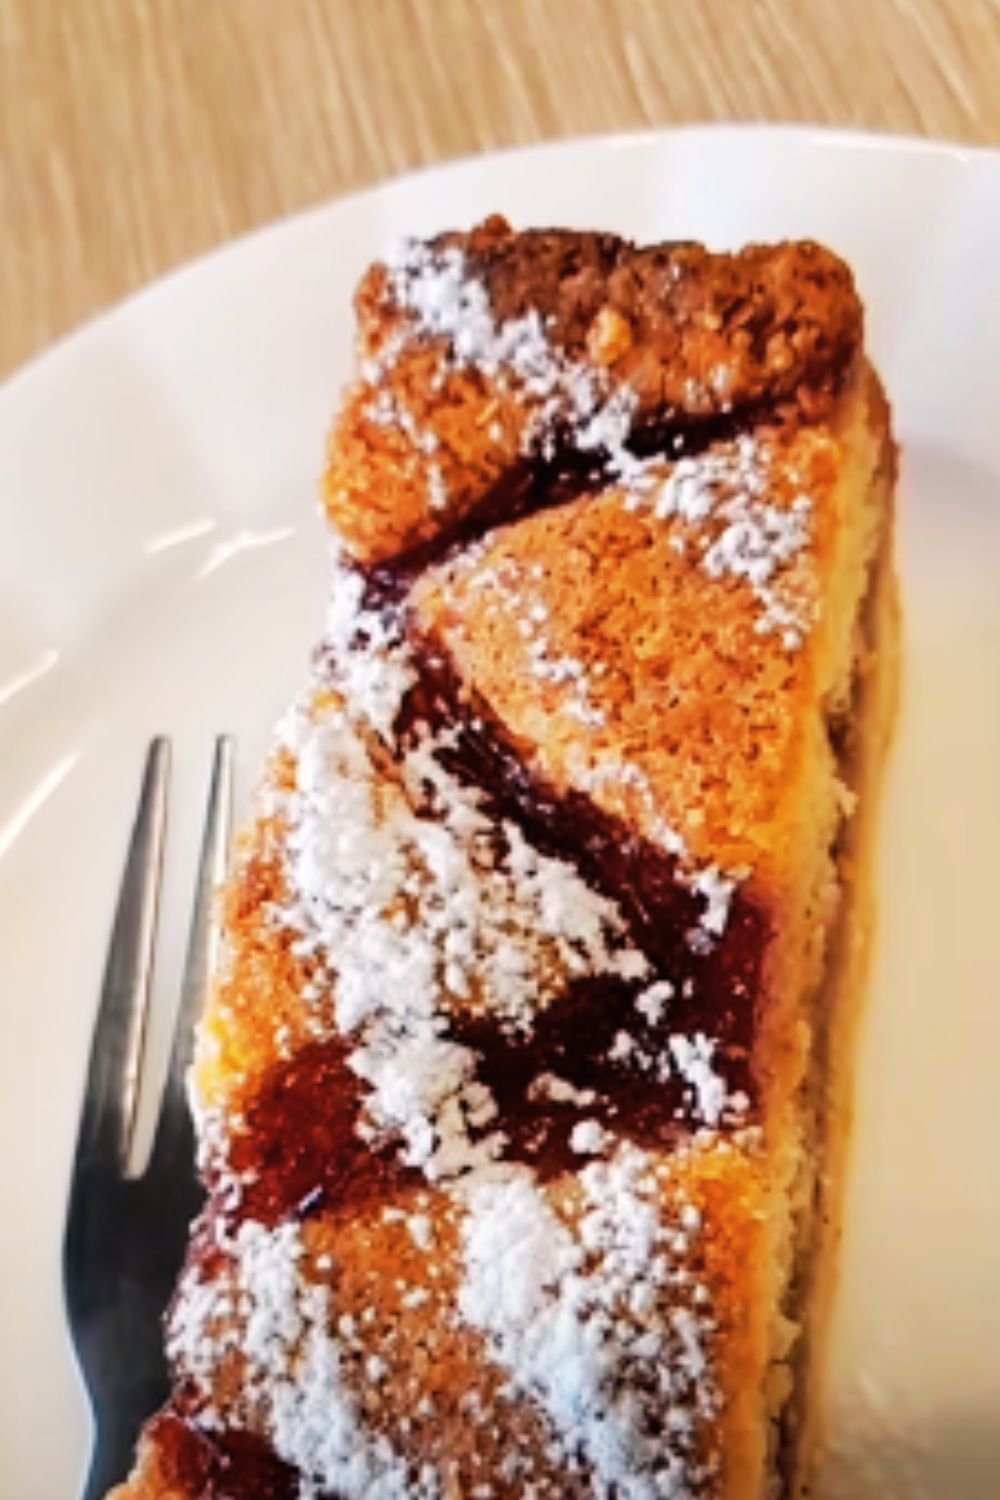
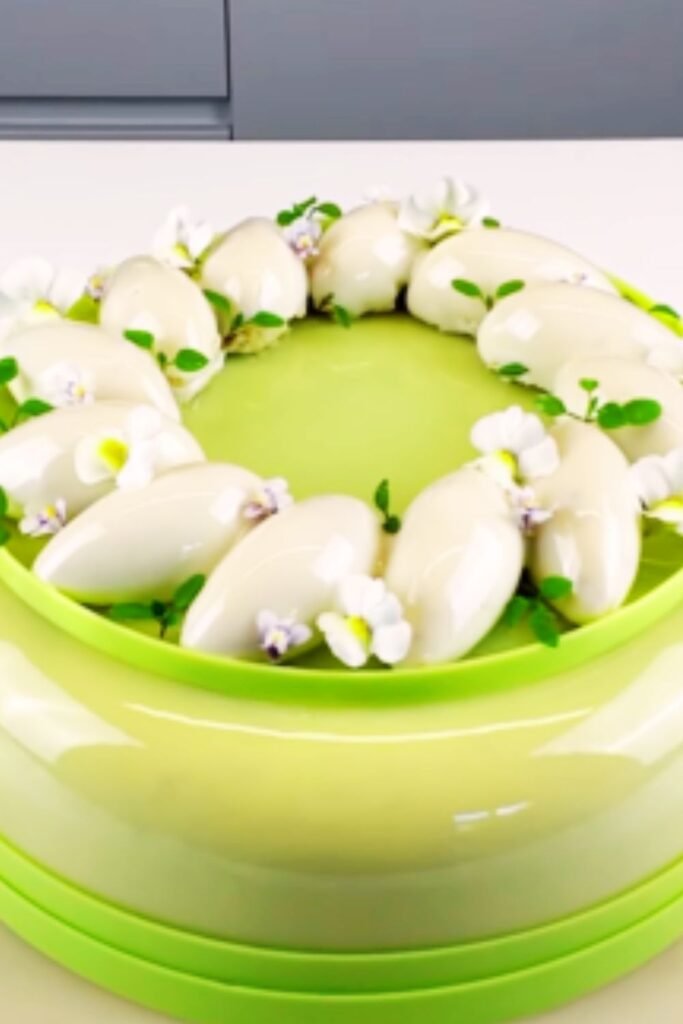
For special occasions, I dust the top with a little powdered sugar just before serving, or decorate with edible flowers for a beautiful presentation. If you’re serving Louise Cake at a gathering, pre-cutting into squares makes it easier for guests to help themselves.
Storage and Make-Ahead Tips
Louise Cake is at its best within 24 hours of baking, when the meringue is still slightly crisp on the outside and soft in the middle. However, it stores reasonably well:
- At room temperature: Store in an airtight container for up to 3 days. The meringue will soften but will still be delicious.
- In the refrigerator: Will keep for up to 5 days, though the textures will change slightly.
- Freezing: I don’t recommend freezing the completed cake as the meringue doesn’t fare well. However, you can prepare and freeze the base, then add the jam and meringue when ready to bake.
For make-ahead options, prepare the base up to 2 days in advance and store in an airtight container. Add the jam and meringue on the day you plan to serve.
Troubleshooting Guide
Even experienced bakers occasionally run into issues. Here’s how I address common problems:
| Problem | Cause | Solution |
|---|---|---|
| Meringue won’t form stiff peaks | Traces of yolk or fat in the whites | Use a separate bowl for separating each egg |
| Bowl or utensils not completely clean | Wipe everything with lemon juice or vinegar | |
| Base too hard | Overmixed dough | Mix just until combined |
| Overbaked | Reduce baking time by 2-3 minutes | |
| Jam seeping through meringue | Applied meringue too forcefully | Gently spoon meringue over jam |
| Jam too warm when meringue added | Cool base a little longer before adding jam | |
| Meringue cracking excessively | Oven temperature too high | Reduce temperature by 10°C (50°F) |
| Rapid cooling | Cool cake in turned-off oven with door ajar | |
| Base shrinking from sides | Tin not lined properly | Ensure parchment goes up all sides |
| Dough overworked | Handle dough minimally |
Remember that small cracks in the meringue are completely normal and part of the rustic charm of a homemade Louise Cake.
The Perfect Occasions for Louise Cake
In my experience, Louise Cake is wonderfully versatile and appropriate for many occasions:
- Afternoon tea gatherings
- Bake sales (they always sell out first!)
- Baby and bridal showers
- Picnic desserts
- Weekend family treats
- Holiday cookie exchanges (cut into smaller squares)
- Potluck contributions
- Homemade gifts (package in a pretty box)
I particularly love serving Louise Cake during spring and summer when the bright flavors feel most appropriate, but truthfully, there’s never a bad time for this classic treat.
Health Considerations and Adaptations
While Louise Cake is undeniably an indulgence, there are ways to make it slightly more nutritious or accommodate dietary restrictions:
- Reduce sugar: The sugar in the meringue is necessary for structure, but you can reduce the sugar in the base by up to 25% without significantly affecting texture.
- Whole grain option: Replace up to half the all-purpose flour with whole wheat pastry flour for added fiber.
- Lower sugar jam: Use a naturally sweetened fruit spread or make your own with less sugar.
- Dairy-free: High-quality plant-based butter works surprisingly well in the base.
- Vegan version: This requires significant adaptation as eggs are crucial to both the base and meringue. I recommend seeking a specialized vegan recipe rather than attempting to adapt this traditional one.
Remember that desserts are meant to be enjoyed as occasional treats, so sometimes it’s best to enjoy the traditional recipe in a moderate portion rather than compromise on taste with too many substitutions.
Questions and Answers About Louise Cake
What makes a perfect Louise Cake? The perfect Louise Cake has three distinct layers that complement each other: a tender, buttery shortbread base; a generous layer of tangy raspberry jam; and a coconut meringue topping that’s crisp on the outside and soft inside. The proportions should be balanced so that each bite contains all three elements.
Why is my meringue not getting stiff peaks? This usually happens when there’s even a tiny amount of fat in your egg whites. Make sure your bowl and beaters are completely clean and dry, and that no egg yolk has contaminated your whites. Room temperature egg whites also whip better than cold ones. Avoid plastic bowls, which can retain traces of fat even after washing.
Can I make Louise Cake in advance for a party? Yes, but for the best texture, I recommend making it no more than 24 hours in advance. The meringue will gradually soften over time, especially in humid conditions. If needed, you can prepare the base up to 2 days ahead and add the jam and meringue closer to serving time.
Which jam works best for Louise Cake? Traditional Louise Cake uses raspberry jam, which provides the perfect balance of sweetness and acidity. However, other red fruit jams like strawberry, cherry, or mixed berry work well too. Whatever you choose, opt for a good quality jam with visible fruit pieces rather than a smooth, over-sweetened variety.
How do I get clean slices when cutting Louise Cake? The key is to wait until the cake is completely cool. Use a large, sharp knife dipped in hot water and dried between each cut. For very neat edges, refrigerate the cake for 30 minutes before cutting, which helps firm everything up.
Can I reduce the sugar in this recipe? With some caution, yes. The sugar in the meringue is structural and can’t be significantly reduced without affecting the texture. However, you can reduce the sugar in the base by up to 25% without major issues. Using a less sweet jam also helps lower the overall sweetness.
Why did my base turn out too crumbly? A too-crumbly base usually results from either too much flour or not enough butter. Make sure you’re measuring your flour correctly (spoon and level, don’t scoop), and that your butter is properly softened before creaming with the sugar. Also, avoid overworking the dough, which can develop gluten and make the base tough rather than tender.
What’s the origin of Louise Cake? Louise Cake is believed to have originated in England during the Victorian era and was likely named after Princess Louise, Queen Victoria’s daughter. The recipe was brought to New Zealand by European settlers and became a staple there, where it remains popular today. While similar treats exist in other cuisines, the combination of shortbread, jam, and coconut meringue is particularly associated with New Zealand baking traditions.
Final Thoughts on Louise Cake
In a world of trendy, over-the-top desserts that often sacrifice substance for style, Louise Cake remains refreshingly authentic. Its appeal lies in the perfect balance of textures and flavors—crisp yet tender, sweet yet tangy, simple yet sophisticated.
What I love most about this recipe is how it connects us to baking traditions of the past while still delighting modern palates. Each time I bake a Louise Cake, I feel a connection to generations of home bakers who prepared this same treat for their loved ones.
Whether you’re discovering Louise Cake for the first time or rediscovering a childhood favorite, I hope this recipe brings you as much joy as it has brought me over the years. There’s something magical about pulling a perfectly golden-topped cake from the oven, the coconut meringue gently cracking as it cools, promising layers of deliciousness within.
So heat up your oven, gather your ingredients, and prepare to create a little piece of baking history in your own kitchen. The Louise Cake may be over a century old, but some classics truly never go out of style.