There’s something truly magical about pulling a batch of warm, puffy pita bread out of your own oven. That moment when the flat discs of dough transform into balloon-like pockets is nothing short of kitchen alchemy. I’ve been perfecting my pita bread recipe for years, and today I’m sharing all my secrets for creating these Middle Eastern staples right in your home kitchen.
Pita bread isn’t just delicious—it’s also incredibly versatile. Use it for dipping into hummus, stuffing with falafel, or creating quick Mediterranean-inspired sandwiches. The best part? With just a handful of basic ingredients and some simple techniques, you’ll be amazed at how superior homemade pita bread is compared to store-bought versions.
What Makes Pita Bread Special?
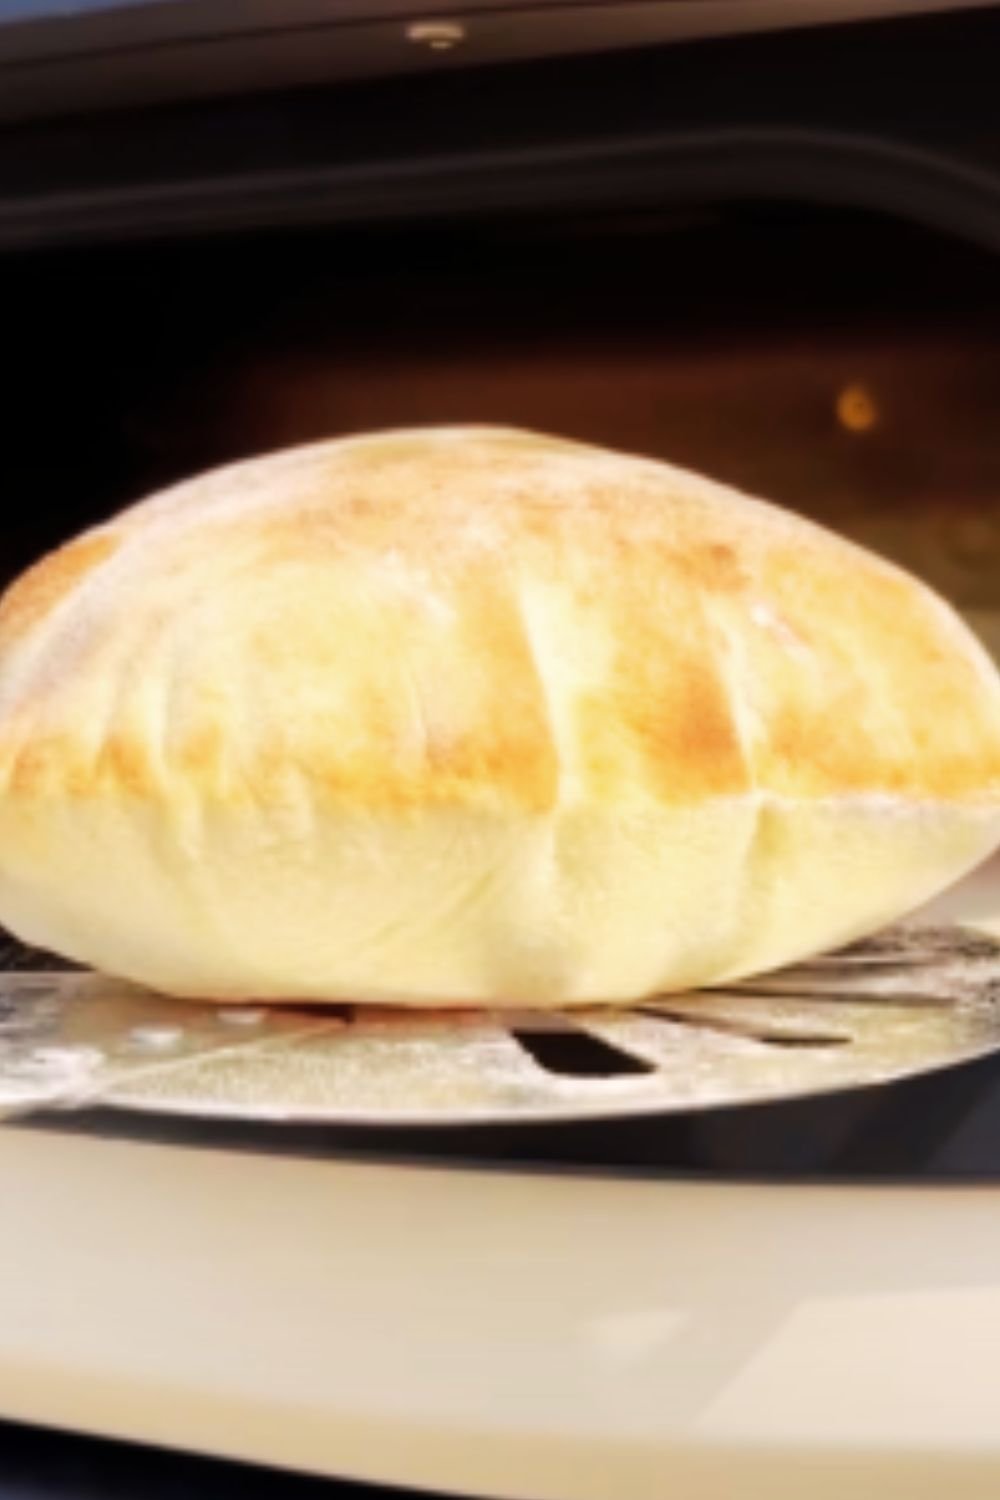
Pita bread is unique because of its signature pocket, which forms during baking. As the dough heats in a very hot oven, the moisture within it turns to steam. This steam forces the two layers of dough apart, creating that distinctive pocket perfect for fillings. The key to successful pita bread lies in proper dough preparation and extremely high heat during baking.
Traditional throughout the Middle East and Mediterranean regions, pita has been a dietary staple for thousands of years. While regional variations exist (some thicker, some thinner, some with pockets, some without), the recipe I’m sharing today creates the classic pocket-style pita that most people are familiar with.
Ingredients You’ll Need
For this recipe, you’ll need just six simple ingredients:
| Ingredient | Amount | Notes |
|---|---|---|
| All-purpose flour | 3 cups (375g) | You can substitute up to half with whole wheat flour for a nuttier flavor |
| Active dry yeast | 2¼ teaspoons (1 packet) | Instant yeast works too, with slightly adjusted rising times |
| Sugar | 1 teaspoon | Helps activate the yeast |
| Salt | 1½ teaspoons | I prefer kosher salt |
| Warm water | 1¼ cups (300ml) | Should be warm (105-115°F/40-46°C), not hot |
| Olive oil | 2 tablespoons | Extra virgin gives the best flavor |
Optional Additions:
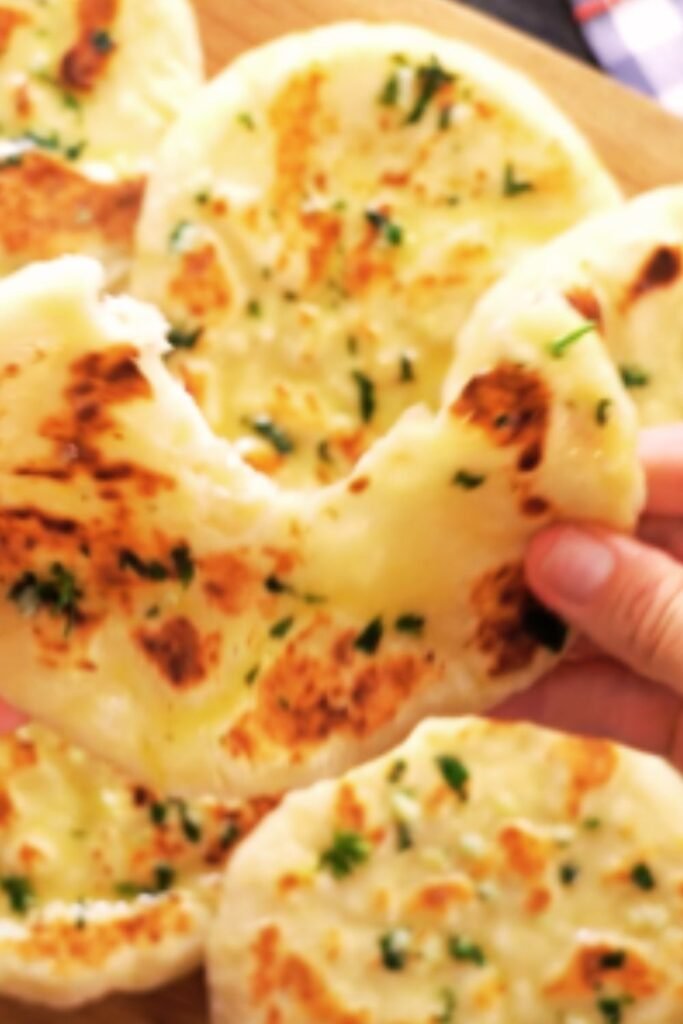
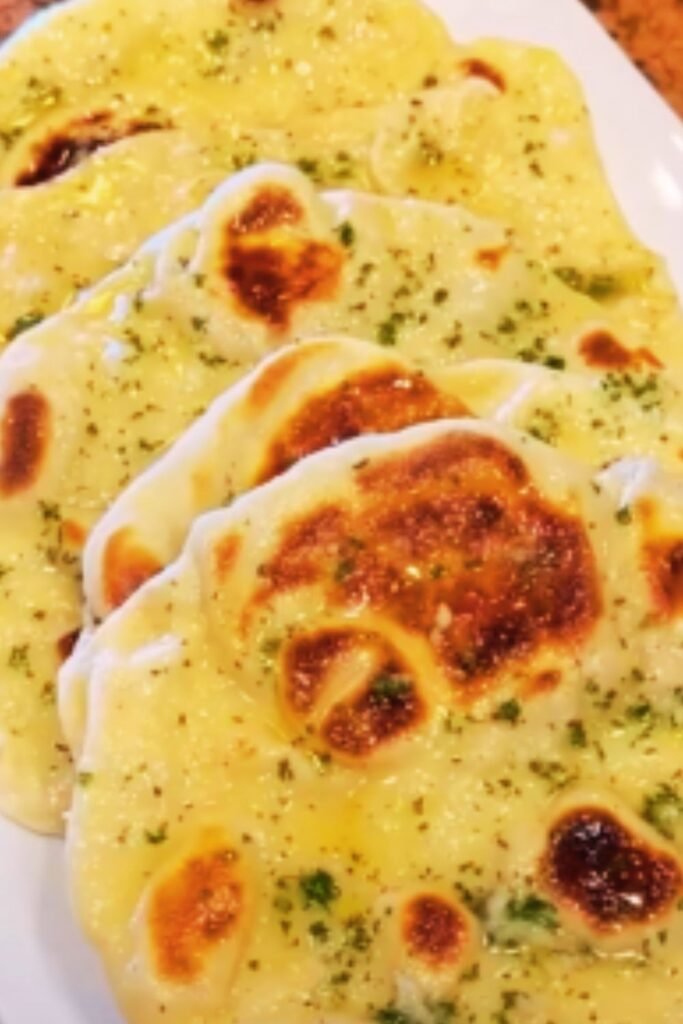
- 1 teaspoon dried herbs like oregano or za’atar for flavored pita
- 1 tablespoon sesame seeds for topping
- 1 tablespoon nigella seeds for an authentic Middle Eastern touch
Equipment List
To make perfect pita bread, gather these tools:
- Large mixing bowl
- Measuring cups and spoons
- Kitchen scale (for precise measurements)
- Wooden spoon or stand mixer with dough hook
- Clean kitchen towel
- Rolling pin
- Baking sheet or pizza stone
- Oven
- Cooling rack
Step-by-Step Instructions
1. Prepare the Dough
- In a large bowl, combine the warm water, sugar, and yeast. Let it sit for about 5 minutes until it becomes frothy, which indicates the yeast is active.
- Add the olive oil, salt, and 1 cup of flour. Stir with a wooden spoon until smooth.
- Gradually add the remaining flour, ½ cup at a time, mixing until the dough comes together.
- When the dough becomes too stiff to stir, transfer it to a lightly floured surface.
- Knead the dough for about 8-10 minutes, until it becomes smooth and elastic. To test if it’s ready, press your finger into the dough – it should spring back slowly.
- If using a stand mixer: Attach the dough hook and mix on medium-low speed for 6-8 minutes until smooth and elastic.
2. First Rise
- Lightly oil a clean bowl and place the dough inside, turning it to coat with oil.
- Cover the bowl with a damp kitchen towel or plastic wrap.
- Place in a warm, draft-free area to rise until doubled in size, about 1-1½ hours.
- You can tell the dough is ready when you poke it with your finger and the indentation remains.
3. Shape the Pitas
- Once risen, gently deflate the dough by pressing down on it.
- Turn the dough onto a lightly floured surface and divide it into 8 equal pieces (or 12 for smaller pitas).
- Form each piece into a ball by folding the edges under and pinching them together at the bottom.
- Let the dough balls rest, covered with a kitchen towel, for 15 minutes. This relaxes the gluten and makes rolling easier.
- Using a rolling pin, roll each ball into a circle about ¼-inch (6mm) thick and 6-7 inches (15-18cm) in diameter.
- For the best results, keep the thickness even across the entire pita.
- Let the shaped dough rest for another 10 minutes.
4. Preheat the Oven
- While shaping the dough, place a baking sheet or pizza stone in the oven.
- Preheat the oven to 475°F (245°C) for at least 30 minutes before baking.
- The extremely hot surface is crucial for proper pocket formation.
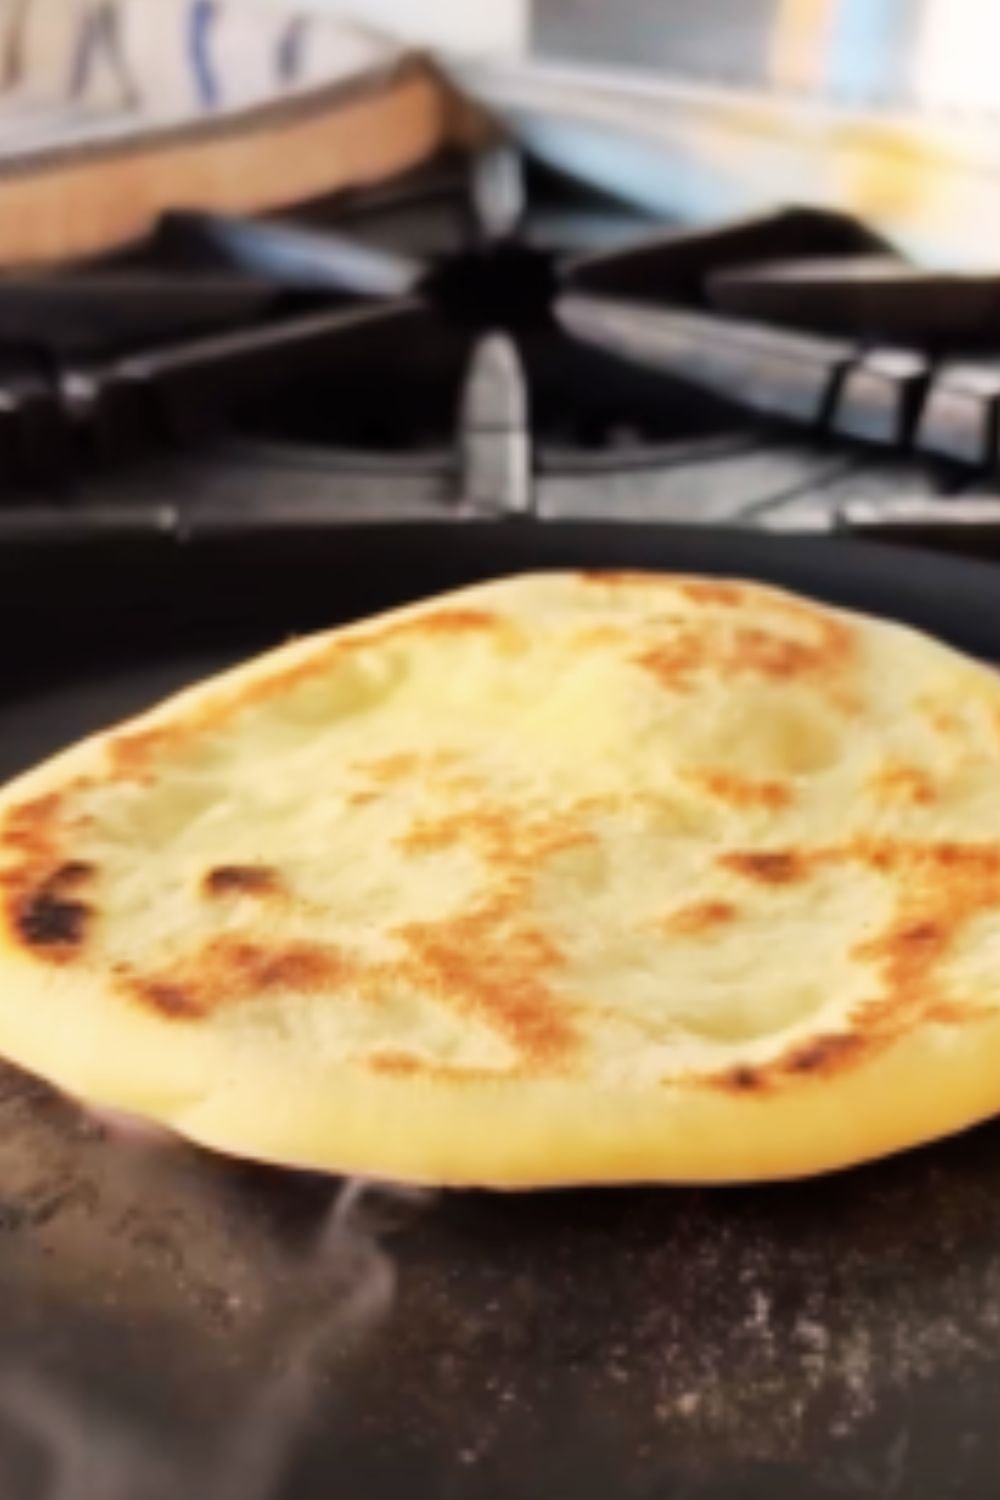
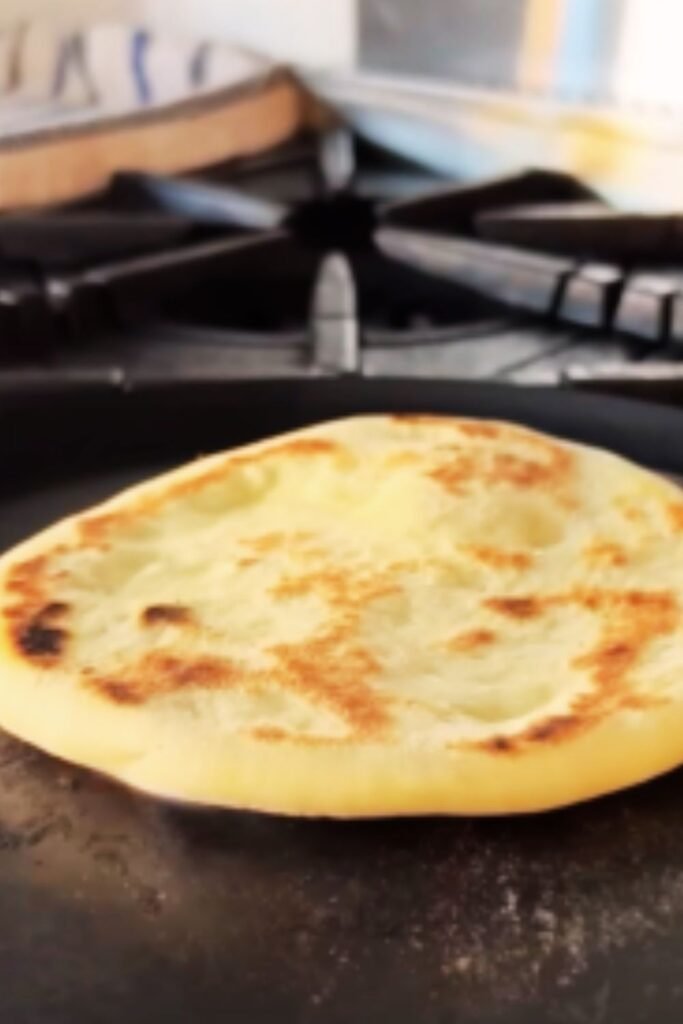
5. Bake the Pitas
- Working with 2-3 pitas at a time (depending on the size of your baking surface), carefully place them on the preheated baking sheet or stone.
- Bake for 3-4 minutes, until they puff up completely and have just a slight coloring.
- Don’t overbake, or they’ll become crispy instead of soft and pliable.
- Remove from the oven and immediately wrap in a clean kitchen towel to keep soft.
- Continue with the remaining dough rounds.
Troubleshooting Your Pita Bread
To help you achieve perfect results, here are solutions to common pita bread problems:
| Problem | Possible Cause | Solution |
|---|---|---|
| Pitas don’t puff | Oven not hot enough | Make sure to preheat thoroughly; check oven temperature with a thermometer |
| Dough too thick/uneven | Roll to even ¼-inch thickness | |
| Overhandled dough | Handle gently when transferring to oven | |
| Pitas too crispy | Baked too long | Reduce baking time by 30-60 seconds |
| Oven temperature too high | Reduce temperature by 25°F | |
| Pitas dense or heavy | Insufficient kneading | Knead until smooth and elastic |
| Not enough rise time | Allow full double rise before shaping | |
| Pitas dry | Stored improperly | Cool completely before storing in airtight bag |
| Overcooked | Reduce cooking time slightly |
Storage Tips
Properly stored pita bread will stay fresh and delicious for several days:
- Cool completely: Allow the pitas to cool to room temperature before storing.
- Short-term storage: Place in a ziplock bag or airtight container at room temperature for 2-3 days.
- Refrigerator storage: Will keep for up to a week, though the texture may become slightly chewier. Reheat before serving.
- Freezer storage:
- Place parchment paper between each pita to prevent sticking
- Store in a freezer bag with air removed
- Freeze for up to 3 months
- Thaw at room temperature for 1-2 hours
- Reheating methods:
- Microwave for 10-15 seconds
- Wrap in foil and heat in 350°F oven for 5-7 minutes
- Lightly toast in a dry skillet for crispy edges
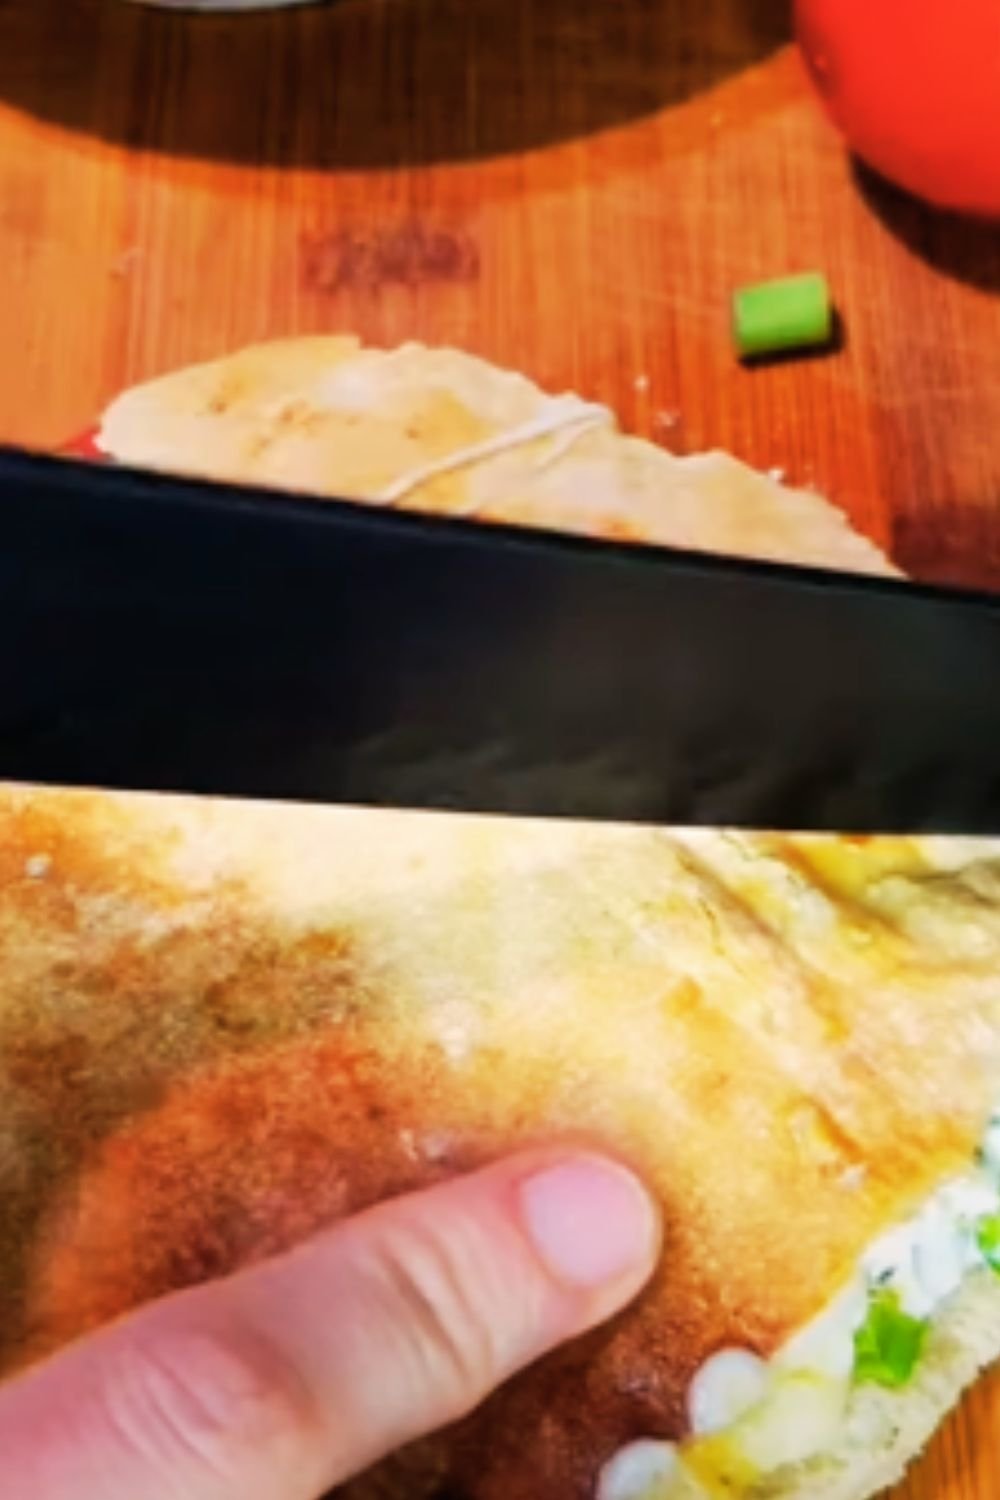
Serving Suggestions
Homemade pita bread is versatile and pairs beautifully with many dishes:
- Traditional pairings:
- Hummus, baba ganoush, or tzatziki for dipping
- As a base for Greek gyros or souvlaki
- With falafel, pickled vegetables, and tahini sauce
- Breakfast ideas:
- Stuff with scrambled eggs, feta, and spinach
- Use as a base for shakshuka
- Create a morning wrap with yogurt, honey, and fresh fruit
- Lunch options:
- Mediterranean pita pockets with grilled vegetables and halloumi
- Quick pizzas topped with sauce, cheese, and vegetables
- Tuna salad sandwiches with cucumber and sprouts
- Dinner companions:
- Alongside grilled meats like kebabs
- With stews or curries for sopping up sauce
- Cut into triangles and toasted as an accompaniment to soup
Creative Variations
Once you’ve mastered the basic recipe, try these delicious variations:
Whole Wheat Pita
Replace half or all of the all-purpose flour with whole wheat flour. You may need to add 1-2 extra tablespoons of water as whole wheat flour absorbs more moisture. This creates a nuttier, more nutritious pita with extra fiber.
Herb-Infused Pita
Add 1-2 tablespoons of fresh chopped herbs like rosemary, thyme, or parsley to the dough during mixing. Dried herbs work too—use 1-2 teaspoons. These aromatic additions complement Mediterranean fillings beautifully.
Garlic and Onion Pita
Mix in 2 teaspoons of garlic powder and 1 tablespoon of dried onion flakes for flavorful pitas perfect for serving with roasted meats.
Multigrain Pita
Replace ½ cup of the all-purpose flour with a combination of other grains like oats, cornmeal, or barley flour for added texture and nutrition.
Sourdough Pita
If you maintain a sourdough starter, replace the yeast with ½ cup of active starter and reduce the water to 1 cup. Allow for longer fermentation time (4-6 hours or overnight in the refrigerator).
What Makes This Recipe Special
My recipe has a few key differences from others you might find:
- The olive oil addition: Many basic pita recipes omit oil, but I find that a small amount of olive oil creates a more tender, flavorful bread with better shelf life.
- Double rest method: By allowing the dough to rest both after dividing and after shaping, you achieve the perfect texture and optimal pocket formation.
- Extreme heat approach: Using a thoroughly preheated oven at a higher temperature than many recipes call for ensures that perfect puff every time.
- Wrapped cooling: Immediately wrapping the hot pitas in a kitchen towel keeps them soft and pliable rather than crispy.
Common Questions
Q: Why didn’t my pita bread puff up?
A: This usually happens because either the oven wasn’t hot enough or the dough wasn’t rolled to an even thickness. Make sure your oven preheats for at least 30 minutes and your baking surface (stone or sheet) is thoroughly heated. Also, ensure your dough rounds are consistently about ¼-inch thick across the entire surface.
Q: Can I make pita bread without yeast?
A: Traditional pita requires yeast for that signature rise and texture. However, you can make a quick flatbread version using baking powder instead. Mix 3 cups flour with 1 tablespoon baking powder, 1 teaspoon salt, and about 1 cup yogurt. It won’t have the same pocket, but it will work in a pinch.
Q: How do I store leftover pita bread?
A: Cool completely, then store in an airtight bag at room temperature for 2-3 days, or freeze for up to 3 months. To refresh, sprinkle with a little water and heat briefly in the microwave or oven.
Q: Can I make pita bread with gluten-free flour?
A: Yes, though it won’t have quite the same texture or reliable pocket formation. Use a 1:1 gluten-free flour blend plus 1 teaspoon of xanthan gum. The dough will be stickier and require more careful handling.
Q: My pitas are too crispy. What went wrong?
A: You likely baked them too long or at too high a temperature. Try reducing the baking time by 30 seconds to a minute, or lowering your oven temperature by 25°F. Also, make sure to wrap them in a kitchen towel immediately after baking.
Q: Can I make the dough ahead of time?
A: Absolutely! You can refrigerate the dough after the first rise for up to 24 hours. This actually improves flavor development. Let it come to room temperature for about 30 minutes before dividing and shaping.
Q: Why is my pita bread dense and heavy?
A: This often happens when the dough isn’t kneaded enough or doesn’t rise sufficiently. Make sure your yeast is fresh and active, and give the dough enough time to double in size during the first rise.
Health Benefits of Homemade Pita
Making your own pita bread has several advantages over store-bought options:
| Benefit | Details |
|---|---|
| No preservatives | Homemade pita contains only natural ingredients with no artificial preservatives or dough conditioners |
| Lower sodium | You control the salt content, typically much lower than commercial versions |
| Freshness | Nothing compares to bread eaten the day it’s baked |
| Customizable | Can adjust ingredients for dietary needs (reduced salt, whole grain, etc.) |
| Cost-effective | Significantly cheaper than premium store-bought pita |
| Nutritional value | When made with olive oil and partial whole wheat flour, provides healthy fats and more fiber |
Final Tips for Perfect Pita Every Time
After years of baking pita bread, I’ve gathered these essential tips:
- Don’t rush the process: Proper kneading and rising times develop the gluten structure needed for good pocket formation.
- Keep your surface lightly floured: Too much flour makes the dough tough; too little causes sticking.
- Roll from the center outward: This technique ensures even thickness across the entire pita.
- Watch carefully during baking: Pitas can go from perfectly done to overdone in less than a minute.
- Cool properly: Stack and wrap immediately to trap steam and keep pitas soft.
- Don’t be discouraged: Even if your first batch isn’t perfect, the bread will still be delicious. Practice makes perfect!
Making your own pita bread from scratch is a rewarding experience that connects you to thousands of years of baking tradition. There’s nothing quite like watching those flat discs of dough magically puff into perfect pockets in your oven. With this comprehensive guide, you’re well-equipped to create bakery-quality pita bread right in your home kitchen.
Whether you’re serving them alongside your favorite Mediterranean dishes, using them as sandwich bases, or simply enjoying them warm from the oven with a drizzle of olive oil, homemade pitas will elevate your meals and impress family and friends. Happy baking!