There’s something magical about the perfect balance of sweet and savory flavors coming together in a single dish. As someone who’s constantly juggling work deadlines, family commitments, and the eternal question of “what’s for dinner?”, I’ve come to cherish recipes that deliver restaurant-quality results without requiring hours in the kitchen. These Skillet Balsamic Chicken Thighs have become my go-to weeknight dinner that consistently impresses everyone at my table.
When the rich tang of balsamic vinegar caramelizes around juicy chicken thighs, something transformative happens. The skin crisps to golden perfection while the meat underneath remains tender and succulent. The pan sauce that develops—infused with garlic, herbs, and that signature balsamic sweetness—is something I’d happily pay for at a fancy restaurant. Yet here we are, creating it at home with minimal effort and maximum flavor.
Let me walk you through creating this one-pan wonder that’s saved my dinner plans countless times. Whether you’re cooking for yourself, your family, or guests you want to impress, this recipe delivers every single time.
Why You’ll Love This Recipe
Before diving into the details, let me share why this has become one of my most treasured recipes:
- One-Pan Wonder: Everything cooks in a single skillet, minimizing cleanup time
- Budget-Friendly: Chicken thighs are typically less expensive than breasts while offering more flavor
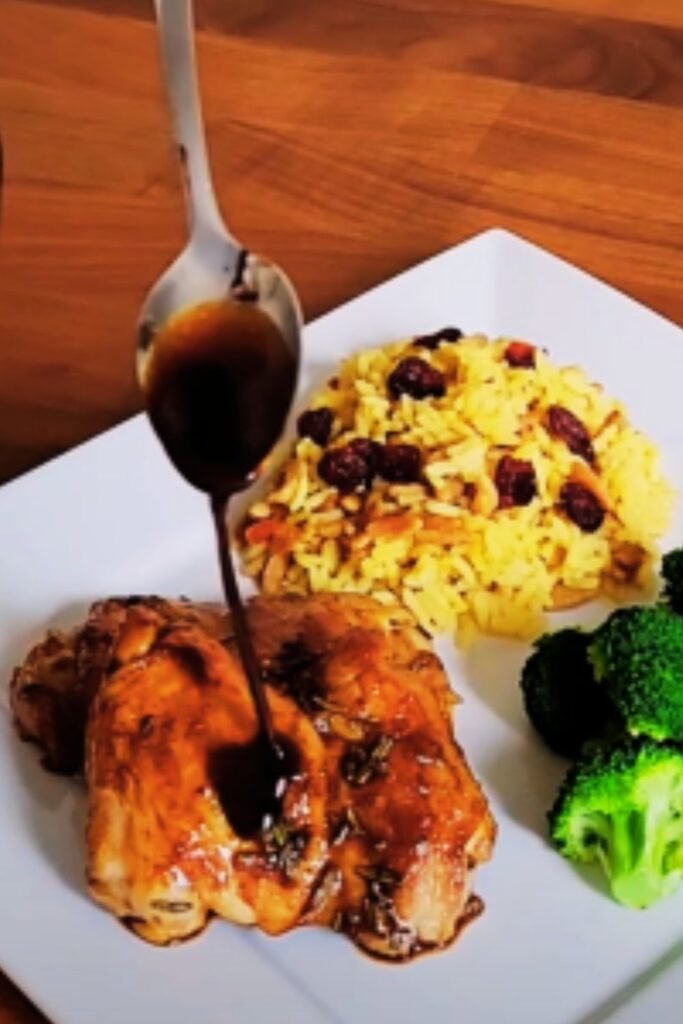
- Impressive Results: The glossy balsamic reduction looks and tastes like something from a high-end restaurant
- Weeknight Friendly: Ready in under 45 minutes from start to finish
- Versatile: Pairs beautifully with nearly any side dish you can imagine
- Meal-Prep Champion: Leftovers taste even better the next day
The Secret to Perfect Chicken Thighs
I’ve discovered that the key to restaurant-quality chicken thighs lies in proper technique. Many home cooks fear that golden-brown, crispy skin is something only professionals can achieve. I’m here to tell you that’s simply not true!
The secret comes down to these critical steps:
- Pat the chicken completely dry before seasoning (moisture is the enemy of crispy skin)
- Season generously with salt and pepper
- Start with a hot pan to create that initial sear
- Don’t disturb the chicken during the first few minutes of cooking
- Finish in the oven for even cooking throughout
Follow these steps, and I promise you’ll achieve that coveted crispy exterior and juicy interior every single time.
Ingredients You’ll Need
For this recipe, I’ve carefully balanced everyday ingredients with a few special touches that elevate the entire dish:
For the Chicken:
- 6-8 bone-in, skin-on chicken thighs (about 2-2.5 pounds)
- 1 tablespoon olive oil
- 1 teaspoon sea salt
- ½ teaspoon freshly ground black pepper
- ½ teaspoon garlic powder
- ½ teaspoon dried thyme
- ¼ teaspoon dried rosemary
For the Balsamic Sauce:
- 3 tablespoons high-quality balsamic vinegar
- 2 tablespoons honey
- 4 cloves garlic, minced
- 1 tablespoon unsalted butter
- 1 tablespoon fresh thyme leaves (or 1 teaspoon dried)
- ¼ cup low-sodium chicken broth
- 1 teaspoon Dijon mustard
- ½ teaspoon red pepper flakes (optional, for heat)

A Note on Balsamic Vinegar
I’ve learned that not all balsamic vinegars are created equal. While I don’t insist on using an expensive aged balsamic for this recipe, I do recommend finding a mid-range option rather than the cheapest bottle. The difference in flavor is remarkable—cheaper varieties can be overly acidic without the complex sweetness that makes balsamic so special.
Look for a balsamic vinegar that’s slightly thick and has a balanced sweet-tart profile. If your balsamic seems very thin and sharp, consider adding an extra teaspoon of honey to the sauce to balance the flavors.
Step-by-Step Instructions
Let’s walk through creating this dish from start to finish:
Preparation
- Preheat your oven to 400°F (205°C)
- Remove the chicken thighs from the refrigerator 20-30 minutes before cooking to take the chill off
- Pat the chicken thighs completely dry with paper towels
- Mix together the salt, pepper, garlic powder, dried thyme, and dried rosemary
- Season the chicken generously on both sides with the spice mixture
Cooking the Chicken
- Heat a large oven-safe skillet (preferably cast iron) over medium-high heat
- Add the olive oil and allow it to get hot but not smoking
- Place the chicken thighs skin-side down in the hot skillet
- Cook without moving for 5-7 minutes until the skin is deeply golden and crisp
- Flip the chicken thighs and cook for another 3 minutes on the second side
- Transfer the skillet to the preheated oven and bake for 15-18 minutes, until the internal temperature reaches 165°F (74°C)
- Remove the skillet from the oven (remember the handle will be extremely hot!)
- Transfer the chicken to a plate and tent loosely with foil to rest
Creating the Balsamic Sauce
- Return the same skillet (with all those delicious chicken drippings) to medium heat
- Add the minced garlic and cook for 30 seconds until fragrant
- Pour in the balsamic vinegar and use a wooden spoon to scrape up any browned bits from the bottom of the pan
- Add the honey, chicken broth, Dijon mustard, and red pepper flakes (if using)
- Bring the mixture to a simmer and cook for 5-7 minutes until it begins to thicken
- Add the butter and fresh thyme, stirring until the butter is melted and incorporated
- Return the chicken to the pan, spooning the sauce over the top
- Allow everything to heat through for 1-2 minutes
Serving Suggestions
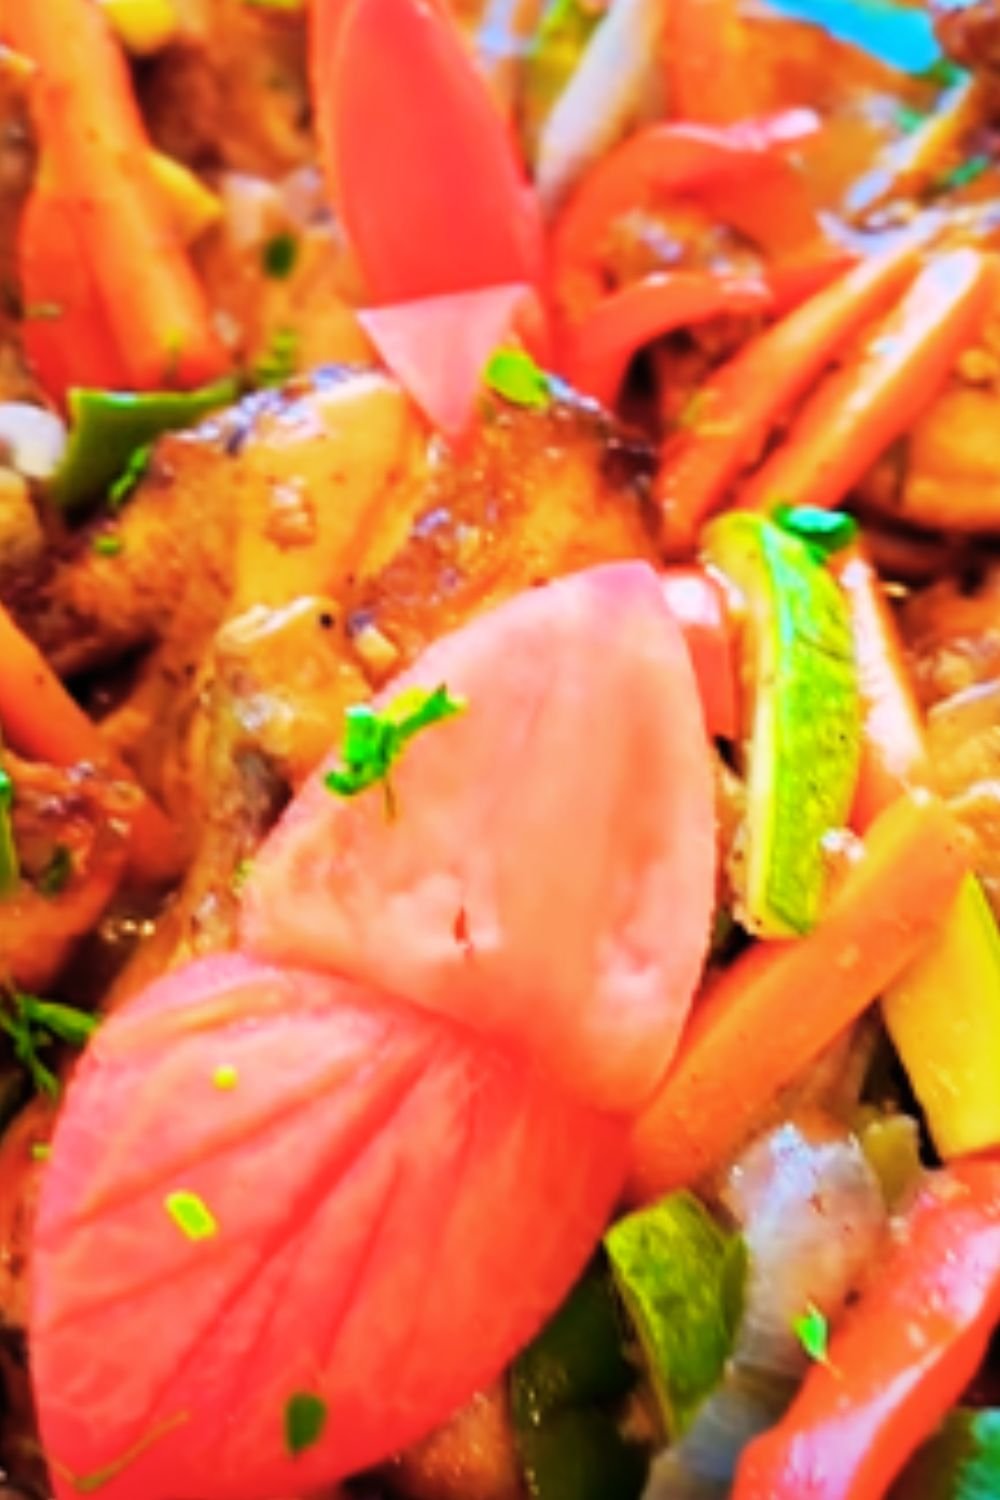
Place the chicken on a serving platter or individual plates, spooning the additional sauce over the top. I like to garnish with a few extra fresh thyme leaves or a sprinkle of finely chopped parsley for color.
Nutritional Information
For those tracking their nutritional intake, here’s a breakdown per serving (assuming 6 servings):
| Nutrient | Amount |
|---|---|
| Calories | 385 |
| Protein | 28g |
| Fat | 24g |
| Saturated Fat | 7g |
| Carbohydrates | 8g |
| Sugars | 7g |
| Fiber | 0g |
| Sodium | 470mg |
| Potassium | 312mg |
| Calcium | 25mg |
| Iron | 1.5mg |
Perfect Pairings: What to Serve With Your Balsamic Chicken
One of the things I love most about this dish is how versatile it is when it comes to side dishes. Here are some of my favorite pairings:
Starchy Sides
- Creamy garlic mashed potatoes
- Buttered egg noodles with herbs
- Crusty artisan bread for sauce-sopping
- Wild rice pilaf with mushrooms
- Crispy roasted fingerling potatoes
Vegetables
- Roasted Brussels sprouts with bacon
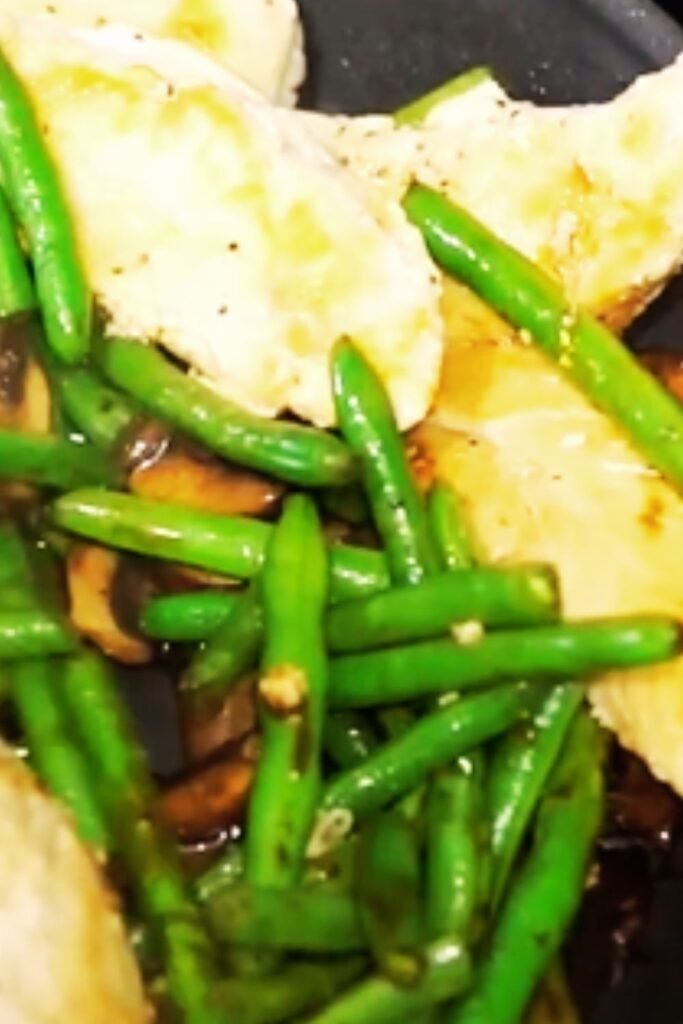
- Sautéed green beans with almonds
- Garlic-roasted asparagus
- Simple mixed greens with lemon vinaigrette
- Roasted root vegetables (carrots, parsnips, sweet potatoes)
Make It a Complete Meal
For a balanced plate, I typically pair this chicken with:
- A starchy side (like mashed potatoes or rice)
- A green vegetable (like roasted broccoli or a simple salad)
- A glass of sparkling water with lemon (the acidity complements the sweet balsamic beautifully)
Time-Saving Tips and Variations
Over the years, I’ve discovered several ways to streamline this recipe even further:
Prep Ahead Options
- Mix the dry rub up to 2 days in advance and store in an airtight container
- Season the chicken up to 24 hours ahead and keep covered in the refrigerator
- Mince the garlic and measure out the sauce ingredients earlier in the day
Variation Ideas
- Herby Version: Add 1 tablespoon of fresh rosemary and 1 tablespoon fresh sage to the sauce
- Fruity Twist: Add ¼ cup of dried cherries or cranberries to the sauce while it simmers
- Extra Savory: Add 8 ounces of sliced mushrooms to the pan before making the sauce
- Onion Lover’s: Add one thinly sliced shallot or half a red onion when you add the garlic
- Citrus Bright: Finish the sauce with a teaspoon of lemon zest and a squeeze of fresh juice
Troubleshooting Common Issues
Even experienced cooks encounter challenges sometimes. Here are solutions to common problems:
| Issue | Possible Cause | Solution |
|---|---|---|
| Chicken skin isn’t crispy | Pan wasn’t hot enough or chicken was too wet | Ensure chicken is completely dry and pan is properly heated before adding chicken |
| Sauce is too thin | Not simmered long enough | Continue simmering until desired thickness is reached |
| Sauce is too thick | Simmered too long | Add 1-2 tablespoons additional chicken broth to thin |
| Chicken is dry | Overcooked | Use a meat thermometer and remove at exactly 165°F |
| Balsamic flavor is too strong | Individual preference or very acidic vinegar | Add an extra teaspoon of honey to balance |
| Garlic burns | Heat too high when adding garlic | Lower heat slightly before adding garlic |
Storage and Reheating Instructions
One of the benefits of this dish is that it keeps beautifully:
Storage
- Refrigerate leftovers in an airtight container for up to 4 days
- Freeze cooked chicken with sauce for up to 3 months (though the texture of the skin won’t be as nice upon thawing)
Reheating
- Oven Method (preferred): Place chicken and sauce in an oven-safe dish, cover with foil, and heat at 325°F for 15-20 minutes until warmed through
- Stovetop Method: Place chicken and sauce in a skillet over medium-low heat, cover, and warm gently for 5-7 minutes
- Microwave (convenient but less ideal): Heat on 70% power in 30-second intervals until warmed through
Budget-Friendly Tips
This dish is already relatively economical, but here are a few ways to make it even more budget-friendly:
- Buy chicken thighs in family packs when on sale and freeze portions
- Use dried herbs instead of fresh (though fresh does add a wonderful brightness)
- Make your own chicken broth using leftover bones and vegetable scraps
- Stretch the dish by serving smaller portions alongside hearty sides like rice or pasta
Making It Your Own
The beauty of cooking is adapting recipes to make them your own. Here are some ways you might customize this dish:
- For Spice Lovers: Double the red pepper flakes or add a diced jalapeño
- For Sweet Tooths: Add an extra tablespoon of honey
- For Herb Enthusiasts: Create a medley of fresh herbs including rosemary, oregano, and sage
- For Garlic Fanatics: Double the garlic (I’ve been known to do this myself!)
Frequently Asked Questions
Q: Can I use boneless, skinless chicken thighs instead? Yes, absolutely! The cooking time will be shorter—around 4-5 minutes per side on the stovetop and 8-10 minutes in the oven. You’ll miss the crispy skin, but the dish will still be delicious.
Q: Is there a substitute for balsamic vinegar? While balsamic provides a unique flavor, you could use a combination of red wine vinegar and a tablespoon of brown sugar in a pinch. The flavor will be different but still delicious.
Q: My chicken is sticking to the pan. What am I doing wrong? This typically happens when you try to flip the chicken too soon. When properly seared, the skin will release naturally from the pan. Be patient and give it the full 5-7 minutes.
Q: Can I make this recipe dairy-free? Absolutely! Simply substitute olive oil for the butter in the sauce. The flavor will be slightly different but still wonderful.
Q: How do I know when the chicken is done? The most reliable method is using an instant-read thermometer inserted into the thickest part of the thigh (without touching bone). The chicken is done when it reaches 165°F (74°C).
Q: What if I don’t have an oven-safe skillet? After searing the chicken on the stovetop, transfer it to a baking dish to finish in the oven. Then return the original skillet to the stove to make the sauce.
Q: Can I double this recipe? Yes, but you may need to sear the chicken in batches to avoid overcrowding the pan, which would prevent proper browning.
Q: Is this recipe keto-friendly? The recipe can be adapted for keto by substituting the honey with a keto-friendly sweetener like monk fruit or erythritol.
Why This Recipe Works
As someone who’s made this dish countless times (and received numerous requests for the recipe), I can tell you exactly why it works so well:
- The Power of Fond: When chicken thighs sear in the skillet, they leave behind caramelized bits called “fond” that form the flavor foundation of the sauce.
- Balanced Flavors: The acidity of balsamic vinegar cuts through the richness of the chicken thighs, while honey provides just enough sweetness to round everything out.
- Texture Contrast: The crispy skin against the tender meat creates a textural experience that keeps every bite interesting.
- Umami Development: The combination of chicken drippings, garlic, and reduced balsamic creates deep umami notes that make this dish crave-worthy.
- Efficiency: The one-pan approach means all the flavors build upon each other instead of developing separately.
I hope this recipe becomes a staple in your home as it has in mine. There’s something deeply satisfying about creating a dish that looks and tastes like it took hours but actually comes together in less than 45 minutes. Every time I serve these Skillet Balsamic Chicken Thighs, I’m reminded that sometimes the simplest combinations—good chicken, quality ingredients, and proper technique—create the most memorable meals.
Happy cooking!
Quick Tips for Success
- Let the chicken come to room temperature before cooking for more even results
- Don’t overcrowd the pan—cook in batches if necessary
- A cast-iron skillet gives the best sear, but any oven-safe skillet will work
- Balsamic reduces quickly, so keep an eye on your sauce to prevent burning
- Rest the chicken before serving to allow juices to redistribute
- Save extra sauce—it’s delicious drizzled over vegetables too!