There’s something magical about pulling a batch of warm, pillowy pita bread from your oven. That moment when you tear into one and witness the perfect pocket that’s formed inside—it’s a small culinary triumph that never gets old. I’ve been baking homemade pita bread for years, and I’m convinced that once you try it, you’ll never want to buy the store-bought version again.
Homemade pita bread requires just a handful of pantry staples, minimal hands-on time, and delivers results that are worlds apart from the dry, often stale flatbreads found in grocery stores. The process is wonderfully straightforward, making it an ideal entry point for those new to bread baking.
In this guide, I’ll walk you through everything you need to know to create the perfect homemade pita bread—from ingredients and equipment to techniques and troubleshooting. Let’s create some bread magic together!
The Magic of Homemade Pita
Pita bread is a staple in Mediterranean and Middle Eastern cuisine for good reason. These versatile flatbreads can be used for:
- Scooping up hummus, baba ganoush, or tzatziki
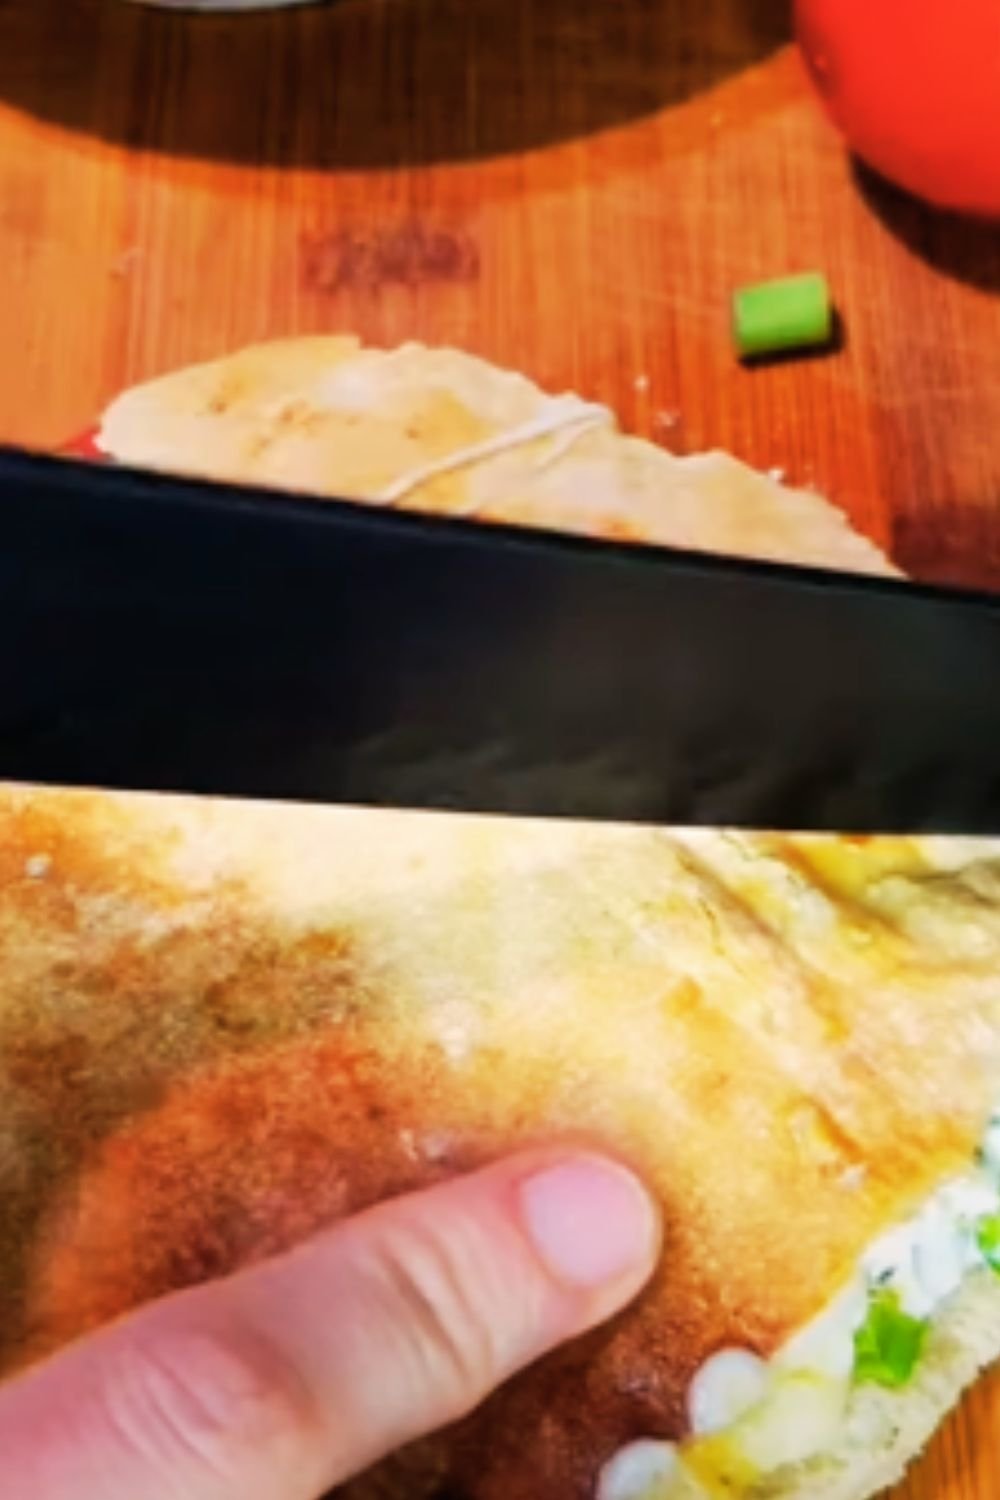
- Creating satisfying sandwiches and wraps
- Serving alongside grilled meats and vegetables
- Making quick pita pizzas
- Creating crispy pita chips for dipping
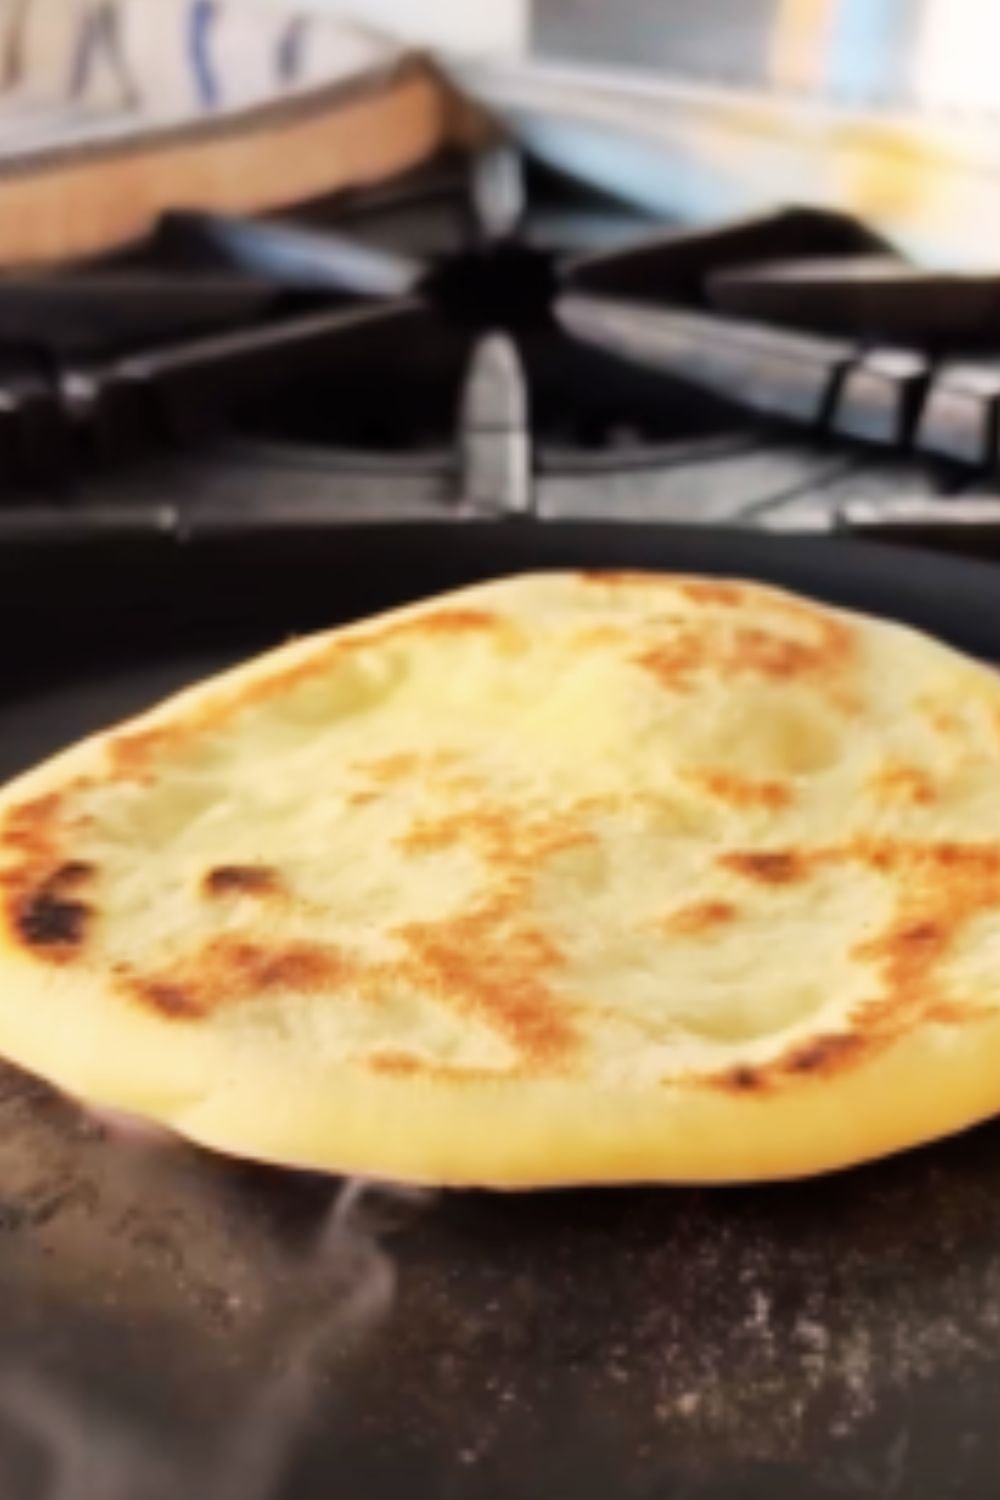
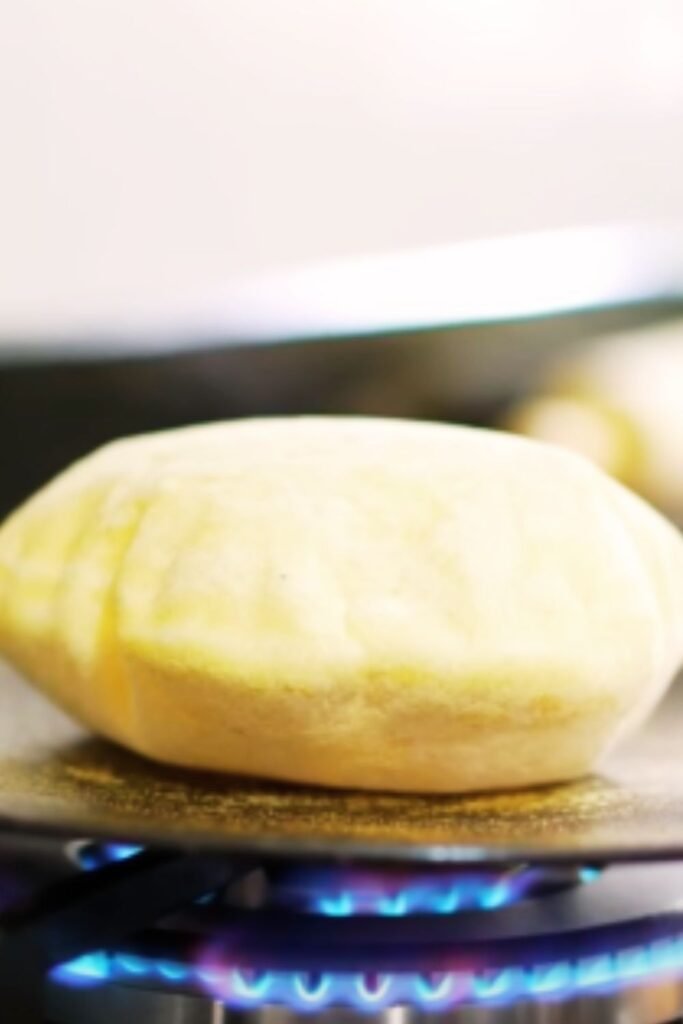
The pocket that forms inside a properly baked pita isn’t just convenient—it’s the result of a fascinating scientific process. When the dough hits the hot oven, the moisture in the dough quickly turns to steam. This steam causes the dough to puff dramatically, separating the top and bottom layers and creating that signature pocket.
Ingredients Breakdown
Let’s take a closer look at what you’ll need to make perfect pita bread at home:
| Ingredient | Amount | Purpose | Notes |
|---|---|---|---|
| All-purpose flour | 3 cups (375g) | Base structure | Can substitute up to 1 cup with whole wheat flour for more flavor |
| Active dry yeast | 2¼ teaspoons (1 packet) | Leavening agent | Instant yeast also works (reduce rise time by ~15 minutes) |
| Warm water | 1 cup (240ml) | Hydrates dough | Should be 105-110°F (40-43°C) – warm but not hot |
| Sugar | 1 teaspoon | Feeds yeast | Can substitute with honey |
| Salt | 1½ teaspoons | Flavor enhancer | Fine sea salt works best |
| Olive oil | 2 tablespoons | Adds tenderness | Extra virgin provides best flavor |
Equipment You’ll Need
For the best results, gather these tools before starting:
- Kitchen scale: For precise measurements (highly recommended)
- Stand mixer with dough hook: Makes kneading effortless (though hand kneading works too)
- Baking stone or steel: Creates the intense heat needed for proper puffing
- Rolling pin: For even, consistent thickness
- Clean kitchen towels: For covering dough during rising
- Baking sheet: For transferring pitas to the oven
- Pizza peel or flat baking sheet: For transferring dough to hot stone (optional)
The Step-by-Step Process
Making the Dough
- Activate the yeast: In a small bowl, combine the warm water (about 110°F) with sugar and yeast. Let it sit for 5-10 minutes until foamy. If your mixture doesn’t foam, your yeast might be dead or your water was too hot—start over.
- Mix the dry ingredients: In the bowl of your stand mixer, whisk together the flour and salt.
- Combine and knead: Make a well in the center of your flour mixture and add the yeast mixture and olive oil. Using the dough hook attachment, mix on low speed until combined, then increase to medium-low and knead for 6-8 minutes. The dough should be smooth and elastic, pulling away from the sides of the bowl but still slightly tacky. Hand kneading alternative: Mix ingredients with a wooden spoon until a shaggy dough forms, then turn out onto a floured surface and knead for 8-10 minutes until smooth and elastic.
- First rise: Place the dough in a lightly oiled bowl, cover with a damp kitchen towel or plastic wrap, and let rise in a warm spot for 1-2 hours, or until doubled in size.
Shaping and Baking
- Preheat your oven: Place your baking stone or steel in the oven and preheat to 500°F (260°C) for at least 30 minutes. The intense heat is crucial for proper puffing.
- Divide the dough: Gently deflate the risen dough and turn it out onto a lightly floured surface. Divide into 8 equal pieces (about 80-85g each if using a scale).
- Shape into balls: Roll each piece into a smooth ball by cupping your hand around the dough and moving in a circular motion against the countertop.
- Rest the dough: Cover the dough balls with a kitchen towel and let rest for 15-20 minutes. This relaxes the gluten, making the dough easier to roll out.
- Roll out the pitas: Using a rolling pin, roll each ball into a circle about 6 inches (15cm) in diameter and ¼ inch (6mm) thick. Try to maintain even thickness throughout.
- Bake in batches: Place 1-2 pitas directly on the hot stone or steel (using a pizza peel or inverted baking sheet if you have one). Bake for 2-3 minutes until fully puffed and very lightly golden in spots.
- Cool properly: Transfer baked pitas to a wire rack and cover with a clean kitchen towel to keep them soft and prevent them from drying out.
Storing Your Pita Bread
| Storage Method | Duration | Preparation | Notes |
|---|---|---|---|
| Room temperature | 2-3 days | Store in a plastic bag or airtight container | Best eaten within 24 hours |
| Refrigerator | Up to 1 week | Wrap tightly in plastic wrap or aluminum foil | Warm before serving |
| Freezer | Up to 3 months | Wrap individually in plastic wrap, then place in freezer bag | Thaw at room temperature or toast frozen |
Troubleshooting Guide
Even experienced bakers encounter issues when making pita bread. Here are solutions to common problems:
Pita Doesn’t Puff
- Problem: Oven not hot enough Solution: Ensure your oven and stone/steel have preheated for at least 30 minutes at 500°F
- Problem: Dough too thick or uneven Solution: Roll to ¼ inch thickness consistently across the entire pita
- Problem: Dough too dry Solution: Add a touch more water to your next batch; dough should be slightly tacky
Pita Too Tough or Dry
- Problem: Overbaked Solution: Reduce baking time by 30 seconds to 1 minute
- Problem: Dough lacks fat Solution: Add an extra tablespoon of olive oil to your next batch
- Problem: Exposed to air after baking Solution: Cover with a kitchen towel immediately after removing from oven
Pita Too Thick
- Problem: Insufficient rolling Solution: Roll thinner, approximately ¼ inch thick
- Problem: Dough springing back when rolling Solution: Let the dough rest for 5-10 more minutes before rolling again
Flavor Variations
Want to add some personality to your pitas? Try these delicious variations:
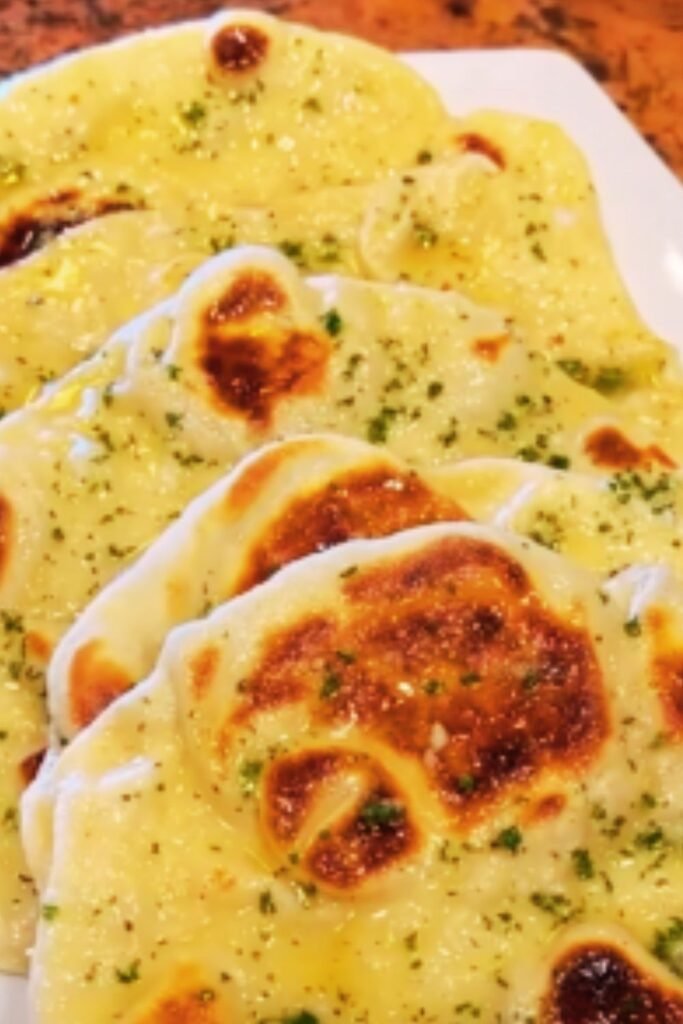
Herb-Infused Pita
Add 2 tablespoons of finely chopped fresh herbs to your dough. Try:
- Rosemary and thyme for an aromatic Mediterranean flair
- Dill and parsley for a bright, fresh taste
- Za’atar spice blend for authentic Middle Eastern flavor
Whole Wheat Pita
Replace up to 50% of the all-purpose flour with whole wheat flour for a nuttier flavor and increased fiber. You may need to add an extra tablespoon of water as whole wheat flour absorbs more moisture.
Garlic Pita
Add 2-3 cloves of minced garlic to your dough for a pungent kick. For a milder flavor, roast the garlic first.
Seeded Pita
Sprinkle the tops with sesame seeds, nigella seeds, or poppy seeds just before baking. Lightly brush with water first to help them stick.
Serving Suggestions
Freshly baked pita bread deserves wonderful companions. Here are some of my favorite ways to enjoy it:
Mediterranean Feast
- Homemade hummus
- Baba ganoush
- Tabbouleh salad
- Marinated olives
- Feta cheese
- Grilled vegetables
Stuffed Pita Pockets
- Falafel with tahini sauce and cucumber
- Chicken shawarma with garlic sauce
- Roasted vegetables with tzatziki
- Greek salad with extra feta
- Scrambled eggs with herbs for breakfast pitas
Pita Pizzas
Top with:
- Tomato sauce, mozzarella, and fresh basil
- Pesto, goat cheese, and sun-dried tomatoes
- Hummus, roasted red peppers, and feta
Pita Chips and Dips
Cut pitas into triangles, brush with olive oil, sprinkle with salt, and bake until crispy. Serve with:
- Muhammara (roasted red pepper and walnut dip)
- Labneh with olive oil and za’atar
- Spicy feta dip
- Roasted eggplant dip
The Health Benefits of Homemade Pita
When you make pita bread at home, you’re not just creating something delicious—you’re also making a healthier choice compared to many store-bought options:
| Benefit | How Homemade Pita Provides It |
|---|---|
| No preservatives | Contains only natural ingredients you control |
| Lower sodium | Typically contains 30-50% less salt than commercial versions |
| No added sugars | Many store brands add extra sugar for shelf stability |
| Whole grain options | Easy to incorporate whole wheat flour for added nutrition |
| Fresh nutrients | Fresher bread means more vitamin retention |
| Portion control | Can make smaller or larger pitas as needed |
Frequently Asked Questions

Can I make pita bread without a baking stone? Yes! While a stone or steel creates the best environment for proper puffing, you can also use an inverted baking sheet or cast iron skillet. Preheat it in the oven just as you would a stone.
Why didn’t my pita bread form pockets? The pocket forms when steam builds up inside the dough during baking. Make sure your oven is hot enough (500°F), your dough is rolled to an even thickness, and you’ve let the dough rest before rolling.
Can I make pita bread gluten-free? Traditional pita relies on gluten for its structure and pocket formation. While there are gluten-free flatbread recipes available, they typically don’t form the same pocket as traditional pita.
Can I make the dough ahead of time? Absolutely! You can refrigerate the dough after the first rise for up to 24 hours. This slow fermentation actually improves flavor. Bring the dough to room temperature before shaping and baking.
How do I reheat pita bread? For the best texture, lightly sprinkle with water and heat in a 350°F oven for 5-7 minutes. Alternatively, warm in a dry skillet over medium heat for 30 seconds per side.
Why is my pita bread tough? Overmixing the dough or using too much flour during rolling can make the bread tough. Handle the dough gently and use only as much flour as needed to prevent sticking.
Can I freeze unbaked pita dough? Yes, after shaping into balls, you can freeze them on a baking sheet, then transfer to a freezer bag. Thaw overnight in the refrigerator before rolling and baking.
Final Thoughts
There’s something deeply satisfying about creating your own pita bread from scratch. The process connects you to thousands of years of baking tradition while providing your kitchen with the incomparable aroma of freshly baked bread.
The beauty of homemade pita lies in its simplicity—just a few humble ingredients transformed through time and heat into something truly special. Once you master the basic technique, you’ll find yourself experimenting with different flavors, fillings, and uses.
I encourage you to embrace the occasional imperfection in your homemade pitas. Perhaps not every one will form the perfect pocket, but even the “failed” attempts will be delicious torn into pieces and dipped in olive oil or used as a base for quick flatbread pizzas.
Remember that bread baking is both science and art. Pay attention to the feel of your dough, the heat of your oven, and the timing of your bake. With each batch, you’ll develop more intuition and confidence.
So heat up that oven, flour your hands, and enjoy the process. Your homemade pita bread journey begins now!