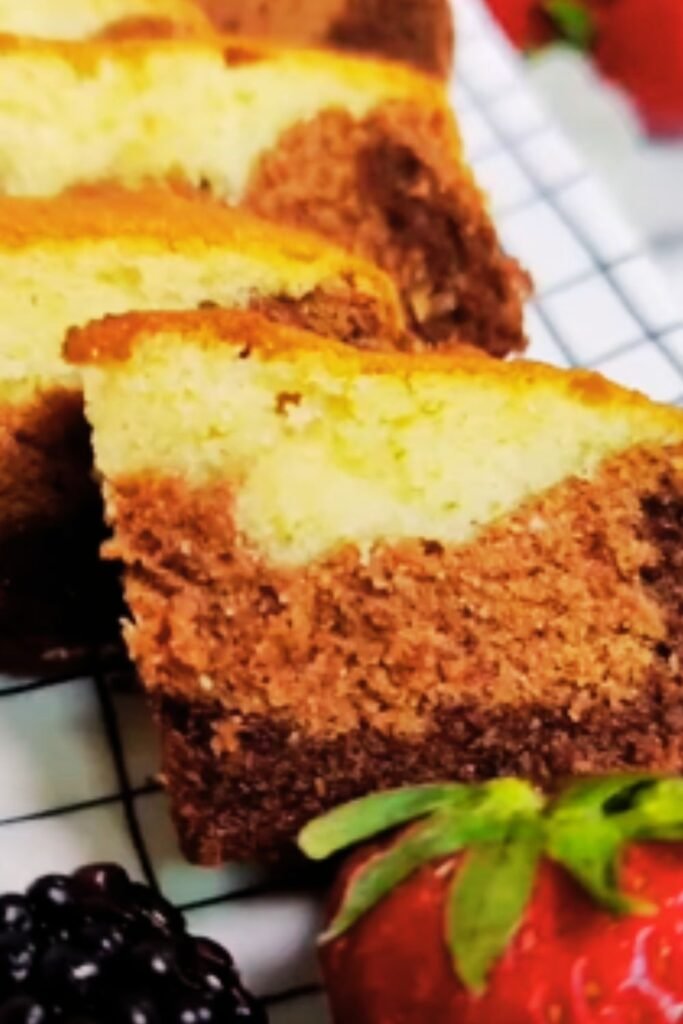
There’s something truly magical about slicing into a chocolate ombre cake. The gradual transition from light to dark chocolate creates not just a visual spectacle, but a journey of flavor that keeps everyone coming back for more. Having baked countless cakes over the years, I can confidently say that mastering this stunning dessert was a game-changer for my home baking repertoire.
What makes this chocolate ombre cake so special isn’t just its appearance – it’s the perfect balance of textures and flavors, with each layer offering a slightly different chocolate experience. Whether you’re planning a birthday celebration, holiday gathering, or simply want to treat yourself, this cake delivers that “wow” factor while being surprisingly achievable.
What Exactly Is an Ombre Cake?
For those unfamiliar with the term, “ombre” refers to colors that fade from light to dark (or vice versa). In our cake, we’ll create four distinct layers, ranging from white chocolate to dark chocolate, resulting in a beautiful gradient effect when sliced. What’s wonderful about this technique is that it uses essentially the same base recipe with minor adjustments, making it simpler than it appears.
Ingredients You’ll Need
For the Cake Layers:
- 4 cups all-purpose flour
- 4 teaspoons baking powder
- 1 teaspoon baking soda
- 1 teaspoon salt
- 2 cups granulated sugar
- 1 cup unsalted butter, softened
- 8 large eggs, room temperature
- 2 teaspoons pure vanilla extract
- 1½ cups buttermilk, room temperature
- 4 oz white chocolate, melted and cooled
- 2 oz milk chocolate, melted and cooled
- 3 oz semi-sweet chocolate, melted and cooled
- 4 oz dark chocolate (70% cocoa), melted and cooled
- 2 tablespoons unsweetened cocoa powder (for darkest layer)
For the Chocolate Buttercream Frosting:
- 2 cups unsalted butter, softened
- 6 cups powdered sugar, sifted
- ½ cup unsweetened cocoa powder, sifted
- 8 oz semi-sweet chocolate, melted and cooled
- 2 teaspoons pure vanilla extract
- ¼ cup heavy cream
- ½ teaspoon salt
For the Chocolate Ganache Drip:
- 8 oz semi-sweet chocolate, finely chopped
- 1 cup heavy cream
- 1 tablespoon unsalted butter
For Decoration:
- Chocolate shavings (white, milk, and dark)
- Chocolate truffles (optional)
- Fresh berries (optional)
Equipment Needed
Before we dive into the baking process, make sure you have these tools ready:
- Four 8-inch round cake pans
- Parchment paper
- Electric mixer (stand or hand)
- Mixing bowls (several sizes)
- Measuring cups and spoons
- Cooling racks
- Offset spatula
- Bench scraper for frosting
- Cake turntable (optional but helpful)
- Food scale for accurate measurements
Making the Cake Layers
The key to a perfect ombre cake is creating four distinct yet complementary shades. We’ll make one large batch of vanilla batter, then divide and flavor it accordingly.
Step 1: Prepare Your Pans and Ingredients
- Preheat your oven to 350°F (175°C).
- Grease four 8-inch round cake pans and line the bottoms with parchment paper.
- Melt your different chocolates separately and allow them to cool slightly. I prefer using a double boiler for this to prevent burning.
- Bring all refrigerated ingredients (eggs, butter, buttermilk) to room temperature.
Step 2: Make the Base Batter
- In a medium bowl, whisk together the flour, baking powder, baking soda, and salt.
- In a large mixing bowl, cream the butter and sugar until light and fluffy, about 3-4 minutes.
- Add eggs one at a time, beating well after each addition.
- Stir in vanilla extract.
- Gradually add the dry ingredients alternating with buttermilk, beginning and ending with the dry ingredients. Mix until just combined.
Step 3: Create Your Chocolate Gradients
- Divide the batter equally into four bowls (about 2 cups each).
- For the first (lightest) layer: Fold in the melted white chocolate until fully incorporated.
- For the second layer: Fold in the melted milk chocolate.
- For the third layer: Fold in the melted semi-sweet chocolate.
- For the fourth (darkest) layer: Fold in the melted dark chocolate plus the cocoa powder.
Step 4: Bake the Layers
- Pour each batter into its prepared pan, smoothing the tops.
- Bake for 25-30 minutes, or until a toothpick inserted in the center comes out with a few moist crumbs.
- Allow cakes to cool in the pans for 10 minutes before transferring to cooling racks.
- Let cool completely before frosting.
Making the Chocolate Buttercream
A good buttercream is crucial for both the structure and flavor of this cake. This recipe creates a chocolate frosting that pairs perfectly with all four layers.
- In a large mixing bowl, beat the softened butter until creamy, about 2 minutes.
- Gradually add the sifted powdered sugar and cocoa powder, mixing on low speed until incorporated.
- Pour in the melted and cooled chocolate, vanilla extract, and salt. Beat until combined.
- Add heavy cream and beat on medium-high speed for 3-4 minutes until light and fluffy.
- If the frosting is too thick, add more cream, one tablespoon at a time. If it’s too thin, add more powdered sugar.
Assembling the Cake
The assembly is where you really showcase the ombre effect, so take your time with this step.
Step 1: Level and Prep
- Ensure all cake layers are completely cooled.
- Using a long serrated knife, level the tops of each cake if needed.
- Place a small dollop of frosting on your cake board or serving plate to anchor the cake.
Step 2: Stack in Gradient Order
- Place the darkest chocolate layer on the bottom.
- Spread about ½ cup of buttercream evenly on top.
- Add the semi-sweet chocolate layer, then another layer of frosting.
- Continue with the milk chocolate layer and more frosting.
- Finally, top with the white chocolate layer.
Step 3: Crumb Coat
- Apply a thin layer of frosting over the entire cake to seal in crumbs.
- Refrigerate for 20-30 minutes to set this crumb coat.
Step 4: Final Frosting
- Apply the remaining buttercream to the chilled cake, creating a smooth finish with an offset spatula or bench scraper.
- For a professional touch, I like to create subtle texture patterns or leave it perfectly smooth based on the occasion.
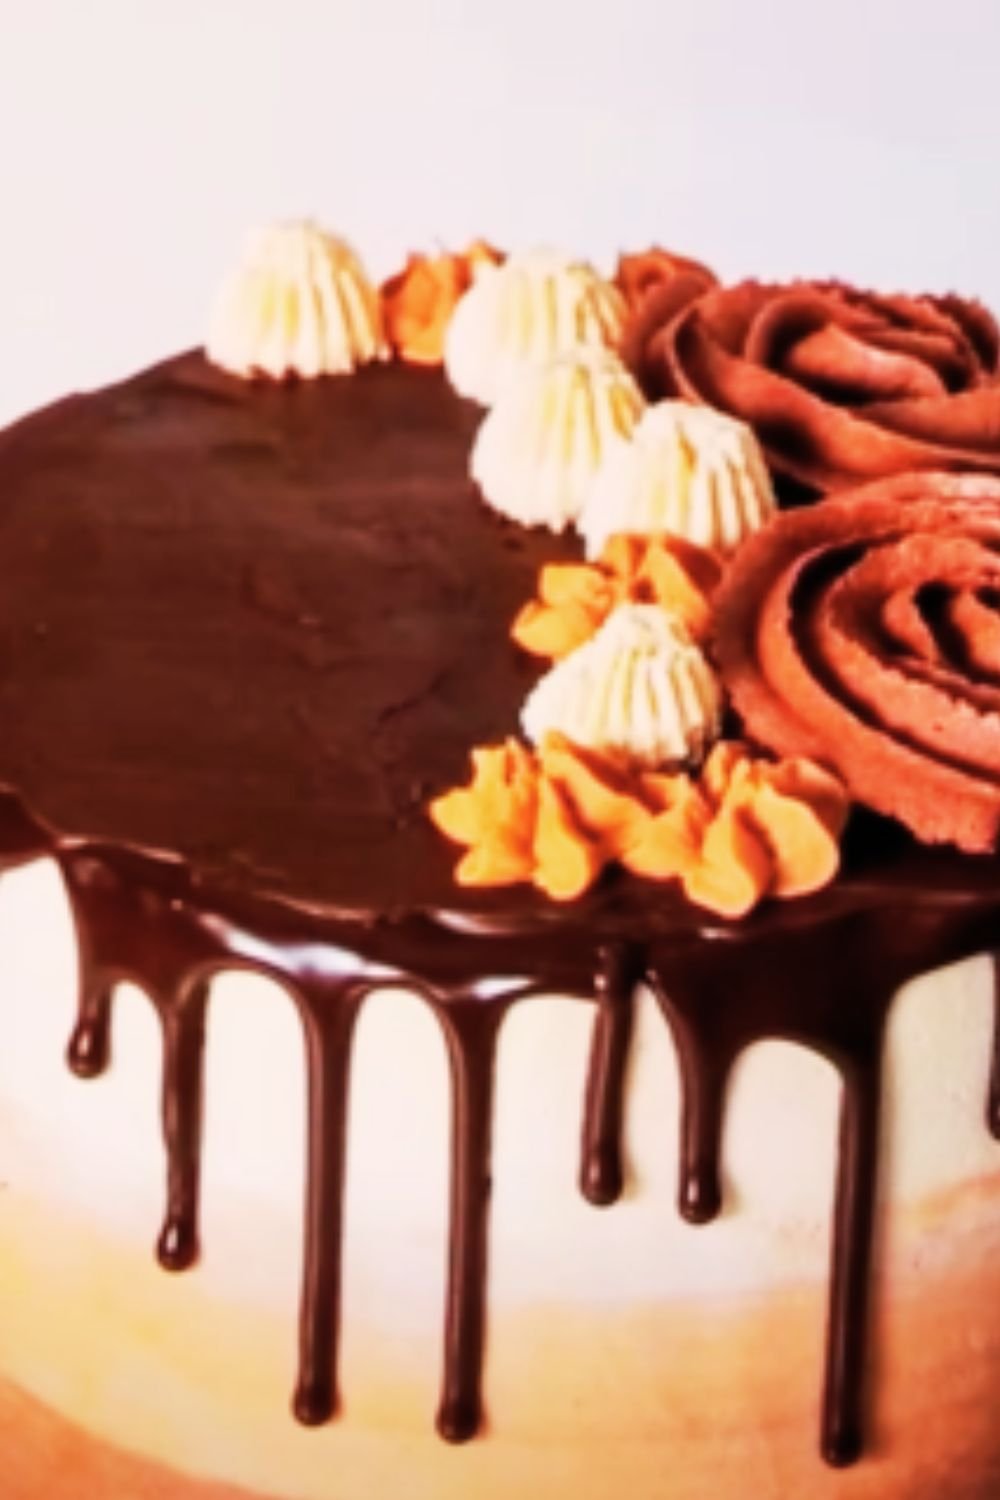
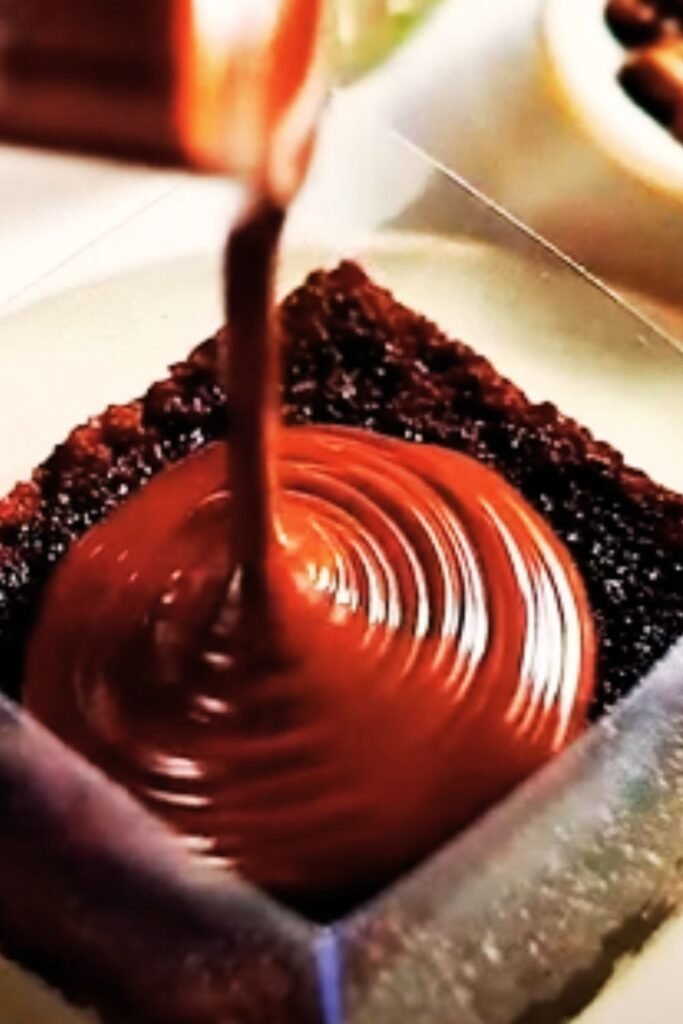
Creating the Chocolate Ganache Drip
A glossy chocolate drip adds an elegant finishing touch to your ombre cake.
- Place finely chopped chocolate in a heatproof bowl.
- Heat heavy cream in a saucepan until it just begins to simmer (do not boil).
- Pour hot cream over the chocolate and let sit for 3 minutes.
- Add butter and whisk until smooth and glossy.
- Allow ganache to cool until it reaches a thick but pourable consistency (about 92-95°F).
- Using a spoon or squeeze bottle, apply ganache around the edge of the cake, allowing it to drip down the sides.
- Fill in the top of the cake with the remaining ganache, smoothing with an offset spatula.
Decoration Ideas
Now comes the fun part – making your cake truly spectacular:
- Create chocolate shavings using different types of chocolate (white, milk, dark) by running a vegetable peeler along the edge of a chocolate bar.
- Arrange the shavings on top of the cake in an ombre pattern, with white chocolate shavings on the white chocolate side, transitioning to dark chocolate shavings on the opposite side.
- Add chocolate truffles around the border for an extra touch of luxury.
- Fresh berries like raspberries or strawberries provide a beautiful color contrast and fresh flavor.
Storage and Serving Suggestions
- The finished cake can be stored at room temperature for up to 2 days in a cake keeper or under a dome.
- For longer storage, refrigerate for up to 5 days. Just bring to room temperature before serving (about 1-2 hours) for the best flavor and texture.
- Serve with:
- A dollop of freshly whipped cream
- Fresh berries
- Hot coffee or cold milk
- A scoop of vanilla ice cream for an indulgent dessert
- Caramel sauce for drizzling
Troubleshooting Common Issues
| Problem | Possible Cause | Solution |
|---|---|---|
| Cake layers sinking in middle | Oven temperature too high or opening oven door too early | Use an oven thermometer to verify temperature; avoid opening oven before 20 minutes |
| Dry cake texture | Overbaking or inaccurate measurements | Use a timer and toothpick test; measure ingredients with scale |
| Frosting too soft | Butter too warm or not enough powdered sugar | Chill frosting for 10-15 minutes; add more powdered sugar gradually |
| Ganache too thick to drip | Cooled too much | Gently rewarm over a bowl of warm water |
| Ganache too runny | Not cooled enough | Refrigerate in 5-minute intervals, stirring between each |
| Uneven layers | Batter not distributed evenly | Use a scale to weigh batter for each pan |
Make-Ahead Options
This cake is perfect for planning ahead:
- Cake layers can be baked up to 3 days in advance. Once cooled, wrap tightly in plastic wrap and store at room temperature.
- Alternatively, freeze cake layers for up to 2 months. Thaw overnight in the refrigerator before assembling.
- Buttercream can be made 3-4 days ahead and stored in the refrigerator. Bring to room temperature and re-whip before using.
- Fully assembled cake (without ganache) can be made 1 day ahead and refrigerated.
- Add the ganache drip the day of serving for the freshest look.
Variations to Try
Once you’ve mastered the basic chocolate ombre cake, here are some exciting variations to experiment with:
Flavor Variations:
- Coffee Chocolate Ombre: Add 1-2 teaspoons of espresso powder to each layer, increasing the amount as the chocolate gets darker.
- Orange Chocolate Ombre: Add orange zest to the batter and a splash of orange liqueur to the ganache.
- Mint Chocolate Ombre: Add mint extract to the buttercream for a refreshing twist.
Style Variations:
- Naked Cake Style: Apply minimal frosting on the sides to showcase the beautiful ombre layers.
- Chocolate Ombre Rosettes: Use varying shades of chocolate buttercream to pipe rosettes around the cake in an ombre pattern.
- Chocolate Ombre Ruffles: Create textured ruffles with different shades of chocolate frosting.
Why This Recipe Works
After years of baking, I’ve found that this particular recipe offers the perfect balance for an ombre cake:
- The butter-based cake provides structure while remaining tender
- Buttermilk adds moisture and a subtle tanginess that balances the sweetness
- Using different chocolates rather than just adding cocoa powder ensures each layer has its own distinct flavor profile
- The chocolate buttercream complements all layers without overpowering any single one
- The ganache adds a professional finishing touch that’s actually quite simple to execute
Nutrition Information
For those who are curious about the nutritional breakdown (per slice, assuming 12 slices per cake):
| Nutrient | Amount |
|---|---|
| Calories | 785 |
| Total Fat | 45g |
| Saturated Fat | 28g |
| Cholesterol | 175mg |
| Sodium | 320mg |
| Total Carbohydrates | 88g |
| Dietary Fiber | 3g |
| Sugars | 67g |
| Protein | 8g |
Questions & Answers
Is this cake suitable for beginners?
While this cake has multiple components, I’ve designed it to be achievable for motivated beginners. The key is to read through the entire recipe first, prepare all ingredients in advance, and give yourself plenty of time. The most challenging aspect might be getting a perfectly smooth frosting finish, but even a more rustic look will still be delicious and impressive!
Can I make this cake without a stand mixer?
Absolutely! A hand mixer works perfectly fine for this recipe. The buttercream might take a bit more time to achieve the perfect consistency, but the results will be just as delicious.
How do I achieve perfectly even cake layers?
For professional-looking even layers, I recommend using a digital kitchen scale to divide your batter equally. Additionally, using cake strips around your pans (you can make them from wet paper towels wrapped in foil) helps the cakes bake more evenly.
Can I use cake flour instead of all-purpose flour?
Yes! Cake flour will give you an even more tender crumb. If substituting, use 4½ cups of cake flour instead of 4 cups all-purpose flour.
How far in advance can I make this cake?
For the freshest flavor and texture, I recommend assembling the cake no more than two days before serving. However, individual components can be prepared further in advance as detailed in the Make-Ahead Options section.
What if I only have three cake pans?
You can bake the cake in batches, keeping the remaining batter at room temperature. Just be sure to clean and prepare the pan between uses. The fourth layer might rise slightly less due to the batter sitting, but the difference is usually minimal.
Can I make this cake dairy-free?
This is challenging but possible. You’d need to substitute plant-based butter, plant-based milk with a bit of vinegar (for buttermilk), and dairy-free chocolate. The texture and flavor will be somewhat different, but still delicious.
Why did my ganache seize or become grainy?
This usually happens when the cream is too hot or the chocolate gets water in it. Make sure your chocolate is completely dry and let the cream cool slightly after simmering before pouring over the chocolate.
Final Thoughts
Creating a chocolate ombre cake might seem ambitious at first glance, but broken down into manageable steps, it’s a project that delivers incredible rewards. There’s nothing quite like the reaction when you cut that first slice and reveal the beautiful gradient of chocolate layers inside.
What I love most about this recipe is its versatility – perfect for special occasions but also wonderful as a weekend baking project when you want to challenge yourself or simply create something beautiful. The techniques you’ll learn making this cake will serve you well in countless other baking adventures.
Remember that perfection comes with practice – if your first attempt isn’t magazine-worthy, focus on how it tastes (which will undoubtedly be delicious). Each time you make it, you’ll gain confidence and skill. Happy baking!