There’s something magical about biting into a warm, crispy shell only to discover a cool, creamy cheesecake center that melts in your mouth. Deep-fried cheesecake bites are the ultimate indulgence that combines contrasting temperatures and textures into one irresistible treat. Today, I’m sharing my perfected recipe for these bite-sized desserts that will have your guests begging for more.
What Makes These Cheesecake Bites Special
I’ve been perfecting this recipe for years, and let me tell you—these aren’t your average state fair dessert. The key lies in freezing the cheesecake thoroughly before frying, creating a batter that crisps perfectly without becoming soggy, and mastering the frying temperature to ensure a golden exterior while maintaining that perfectly chilled center.
Unlike other recipes that use pre-made cheesecake, I start from scratch with a rich, vanilla-infused filling that stands up beautifully to the frying process. The result? A dessert that balances decadence with surprising lightness.
Ingredients You’ll Need
For the Cheesecake:
- 16 oz (2 packages) cream cheese, softened at room temperature
- 2/3 cup granulated sugar
- 2 large eggs
- 1 tsp pure vanilla extract
- 1 tbsp fresh lemon juice
- 2 tbsp all-purpose flour
- 1/4 tsp salt
- 1/4 cup sour cream
For the Graham Cracker Base:
- 1 cup graham cracker crumbs (about 8 full crackers)
- 3 tbsp unsalted butter, melted
- 1 tbsp granulated sugar
- 1/4 tsp ground cinnamon
For the Batter:
- 2 cups all-purpose flour
- 1/4 cup cornstarch
- 1 tbsp baking powder
- 1/4 tsp salt
- 1 tbsp granulated sugar
- 1 large egg
- 1 1/2 cups cold seltzer water
- 1 tsp vanilla extract
For Frying:
- 4-6 cups vegetable or canola oil (for deep frying)
For Garnish:
- 1/4 cup powdered sugar
- 2 tbsp cinnamon sugar (optional)
- 1/4 cup caramel sauce (optional)
- 1/4 cup chocolate sauce (optional)
- Fresh berries (optional)
Essential Equipment
Before we dive into the recipe, make sure you have these tools ready:
- 8×8-inch square baking pan
- Electric mixer (stand or hand)
- Candy thermometer
- Deep fryer or large, heavy-bottomed pot
- Metal slotted spoon or spider strainer
- Wire cooling rack
- Parchment paper
- Freezer-safe container
Step-by-Step Instructions
Making the Cheesecake:
- Prepare the pan: Line an 8×8-inch square baking pan with parchment paper, leaving overhang on all sides for easy removal.
- Create the graham cracker base: In a medium bowl, combine graham cracker crumbs, melted butter, sugar, and cinnamon. Press this mixture evenly into the bottom of the prepared pan. Refrigerate while you prepare the filling.
- Mix the cheesecake filling: In a large bowl, beat the softened cream cheese with an electric mixer until smooth and free of lumps (about 2 minutes). Add sugar and continue beating until well combined. Add eggs one at a time, beating well after each addition. Mix in vanilla extract, lemon juice, flour, and salt until just combined. Fold in the sour cream with a spatula.
- Bake the cheesecake: Pour the filling over the graham cracker base. Smooth the top with a spatula. Bake at 325°F (163°C) for 35-40 minutes, or until the edges are set but the center still has a slight jiggle.
- Cool completely: Allow the cheesecake to cool completely at room temperature, then refrigerate for at least 4 hours or overnight.
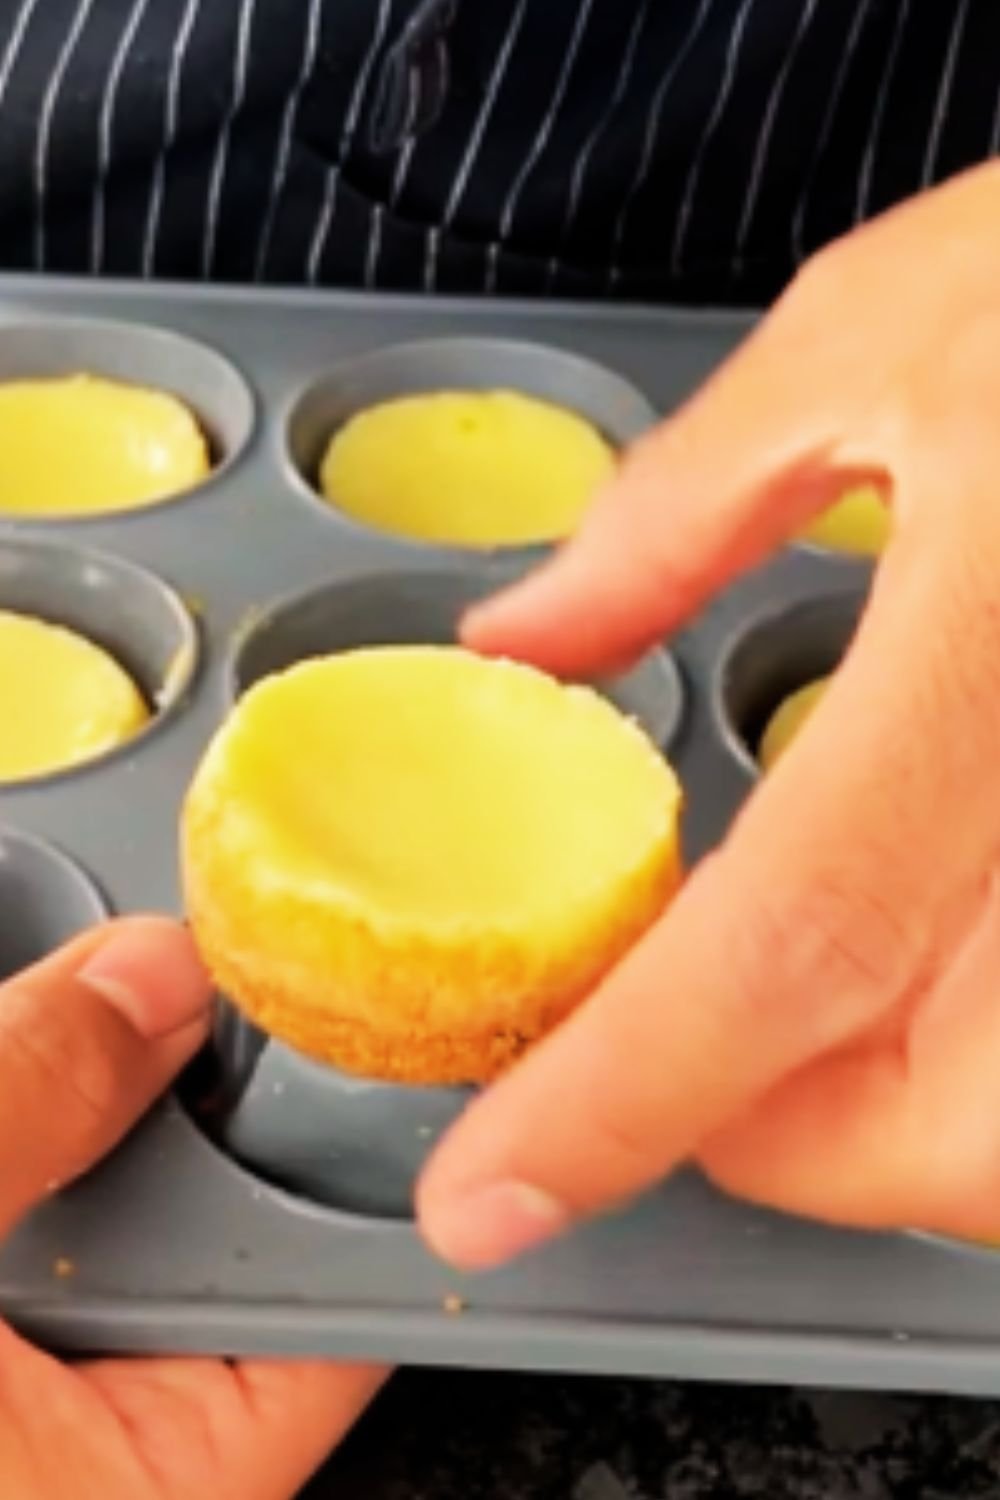
- Cut and freeze: Once chilled, remove the cheesecake from the pan using the parchment paper overhang. Cut into 1-inch squares (you should get about 36 pieces). Place the squares on a parchment-lined baking sheet and freeze for at least 2 hours, or preferably overnight.

Preparing the Batter and Frying:
- Mix dry ingredients: In a large bowl, whisk together flour, cornstarch, baking powder, salt, and sugar.
- Add wet ingredients: Make a well in the center of the dry ingredients and add the egg. Gradually pour in the cold seltzer water and vanilla extract, whisking gently until just combined. A few small lumps are okay—don’t overmix. The batter should be slightly thicker than pancake batter.
- Heat the oil: In a deep fryer or large, heavy-bottomed pot, heat oil to 350°F (175°C). Use a candy thermometer to monitor the temperature.
- Coat the cheesecake bites: Working with 4-5 frozen cheesecake squares at a time (keeping the rest in the freezer), dip each square into the batter, ensuring it’s completely coated.
- Fry the bites: Carefully lower the battered cheesecake squares into the hot oil. Fry for 60-90 seconds, or until golden brown, turning once if necessary. Do not overcrowd the pot.
- Drain and cool: Remove the fried cheesecake bites with a slotted spoon or spider strainer and place on a wire rack positioned over a baking sheet to catch drips.
- Repeat: Continue coating and frying the remaining cheesecake squares, monitoring the oil temperature between batches.
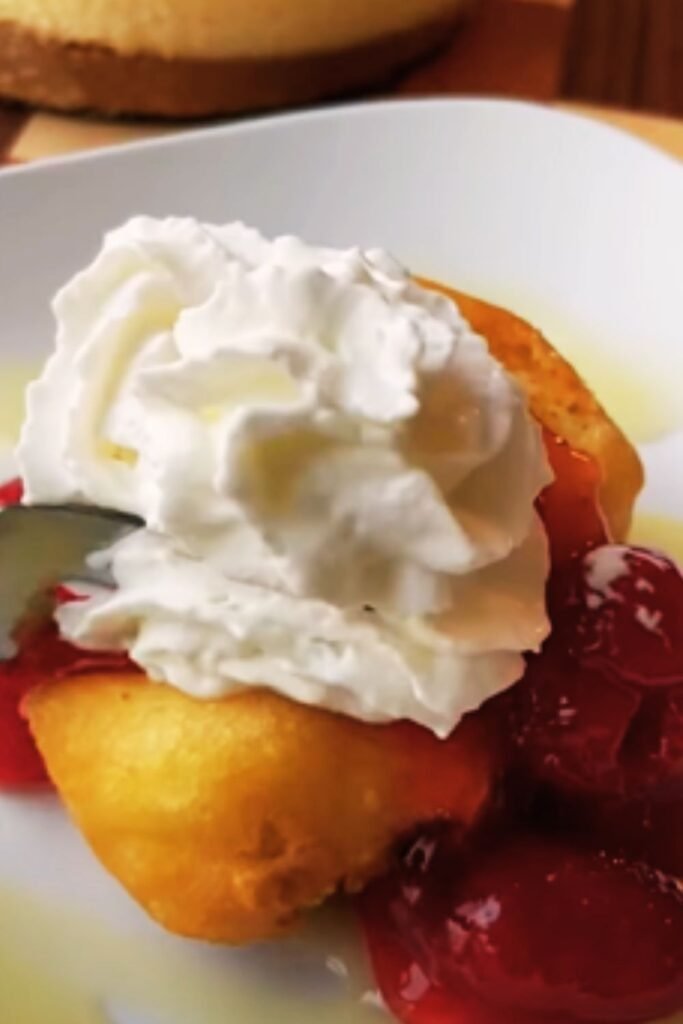
- Serve: Dust the warm cheesecake bites with powdered sugar and serve immediately with optional dipping sauces or garnishes.
Pro Tips for Perfect Deep-Fried Cheesecake Bites
I’ve made these countless times, and these tips will help you achieve perfection:
- Freeze thoroughly: The cheesecake squares must be completely frozen before frying. This ensures the filling stays intact and doesn’t melt into the oil.
- Maintain oil temperature: Too hot, and the outside will burn before the center warms; too cool, and the batter will absorb too much oil and become greasy. Aim for a consistent 350°F (175°C).
- Use cold seltzer water: This creates a lighter, crispier batter. The carbonation helps create tiny air bubbles for extra crunch.
- Work in small batches: Frying too many pieces at once lowers the oil temperature and leads to soggy results.
- Don’t overcrowd: Leave plenty of space between each bite when frying to ensure even cooking.
- Watch the color: The bites should be golden brown, not dark brown. They cook quickly!
- Rest on a wire rack: Don’t place fried bites on paper towels as this can make them soggy. A wire rack allows excess oil to drip away while maintaining crispness.
Troubleshooting Common Problems
| Problem | Cause | Solution |
|---|---|---|
| Cheesecake melting into the oil | Not frozen enough | Freeze squares longer, at least 3-4 hours |
| Batter falling off | Batter too thin or cheesecake too wet | Thicken batter with a bit more flour; pat cheesecake squares dry before dipping |
| Greasy bites | Oil not hot enough | Use a thermometer to maintain 350°F (175°C) |
| Burnt exterior, cold interior | Oil too hot | Lower temperature to 340°F (171°C) |
| Soggy coating | Improper draining | Use wire rack instead of paper towels |
| Batter too thick | Incorrect measurement or overmixing | Add more seltzer water 1 tbsp at a time |
| Cheesecake crumbling | Cut while not fully chilled | Refrigerate longer before cutting |
Make-Ahead Options
One of the things I love about this recipe is that you can prepare most of it ahead of time:
| Component | Storage Method | Time Frame |
|---|---|---|
| Baked cheesecake (uncut) | Refrigerated, wrapped in plastic | Up to 3 days |
| Cut cheesecake squares | Frozen in airtight container with parchment between layers | Up to 1 month |
| Batter | Not recommended | Make fresh before frying |
| Fried bites | Not recommended | Best served immediately |
| Dipping sauces | Refrigerated in airtight containers | Up to 1 week |
Serving Suggestions
These deep-fried cheesecake bites are versatile and can be served in several ways:
- Classic presentation: Arrange on a platter with a dusting of powdered sugar and small bowls of chocolate and caramel sauce for dipping.
- Dessert bar: Create a DIY dessert station with various toppings like crushed nuts, fruit coulis, whipped cream, and chocolate shavings.
- Individual desserts: Place 2-3 bites in small dessert cups with a drizzle of sauce and fresh berries for an elegant presentation.
- Dessert platter: Combine with other mini desserts like brownies, fruit tarts, or cookies for a varied dessert selection.
- Special occasions: These make wonderful party desserts for birthdays, holidays, or gatherings where you want something unique and impressive.

Flavor Variations
While the classic vanilla cheesecake is divine, you can experiment with these delicious variations:
Cheesecake Variations:
- Chocolate: Add 1/4 cup cocoa powder to the cheesecake mixture
- Lemon: Increase lemon juice to 3 tbsp and add 1 tbsp lemon zest
- Strawberry: Swirl in 1/4 cup strawberry puree before baking
- Caramel: Drizzle caramel between the crust and filling
- Pumpkin Spice: Add 1/3 cup pumpkin puree and 1 tsp pumpkin pie spice
Coating Variations:
- Cinnamon Sugar: Roll warm bites in cinnamon sugar instead of powdered sugar
- Chocolate Drizzle: Drizzle with melted chocolate after frying
- Coconut: Mix 1/2 cup toasted coconut into the batter
- Cornflake Crunch: Press frozen squares into crushed cornflakes before dipping in batter
Nutritional Information
I believe in transparency, so here’s the approximate nutritional breakdown per serving (2 bites):
| Nutrient | Amount |
|---|---|
| Calories | 320 |
| Total Fat | 22g |
| Saturated Fat | 12g |
| Cholesterol | 75mg |
| Sodium | 210mg |
| Carbohydrates | 26g |
| Dietary Fiber | 0.5g |
| Sugars | 13g |
| Protein | 5g |
Note: Values are approximate and will vary based on exact ingredients and portion sizes.
Storage and Reheating
These treats are best enjoyed immediately after frying while the contrast between the warm, crispy exterior and cool, creamy center is at its peak. However, if you have leftovers:
- Storage: Place in an airtight container separated by parchment paper and refrigerate for up to 2 days.
- Reheating: To restore some crispness, place in a preheated 325°F (163°C) oven for 5-7 minutes. They won’t be quite as good as fresh, but still delicious.
Health Considerations and Substitutions
While this is definitely an indulgent treat, there are ways to modify the recipe:
- Reduced fat: Use 1/3 less fat cream cheese and light sour cream
- Gluten-free: Substitute gluten-free graham crackers and a 1:1 gluten-free flour blend
- Lower sugar: Reduce sugar by 1/4 cup and use a sugar substitute in the batter
- Air fryer option: Spray the battered bites with cooking spray and air fry at 370°F (188°C) for 3-4 minutes
Remember, these are still a special treat! Moderation is key.
Why This Recipe Works
I spent months perfecting this recipe, and here’s why it succeeds where others fail:
- The freezing step: Thoroughly freezing the cheesecake squares ensures they stay intact during frying.
- The batter ratio: The precise combination of flour and cornstarch creates the perfect crispy shell that doesn’t absorb too much oil.
- Seltzer water: The carbonation creates tiny bubbles that result in a lighter, crispier coating.
- Proper oil temperature: Maintaining 350°F ensures quick cooking that seals the exterior before the interior can melt.
- The cooling rack: Allowing proper air circulation prevents sogginess after frying.

Q&A Section
Q: Can I use store-bought cheesecake to save time? Yes! While homemade cheesecake has the best texture for frying, you can use store-bought in a pinch. Cut it into 1-inch squares and freeze thoroughly before proceeding with the batter and frying steps.
Q: How do I know when the oil is at the right temperature without a thermometer? Drop a small amount of batter into the oil. If it sizzles immediately and floats to the top, the oil is ready. If it sinks and soaks up oil, it’s too cold. If it browns instantly, it’s too hot.
Q: My batter keeps falling off the cheesecake squares. What am I doing wrong? This usually happens when the squares aren’t frozen solid or the batter is too thin. Make sure your cheesecake bites are thoroughly frozen (at least 3 hours) and add a tablespoon or two more flour to the batter if needed.
Q: Can these be made ahead for a party? I recommend frying them shortly before serving, but you can prepare the cheesecake squares up to a month in advance and keep them frozen. The batter should be made fresh right before frying.
Q: Is there a non-dairy version of this recipe? Yes! You can substitute non-dairy cream cheese and coconut cream (in place of sour cream) for the filling. The results won’t be identical but will still be delicious.
Q: How do I prevent the oil from splattering? Make sure your cheesecake squares are frozen solid and free of excess moisture. Lower them into the oil carefully using a slotted spoon or spider strainer. Never drop them in from a height.
Q: Can I bake these instead of frying? While you won’t get the same crispy-creamy contrast, you can try coating the frozen squares in crushed graham crackers mixed with a little melted butter, then baking at 425°F (218°C) for about 7-8 minutes. The result will be different but still tasty.
Q: How can I tell if the cheesecake bites are done frying? They should be golden brown and float to the surface of the oil. This usually takes about 60-90 seconds depending on their size.
Final Thoughts
Deep-fried cheesecake bites are the ultimate crowd-pleasing dessert that combines the beloved creaminess of cheesecake with an irresistible crispy coating. The contrast between the warm, crunchy exterior and the cool, velvety center creates a truly memorable dessert experience.
I hope you’ll try this recipe for your next gathering or special occasion. Despite the multiple steps involved, the results are absolutely worth the effort. There’s something incredibly satisfying about watching your guests’ faces light up when they bite into these little pockets of joy.
Remember, the key to success lies in proper freezing, maintaining the right oil temperature, and serving them immediately after frying. Master these elements, and you’ll have a showstopping dessert that friends and family will request again and again.
Happy frying!