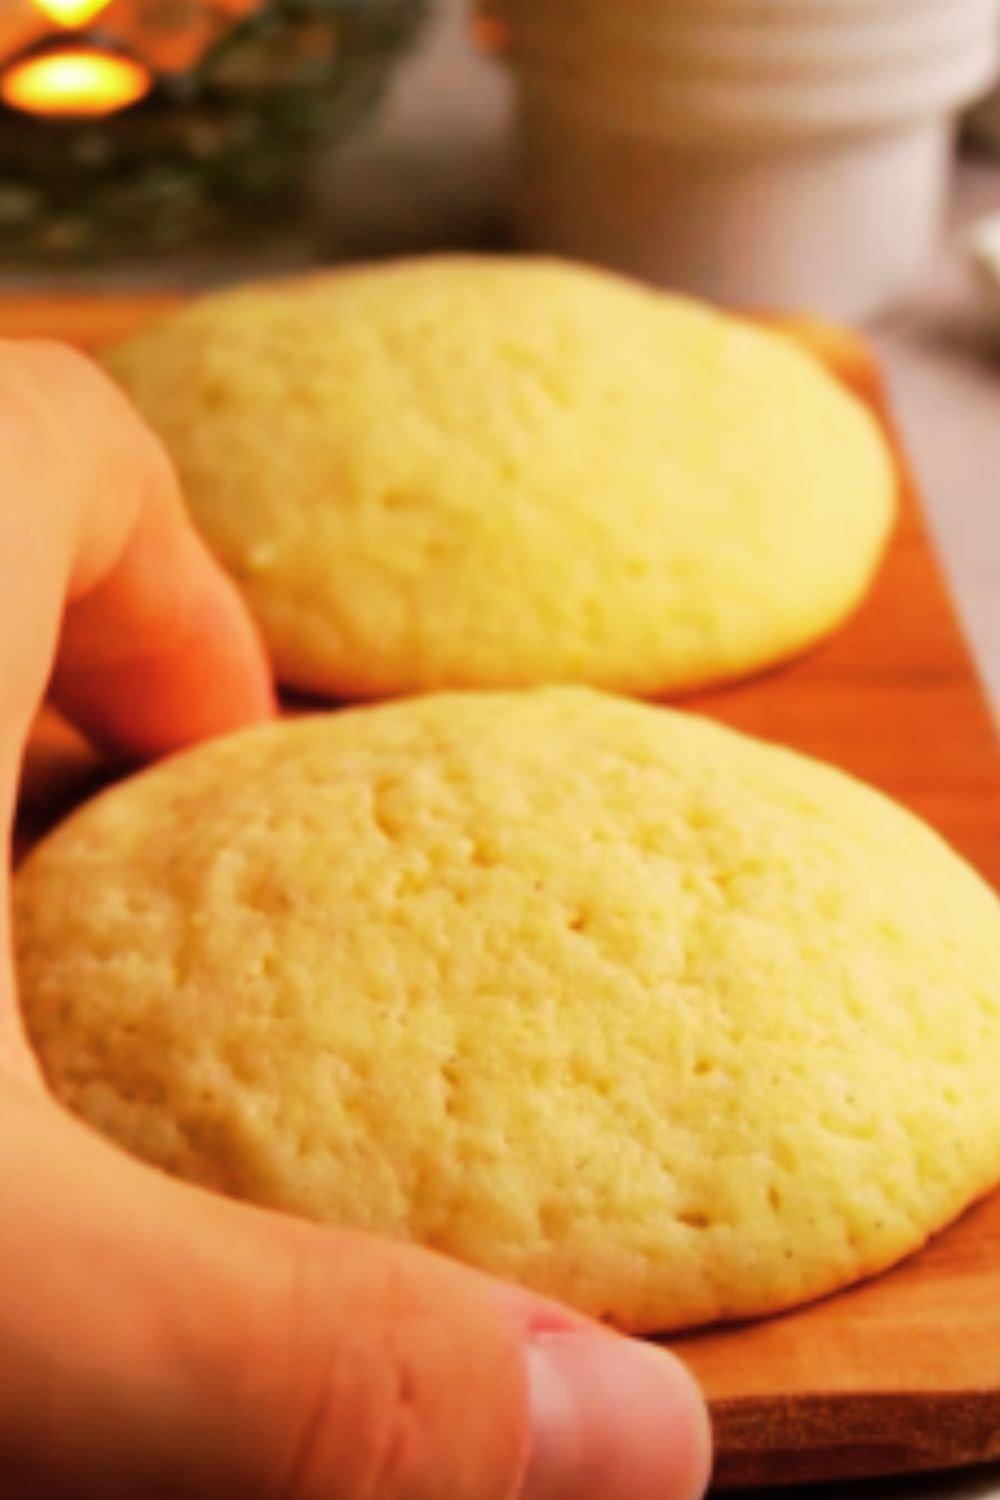
There’s something magical about the aroma of a yellow butter cake baking in the oven. The rich, buttery scent wafting through the kitchen brings back fond memories of birthdays and special celebrations. I’ve spent years perfecting my yellow butter cake recipe, and today I’m thrilled to share it with you!
A classic yellow butter cake is the cornerstone of home baking. Unlike white cakes that use only egg whites, yellow butter cakes incorporate whole eggs, giving them that signature golden hue and rich flavor. When made properly, this cake offers a tender, moist crumb with a buttery taste that’s simply irresistible.
In this comprehensive guide, I’ll walk you through every step of creating this timeless dessert from scratch. We’ll explore ingredients, techniques, troubleshooting tips, and even some creative variations to make this recipe your own. By the end, you’ll have all the knowledge needed to bake a yellow butter cake that would make any professional pastry chef proud.
The Science Behind a Perfect Yellow Butter Cake
Before diving into the recipe, let’s understand what makes a yellow butter cake special. The science behind this classic dessert explains why certain ingredients and techniques are crucial for success.
Key Components of Yellow Butter Cake
- Butter: Provides flavor, moisture, and helps with leavening through the creaming process
- Eggs: Contribute to the cake’s structure, moisture, and golden color
- Sugar: Beyond sweetness, sugar tenderizes the crumb by interfering with gluten development
- Flour: Creates the cake’s structure through its protein content
- Leavening agents: Baking powder/soda create carbon dioxide for a light texture
The magic happens in how these ingredients interact. When butter and sugar are creamed together, they trap air bubbles that expand during baking. Eggs add stability to these bubbles while providing richness. The flour’s proteins form gluten when mixed with liquid, creating the cake’s structure, while leavening agents ensure it rises properly.
Essential Ingredients for Yellow Butter Cake
For my perfect yellow butter cake recipe, quality ingredients make all the difference. Here’s what you’ll need:
Ingredients List
| Ingredient | Amount | Notes |
|---|---|---|
| Unsalted butter | 1 cup (2 sticks/226g) | Room temperature (65-67°F) |
| Granulated sugar | 2 cups (400g) | White granulated for best texture |
| Large eggs | 4 | Room temperature |
| Vanilla extract | 2 teaspoons | Pure, not imitation |
| All-purpose flour | 3 cups (375g) | Pre-sifted for accuracy |
| Baking powder | 1 tablespoon | Aluminum-free preferred |
| Salt | 1/2 teaspoon | Fine sea salt works best |
| Whole milk | 1 cup (240ml) | Room temperature |
Understanding Key Ingredient Roles
Butter: I always use unsalted butter to control the salt content precisely. The butter must be at room temperature—soft enough to leave a slight indent when pressed, but not so soft that it appears greasy or melting. This perfect temperature (about 65-67°F) is crucial for proper creaming.
Eggs: Room temperature eggs incorporate more easily into the batter and trap more air, producing a lighter cake. To quickly bring cold eggs to room temperature, place them in a bowl of warm (not hot) water for 5-10 minutes.
Flour: While cake flour produces a more tender cake, I’ve found that all-purpose flour works wonderfully when measured correctly. Always sift before measuring to avoid a dense cake.
Milk: The fat content in whole milk adds moisture and richness. Again, room temperature is essential—cold milk can cause the batter to curdle and may solidify the butter.
Essential Equipment
Having the right tools makes baking so much more enjoyable. Here’s what I recommend:
| Equipment | Purpose | Recommendation |
|---|---|---|
| Stand mixer or hand mixer | For proper creaming of butter and sugar | Stand mixer preferred for consistency |
| 9-inch round cake pans (2) | For baking the cake layers | Light-colored aluminum for even heating |
| Digital kitchen scale | For precise ingredient measurement | More accurate than volume measures |
| Parchment paper | To prevent sticking | Pre-cut rounds are convenient |
| Cooling rack | For proper cooling | Wire racks allow air circulation |
| Offset spatula | For frosting application | Small and large sizes are useful |
| Cake turntable | For easy frosting application | Optional but helpful |
| Thermometer | For checking ingredient temperatures | Instant-read digital preferred |
Step-by-Step Baking Process
Now let’s dive into the actual baking process. I’ll break this down into manageable steps:
Preparation Phase
- Preheat your oven to 350°F (175°C) with the rack positioned in the center.
- Prepare two 9-inch round cake pans by greasing them thoroughly, lining the bottoms with parchment paper, then greasing the paper and dusting with flour.
- Bring all refrigerated ingredients to room temperature (this takes about 1 hour).
- Sift together the flour, baking powder, and salt in a medium bowl, then set aside.
Mixing the Batter
The mixing process is where many bakers go wrong. Follow these steps carefully:
- Cream the butter: In your stand mixer with the paddle attachment (or using a hand mixer), beat the butter alone on medium speed for 1 minute until smooth and creamy.
- Add sugar gradually: Add the sugar in a slow, steady stream while mixing on medium speed. Continue beating for a full 5 minutes—this is not the time to rush! The mixture should become notably lighter in both color and texture.
- Incorporate eggs: Add the eggs one at a time, mixing for 30 seconds after each addition. Scrape down the bowl frequently during this process.
- Add vanilla: Mix in the vanilla extract.
- Alternate dry and wet ingredients: With the mixer on low speed, add 1/3 of the flour mixture, then 1/2 of the milk, another 1/3 of flour, the remaining milk, and finally the last 1/3 of flour. Mix just until each addition is incorporated before adding the next.
- Final mix: Scrape down the sides and bottom of the bowl, then mix on low for 15 more seconds to ensure everything is well combined without overmixing.
Baking and Cooling
- Divide the batter evenly between the prepared pans. I use a kitchen scale to ensure exactly equal amounts in each pan.
- Smooth the tops with an offset spatula.
- Bake at 350°F for 25-30 minutes, or until a toothpick inserted in the center comes out with a few moist crumbs (not wet batter).
- Allow the cakes to cool in their pans on a wire rack for exactly 10 minutes—no more, no less.
- Run a thin knife around the edges, then invert onto the cooling rack, remove parchment, and flip right-side up.
- Allow to cool completely before frosting (at least 2 hours).
Frosting Options for Yellow Butter Cake
A yellow butter cake pairs beautifully with many frosting options. Here are my three favorite choices:
Classic Vanilla Buttercream
| Ingredient | Amount | Notes |
|---|---|---|
| Unsalted butter | 1 cup (226g) | Room temperature |
| Powdered sugar | 4 cups (480g) | Sifted to remove lumps |
| Heavy cream | 3-4 tablespoons | Room temperature |
| Vanilla extract | 2 teaspoons | Pure, not imitation |
| Salt | 1/4 teaspoon | To balance sweetness |
Instructions:
- Beat butter until creamy (about 2 minutes).
- Add powdered sugar 1 cup at a time, mixing thoroughly between additions.
- Add vanilla extract and salt.
- Add heavy cream 1 tablespoon at a time until desired consistency is reached.
- Beat on high speed for 3 minutes until light and fluffy.
Rich Chocolate Frosting
| Ingredient | Amount | Notes |
|---|---|---|
| Unsalted butter | 1 cup (226g) | Room temperature |
| Powdered sugar | 3 1/2 cups (420g) | Sifted |
| Unsweetened cocoa powder | 3/4 cup (75g) | Dutch-processed for deeper color |
| Heavy cream | 3-5 tablespoons | Room temperature |
| Vanilla extract | 1 teaspoon | Enhances chocolate flavor |
| Salt | 1/4 teaspoon | Balances sweetness |
Instructions:
- Cream butter until smooth.
- Sift together powdered sugar and cocoa powder.
- Gradually add sugar-cocoa mixture to butter, alternating with cream.
- Add vanilla and salt.
- Beat on medium-high speed until light and fluffy (about 3 minutes).
Cream Cheese Frosting
| Ingredient | Amount | Notes |
|---|---|---|
| Cream cheese | 8 oz (226g) | Full-fat, room temperature |
| Unsalted butter | 1/2 cup (113g) | Room temperature |
| Powdered sugar | 3 cups (360g) | Sifted |
| Vanilla extract | 1 teaspoon | Pure |
| Salt | Pinch | Just to balance |
Instructions:
- Beat cream cheese and butter together until completely smooth.
- Add powdered sugar gradually, mixing well between additions.
- Mix in vanilla and salt.
- Beat until smooth and creamy (about 2 minutes).
Assembly and Decoration
Now comes the fun part—putting it all together and making it beautiful:
- Level the cakes: If your cakes have domed tops, use a serrated knife to level them for even stacking.
- Create a crumb coat: Place one cake layer on your serving plate or cake board. Spread a thin layer of frosting on top, then place the second layer. Cover the entire cake with a thin layer of frosting to seal in crumbs.
- Chill: Refrigerate for 20-30 minutes to set the crumb coat.
- Final frosting: Apply the remaining frosting, starting from the top and working down the sides. Use an offset spatula or bench scraper to smooth the surface.
- Decorate: Get creative with decorative piping, sprinkles, fresh flowers, or fruit.
Decoration Ideas
- Simple elegance: Smooth frosting with a border of piped rosettes
- Textured look: Create swirls or lines with an offset spatula
- Rustic style: Leave frosting slightly uneven for a homemade look
- Semi-naked: Scrape most frosting off the sides to let cake show through
- Topping options: Fresh berries, chocolate shavings, toasted nuts, or edible flowers
Storage and Make-Ahead Tips
A properly stored yellow butter cake can maintain its freshness for several days:
| Storage Method | Duration | Notes |
|---|---|---|
| Room temperature | 2-3 days | In airtight container, away from heat |
| Refrigerator | 5-7 days | Wrapped tightly in plastic wrap |
| Freezer (unfrosted layers) | Up to 3 months | Double-wrapped in plastic and foil |
| Freezer (frosted cake) | Up to 2 months | Flash-freeze uncovered, then wrap |
Make-Ahead Options:
- Cake layers can be baked up to 2 days ahead and stored wrapped at room temperature.
- Unfrosted layers can be frozen for up to 3 months (thaw overnight in refrigerator).
- Frosting can be made 3-5 days ahead and refrigerated (bring to room temperature and rewhip before using).
Troubleshooting Common Issues
Even experienced bakers encounter problems sometimes. Here are solutions to common yellow butter cake issues:
| Issue | Possible Cause | Solution |
|---|---|---|
| Cake is dense/heavy | Undermixed butter/sugar or overmixed batter | Cream butter/sugar longer (5+ minutes); fold in flour gently |
| Cake sinks in middle | Underbaking or opening oven door too early | Test with toothpick; avoid opening oven in first 20 minutes |
| Dry texture | Overbaking or incorrect measuring | Use timer; measure flour by weight or spoon & level method |
| Uneven rising | Uneven oven temperature or uneven pans | Use oven thermometer; rotate pans halfway through |
| Crumbly texture | Too much flour or not enough fat | Measure accurately; ensure butter is proper temperature |
| Gummy layer at bottom | Overmixing or too much liquid | Mix just until combined; check measuring accuracy |
Variations and Creative Twists
Once you’ve mastered the basic yellow butter cake, try these delicious variations:
Flavor Additions
- Citrus: Add 1-2 tablespoons of lemon, orange, or lime zest to the batter
- Spiced: Add 1-2 teaspoons of cinnamon, cardamom, or nutmeg
- Almond: Replace 1 teaspoon of vanilla with almond extract
- Coffee: Dissolve 1 tablespoon instant espresso powder in the milk
- Coconut: Replace 1/4 cup of milk with coconut milk and add 1/2 cup toasted coconut
Structural Variations
- Cupcakes: Bake in lined muffin tins for 18-22 minutes (makes about 24)
- Sheet cake: Bake in a 9×13-inch pan for 35-40 minutes
- Layer variations: Split into three thinner layers for more frosting opportunities
- Filled cake: Core out centers and fill with pastry cream, lemon curd, or jam
Serving Suggestions
A slice of yellow butter cake is delightful on its own, but these accompaniments can take it to the next level:
- Fresh berries or sliced seasonal fruit
- A scoop of vanilla ice cream
- Lightly sweetened whipped cream
- Fruit compote or sauce (raspberry, strawberry, or peach work beautifully)
- Hot coffee or tea
- Cold milk
- Hot chocolate for a decadent treat
Frequently Asked Questions

Q: Why did my cake turn out dense instead of light and fluffy?
A: Dense cakes usually result from either undermixing the butter and sugar (insufficient creaming) or overmixing after adding the flour (which develops too much gluten). Make sure to cream the butter and sugar for a full 5 minutes until very light in color and texture. Then, when adding the dry ingredients, mix just until combined.
Q: Can I use salted butter instead of unsalted?
A: While I recommend unsalted butter for precise control over the salt content, you can use salted butter in a pinch. Simply omit the additional salt in the recipe. Keep in mind that different brands of salted butter contain varying amounts of salt, so the flavor may differ slightly.
Q: How do I know when my cake is done baking?
A: The best test is to insert a toothpick into the center of the cake. It should come out with a few moist crumbs attached, but no wet batter. The cake should also spring back slightly when gently pressed in the center, and the edges will begin to pull away from the sides of the pan.
Q: Can I substitute cake flour for all-purpose flour?
A: Absolutely! Cake flour will give you an even more tender crumb. To substitute, use 3 1/3 cups (375g) of cake flour instead of the all-purpose flour called for in the recipe. The lower protein content of cake flour will result in less gluten development and therefore a softer texture.
Q: Why did my cake layers sink in the middle?
A: Sinking can occur for several reasons: opening the oven door too early during baking, underbaking, or using expired leavening agents. Make sure your baking powder is fresh (replace every 6 months), avoid opening the oven during the first 20 minutes of baking, and ensure the cake is fully baked before removing from the oven.
Q: Can I make this cake dairy-free?
A: While traditional yellow butter cake relies heavily on butter for its flavor, you can substitute plant-based butter alternatives and non-dairy milk. The texture and flavor will be different, but still delicious. Look for plant-based butters specifically formulated for baking to achieve the best results.
Q: How far in advance can I make this cake for a special occasion?
A: For the freshest taste, I recommend baking the cake layers no more than two days before your event. You can, however, freeze unfrosted layers for up to three months in advance. Thaw overnight in the refrigerator, then bring to room temperature before frosting. A completely frosted cake can be made 1-2 days ahead and stored in the refrigerator (bring to room temperature before serving).
Q: My frosting is too soft/runny. How can I fix it?
A: If your frosting is too soft, it’s usually because the butter was too warm or you added too much liquid. Place the frosting in the refrigerator for 15-20 minutes, then rewhip it. If it’s still too soft, gradually add more sifted powdered sugar, 1/4 cup at a time, until it reaches the desired consistency.
Q: Is there a high-altitude version of this recipe?
A: For high-altitude baking (above 3,500 feet), you’ll need to make a few adjustments: Increase the oven temperature by 25°F, reduce the sugar by 2 tablespoons per cup, reduce the baking powder by 1/4 teaspoon per teaspoon, and add 2 tablespoons of extra milk to counter the faster evaporation.
Q: Can I use this recipe for a wedding or tiered cake?
A: Yes! This yellow butter cake has a sturdy structure that works well for tiered cakes. For wedding cakes, I recommend using slightly less leavening agent (reduce baking powder to 2 1/2 teaspoons) to create an even denser crumb that will hold up better under fondant or when stacked.
Final Thoughts
Creating the perfect yellow butter cake from scratch is both an art and a science. With attention to detail, quality ingredients, and the techniques shared in this guide, you’ll be able to create a cake that becomes your signature dessert—one that friends and family request for every celebration.
Remember, baking is a journey of continuous learning. Don’t be discouraged if your first attempt isn’t perfect—each cake you bake will build your skills and intuition. The most important ingredient in any cake is the love and care you put into making it.
I hope this comprehensive guide helps you create countless delicious yellow butter cakes for years to come. Happy baking!