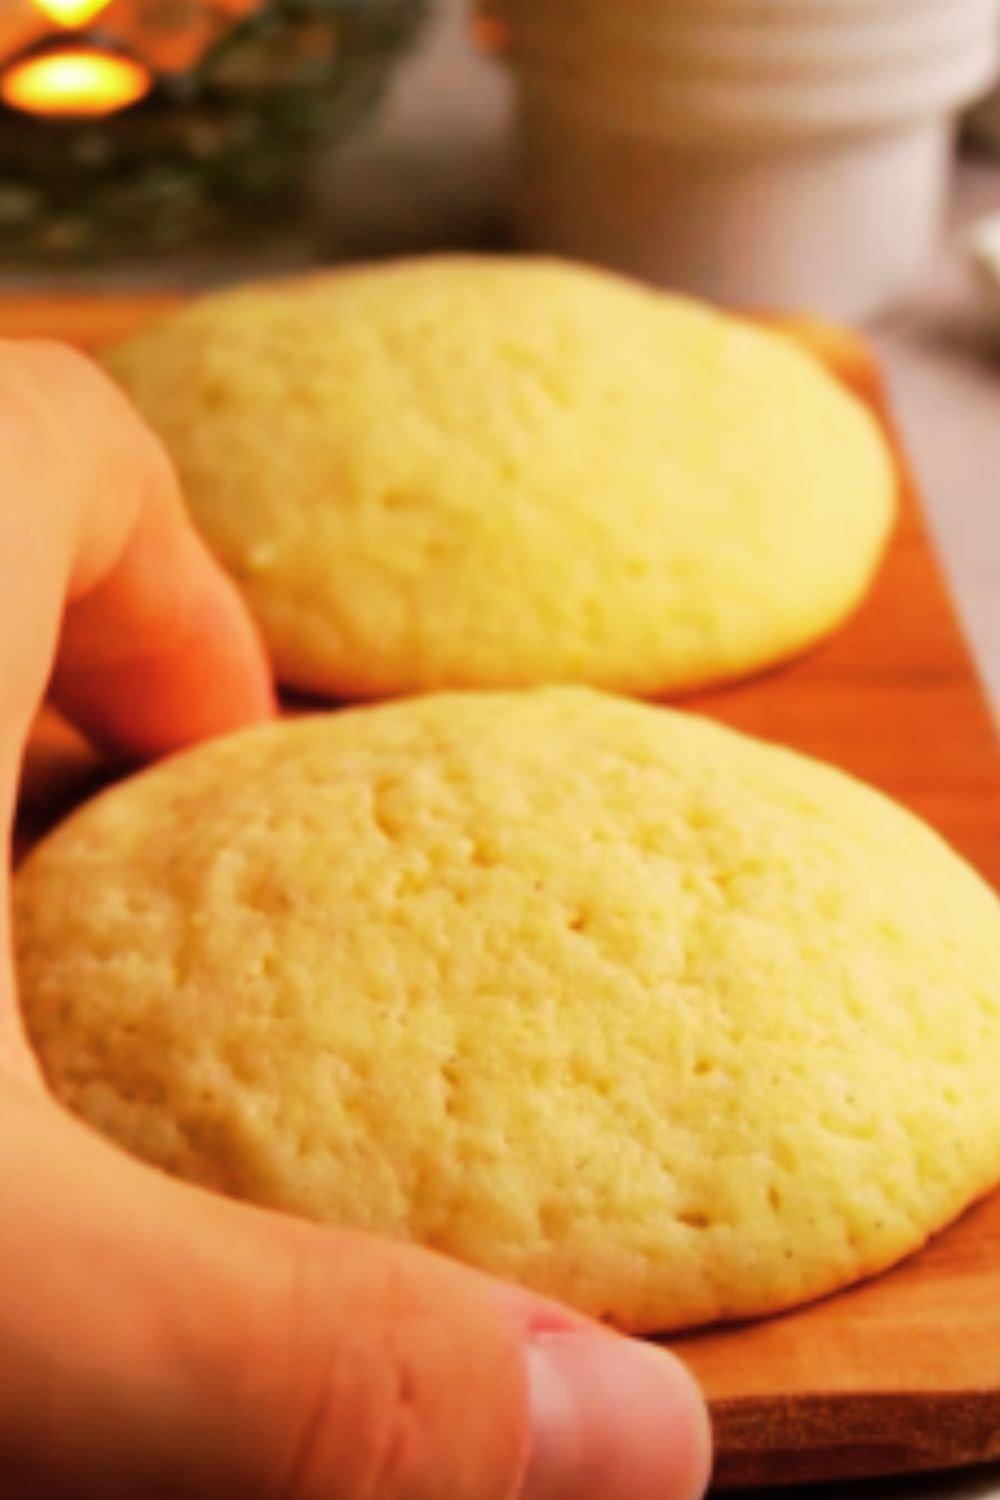
Have you ever bitten into a cookie so tender it practically melts in your mouth? That’s the magic of cream cheese cookies—my absolute favorite treat to bake when I want something special yet surprisingly simple. These delightful little morsels combine the tanginess of cream cheese with just the right amount of sweetness, creating a cookie that’s impossibly soft with a delicate, buttery flavor.
I’ve been perfecting this recipe for years, and I’m thrilled to finally share my foolproof method for creating these wonderful cookies that never fail to impress. Whether you’re an experienced baker or just starting your culinary journey, these cream cheese cookies are accessible, versatile, and guaranteed to become a staple in your baking repertoire.
What Makes Cream Cheese Cookies So Special?
The secret to these extraordinary cookies lies in their star ingredient—cream cheese. Unlike traditional sugar cookies that rely solely on butter for richness, cream cheese cookies incorporate this tangy dairy product to create a completely different texture and flavor profile.
When I first discovered cream cheese cookies, I was amazed by how such a simple ingredient swap could transform an ordinary cookie into something extraordinary. The cream cheese does several magical things:
- Creates an exceptionally tender crumb
- Adds a subtle tangy undertone that balances the sweetness
- Provides moisture that keeps cookies soft for days
- Gives the dough a wonderful pliability that’s perfect for shaping
The best part? This recipe requires only basic pantry ingredients you likely already have on hand, making it perfect for spontaneous baking sessions when the cookie craving strikes.
Essential Ingredients for Perfect Cream Cheese Cookies
For cookies that truly shine, quality ingredients make all the difference. Here’s what you’ll need:
| Ingredient | Amount | Notes |
|---|---|---|
| Cream cheese | 8 oz (1 package) | Full-fat, brick-style, room temperature |
| Unsalted butter | 1/2 cup (1 stick) | Room temperature |
| Granulated sugar | 1 cup | Provides structure and sweetness |
| Vanilla extract | 2 teaspoons | Use pure extract for best flavor |
| Almond extract (optional) | 1/4 teaspoon | Enhances flavor complexity |
| All-purpose flour | 2 1/4 cups | Spooned and leveled |
| Salt | 1/2 teaspoon | Balances sweetness |
| Baking powder | 1/2 teaspoon | For perfect rise |
| Egg | 1 large | Room temperature |
| Optional mix-ins | 1/2-3/4 cup | Chocolate chips, nuts, dried fruit, etc. |
The room temperature ingredients aren’t just a suggestion—they’re essential for proper incorporation. Cold cream cheese won’t blend smoothly, resulting in lumpy dough and uneven baking. I always set out my cream cheese and butter at least an hour before baking to ensure perfect texture.
Equipment You’ll Need
I find that having the right tools makes the baking process so much more enjoyable:
- Stand mixer or electric hand mixer
- Mixing bowls (medium and large)
- Measuring cups and spoons
- Baking sheets
- Parchment paper or silicone baking mats
- Cookie scoop (medium size, about 1.5 tablespoons)
- Cooling rack
- Optional: Piping bag and tips if making shaped cookies
While you could mix the dough by hand, I strongly recommend using an electric mixer. The cream cheese needs to be thoroughly incorporated with the butter and sugar to achieve that signature texture, and hand mixing rarely achieves the necessary smoothness.
Step-by-Step Cookie Creation
Preparation Steps
- Preheat your oven to 350°F (175°C).
- Line two baking sheets with parchment paper or silicone mats.
- Ensure all refrigerated ingredients have reached room temperature.
Making the Dough
Follow these steps carefully for perfect cookies every time:
- Cream together the fats and sugar: In a large mixing bowl, beat the cream cheese and butter together until completely smooth and no lumps remain, about 2-3 minutes on medium speed. Add the sugar and continue beating until light and fluffy, approximately 2 more minutes. The mixture should be noticeably lighter in both color and texture.
- Add the egg and extracts: Beat in the egg until fully incorporated. Add the vanilla extract (and almond extract if using) and mix until combined. Be sure to scrape down the sides of the bowl to ensure everything is mixed evenly.
- Incorporate dry ingredients: In a separate bowl, whisk together the flour, salt, and baking powder. Gradually add this dry mixture to the wet ingredients, mixing on low speed just until combined. Overmixing at this stage will develop the gluten in the flour and result in tougher cookies, so I always stop the mixer as soon as the last streaks of flour disappear.
- Add mix-ins (if using): Gently fold in any additional ingredients like chocolate chips or chopped nuts by hand using a spatula. This prevents overmixing and ensures even distribution.
Shaping and Baking
The versatility of cream cheese cookie dough is one of my favorite things about this recipe. Here are three different methods for shaping:
Drop Cookies (Simplest Method)
- Using a cookie scoop or tablespoon, drop rounded portions of dough onto your prepared baking sheets, spacing them about 2 inches apart.
- For a more rustic look, leave as is. For a neater appearance, gently flatten the tops with the bottom of a glass dipped in sugar.
- Bake for 10-12 minutes until the edges are just beginning to turn golden. The centers will still look slightly underdone—this is perfect!
Shaped or Piped Cookies
- Transfer the dough to a piping bag fitted with a large star or round tip.
- Pipe rosettes, stars, or lines onto the prepared baking sheets.
- Bake for 8-10 minutes until just set. Watch carefully as shaped cookies tend to bake faster due to their thinner profile.
Roll and Slice Method
- Form the dough into a log about 2 inches in diameter.
- Wrap tightly in plastic wrap and chill for at least 2 hours or overnight.
- Slice into 1/4-inch rounds and place on baking sheets.
- Bake for 10-12 minutes until the edges are just beginning to turn golden.
The Secret to Perfect Baking

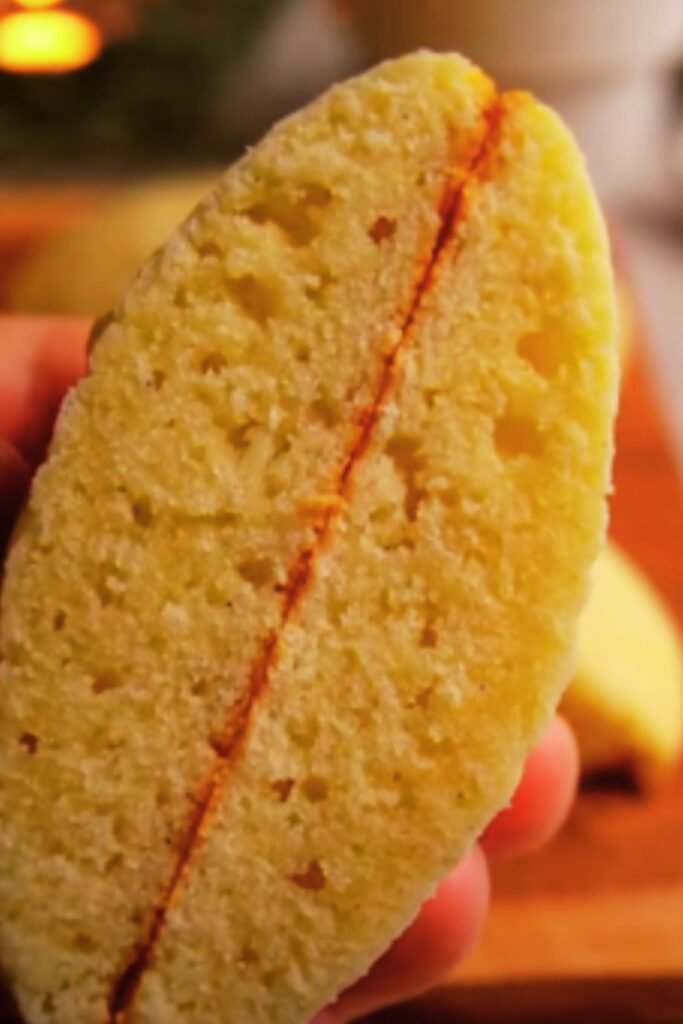
The key to these cookies is not to overbake them. When they’re done, they should:
- Have barely golden edges
- Look slightly underdone in the center
- Maintain their pale cream color overall
- Feel set but soft when lightly touched
I always set my timer for the minimum baking time and check them carefully. Remember that cookies continue to bake from residual heat after you remove them from the oven. When in doubt, it’s better to undertake slightly than risk dry, overbaked cookies.
Cooling and Storing
- Allow the cookies to cool on the baking sheets for 5 minutes. During this time, they’ll firm up enough to be moved without breaking.
- Transfer to a wire cooling rack to cool completely.
- Once fully cooled, store in an airtight container at room temperature for up to 5 days, or freeze for up to 3 months.
For maximum freshness, I place a small piece of bread in the container with the cookies—it helps them maintain their perfect moisture level without becoming soggy.
Delicious Variations to Try
The versatility of this dough is truly remarkable. Here are some of my favorite variations that all start with the same base recipe:
Flavor Additions
| Variation | Additional Ingredients | Notes |
|---|---|---|
| Lemon Burst | 1 tbsp lemon zest + 1 tbsp juice | Reduce vanilla to 1 tsp |
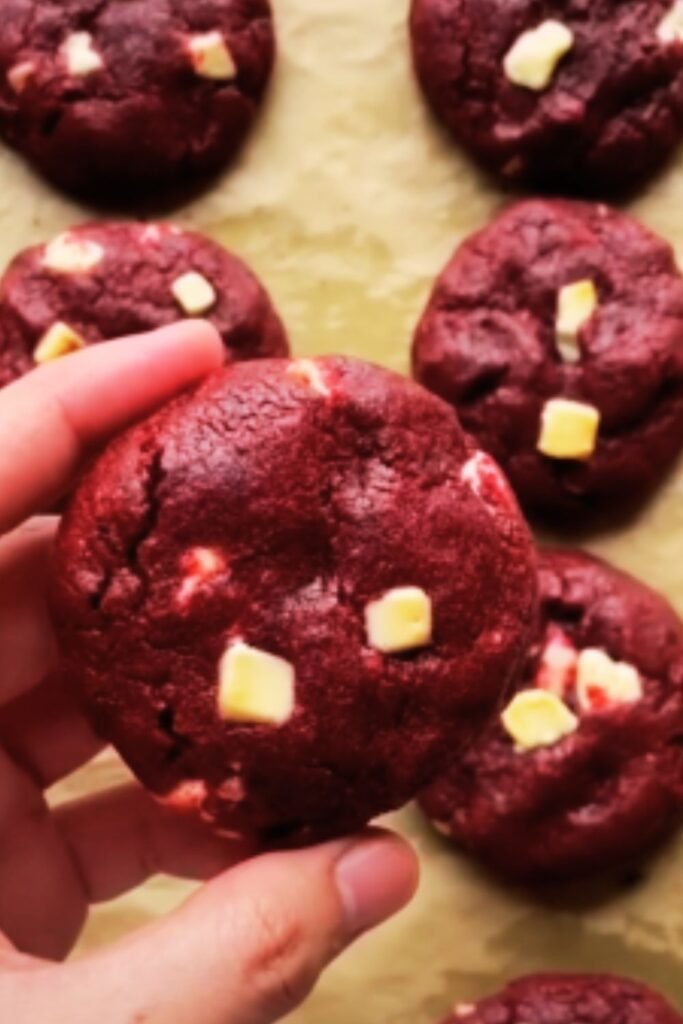
| Chocolate Chip | 3/4 cup mini chocolate chips | Fold in after mixing dough |
| Almond Joy | 1/2 cup coconut flakes + 1/2 cup chopped almonds | Add 1/4 tsp coconut extract |
| Spiced | 1 tsp cinnamon + 1/4 tsp nutmeg + pinch of cloves | Perfect for fall baking |
| Cranberry Orange | 2/3 cup dried cranberries + 1 tbsp orange zest | Bright and tangy flavor |
| Birthday Cake | 1/2 cup rainbow sprinkles + 1 tsp butter extract | Fun and festive! |
Topping Ideas
The simple elegance of cream cheese cookies makes them perfect for decorating:
- Roll balls of dough in colored sugar before baking
- Press a chocolate kiss into the center immediately after baking
- Drizzle cooled cookies with melted white or dark chocolate
- Dust with powdered sugar for a simple, elegant finish
- Top with a small dollop of jam before baking for thumbprint-style cookies
- Sandwich two cookies with frosting, ganache, or ice cream for an extra-special treat
Common Troubleshooting Tips
Even experienced bakers encounter issues sometimes. Here are solutions to the most common problems:
Cookies Spreading Too Much
If your cookies are spreading excessively during baking, try these fixes:
- Chill the dough for 30 minutes before baking
- Make sure your butter and cream cheese weren’t too warm
- Check that your baking powder is fresh
- Add 2-3 additional tablespoons of flour to the dough
Cookies Too Dry or Crumbly
If your cookies turned out dry, consider these possible causes:
- Overbaking (even by just a minute or two)
- Using too much flour (always spoon and level, don’t scoop directly with measuring cup)
- Low-fat cream cheese (always use full-fat for best results)
- Overmixing the dough after adding flour
Cookies Not Sweet Enough
The subtle sweetness is part of what makes these cookies special, but if you prefer a sweeter treat:
- Increase sugar to 1 1/4 cups
- Add a simple glaze (1 cup powdered sugar + 1-2 tbsp milk + 1/2 tsp vanilla)
- Roll the cookies in granulated sugar before baking
- Drizzle with honey while still warm from the oven
Serving Suggestions
These versatile cookies pair beautifully with:
- Hot tea, especially Earl Grey or chamomile
- Coffee, from bold espresso to creamy lattes
- Cold milk (classic for a reason!)
- Hot chocolate for an extra-indulgent treat
- Fruit compotes or fresh berries for a brunch setting
For a special dessert plate, I like to serve these alongside:
- Fresh strawberries
- A small dish of lemon curd for dipping
- A sprinkle of chopped pistachios
- A few mint leaves for color and freshness
Why These Cookies Are Perfect for Any Occasion
I’ve brought these cookies to countless gatherings, and they’re always a hit. They’re perfect for:
- Holiday cookie exchanges (they ship and travel well)
- Afternoon tea parties
- Baby and bridal showers
- Lunchbox treats (they’re sturdy enough not to crumble)
- Unexpected guests (the dough freezes beautifully for baking on demand)
What makes them truly special is their ability to feel both homey and sophisticated at the same time. They’re the kind of cookies that remind you of childhood while still impressing the most discerning adult palates.
The Health Perspective
While no cookie is a health food, there are some nutritional considerations worth noting:
- Cream cheese provides some protein and calcium
- Using dark chocolate chips adds antioxidants
- Adding nuts increases healthy fats and protein
- Reducing sugar to 3/4 cup works well if you prefer less sweetness
- For gluten-sensitive guests, this recipe adapts well to cup-for-cup gluten-free flour blends
Remember that the joy of sharing homemade treats has its own kind of wellness benefit—there’s something deeply satisfying about creating something delicious with your own hands and sharing it with others.
Frequently Asked Questions
Can I use low-fat cream cheese in this recipe?
I don’t recommend it. Full-fat cream cheese provides the perfect texture and moisture that makes these cookies special. Low-fat varieties contain more water and less fat, which negatively affects both the dough consistency and final texture.
How far in advance can I make the dough?
The dough can be refrigerated for up to 3 days before baking. Just wrap it tightly in plastic wrap. You may need to let it sit at room temperature for 15-20 minutes to make it scoopable.
Can I freeze these cookies?
Absolutely! Both the dough and baked cookies freeze beautifully. For dough, form into balls and freeze on a baking sheet, then transfer to a freezer bag. Bake directly from frozen, adding 2-3 minutes to the baking time. Baked cookies can be frozen in airtight containers for up to 3 months.
Why did my cookies not flatten while baking?
If your cookies stayed in the same shape you placed them on the sheet, your dough might have been too cold or contained too much flour. Next time, flatten them slightly before baking or ensure your ingredients are properly measured.
Can I make these cookies without an electric mixer?
While technically possible, it’s very difficult to properly incorporate the cream cheese and butter by hand. If you must try, make sure both are extremely soft (but not melted) and prepare for an arm workout!
Are these cookies supposed to be soft or crispy?
These cookies are definitely in the soft and tender category. If you prefer a crisper edge, you can bake them 1-2 minutes longer, but the centers should still remain soft for the authentic cream cheese cookie experience.
How do I know when they’re done if they still look underbaked?
Look for barely golden edges and a set (not wet-looking) top. The centers will still appear very soft and might look slightly underdone. They’ll firm up as they cool, so resist the urge to bake them longer.
Final Thoughts
There’s something magical about a recipe that’s both simple and extraordinary. These cream cheese cookies embody that perfect balance—accessible enough for beginning bakers yet special enough to impress anyone lucky enough to taste them.
I encourage you to make this recipe your own. Experiment with different mix-ins, shape them according to your preference, and share them with the people you care about. There’s no greater satisfaction than seeing eyes light up when someone tastes something you’ve baked with love.
Happy baking, and may your kitchen always be filled with the irresistible aroma of freshly baked cookies!